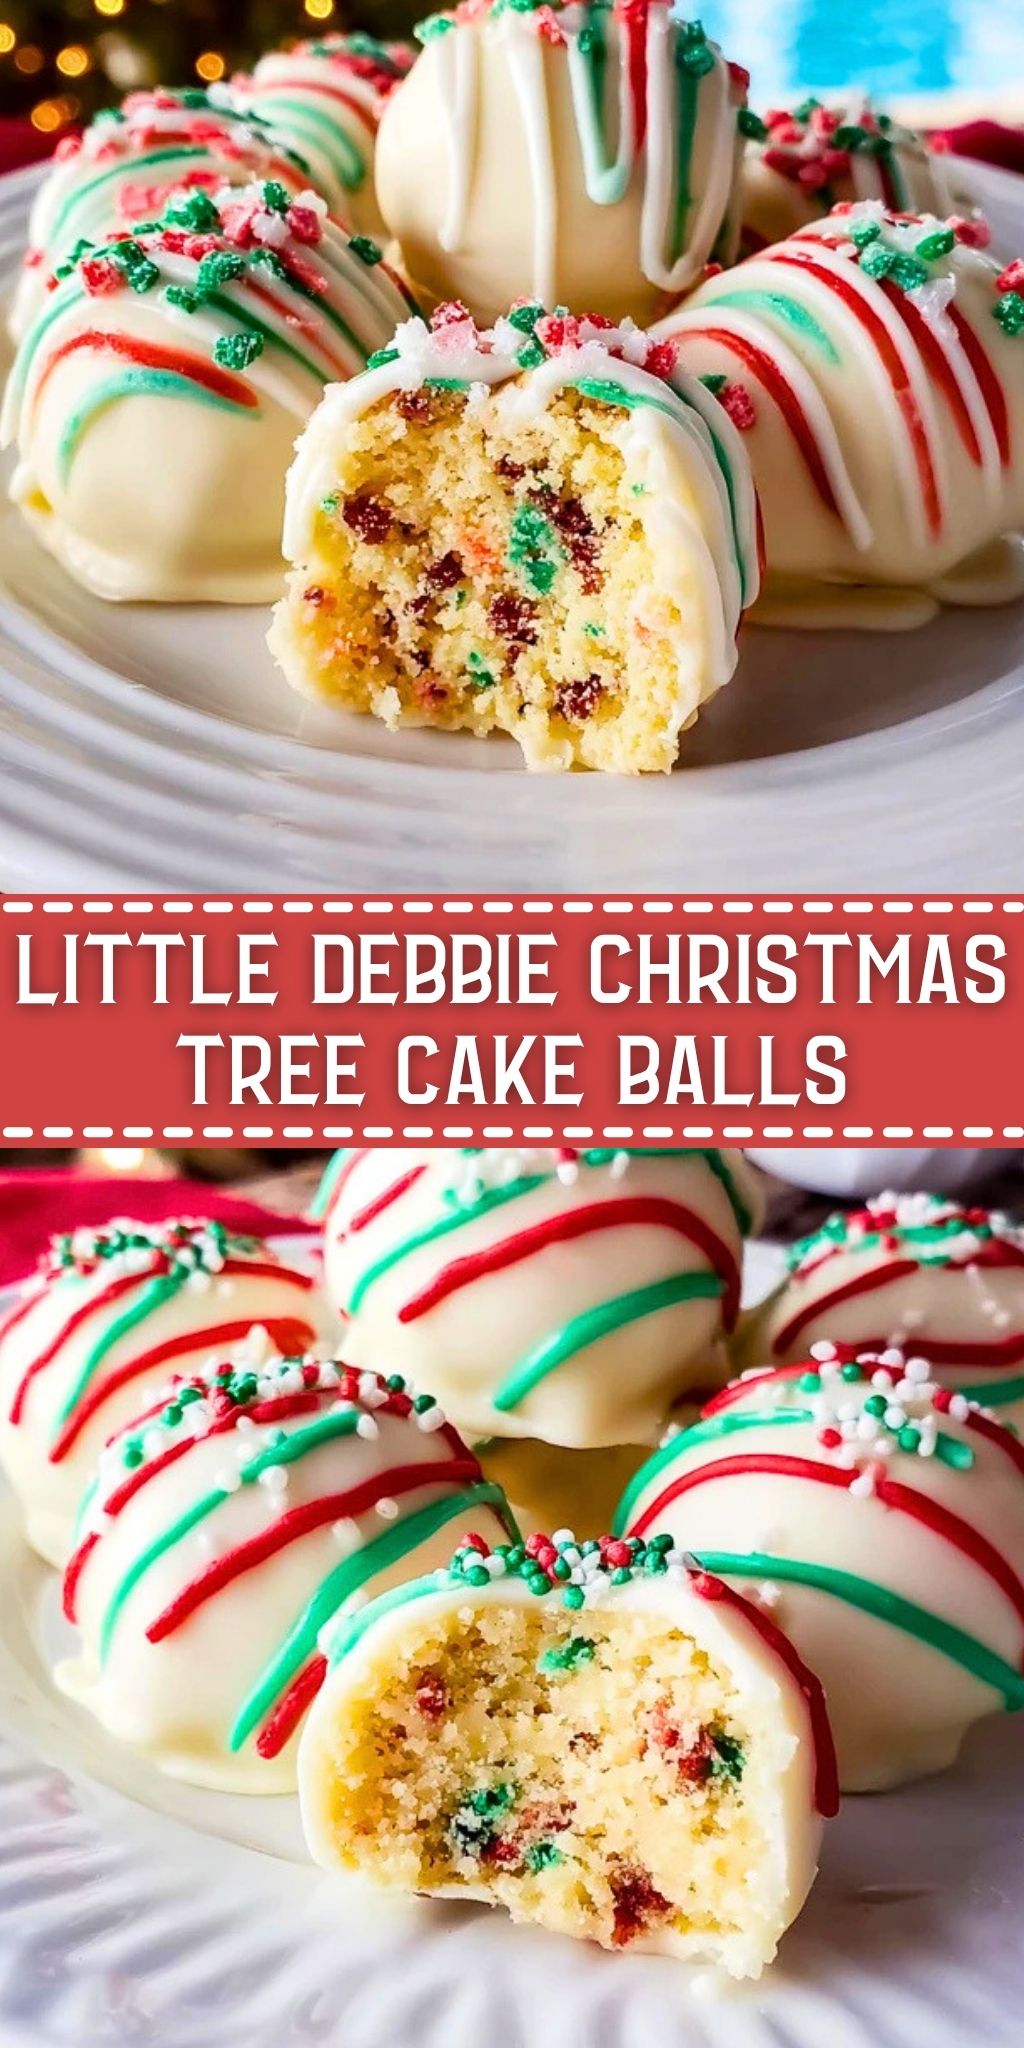
Have you ever wanted a holiday treat that looks bakery-worthy but comes together with almost no baking stress? Little Debbie Christmas Tree Cake Balls are the kind of festive dessert that disappears fast at cookie swaps, classroom parties, and Christmas movie nights.
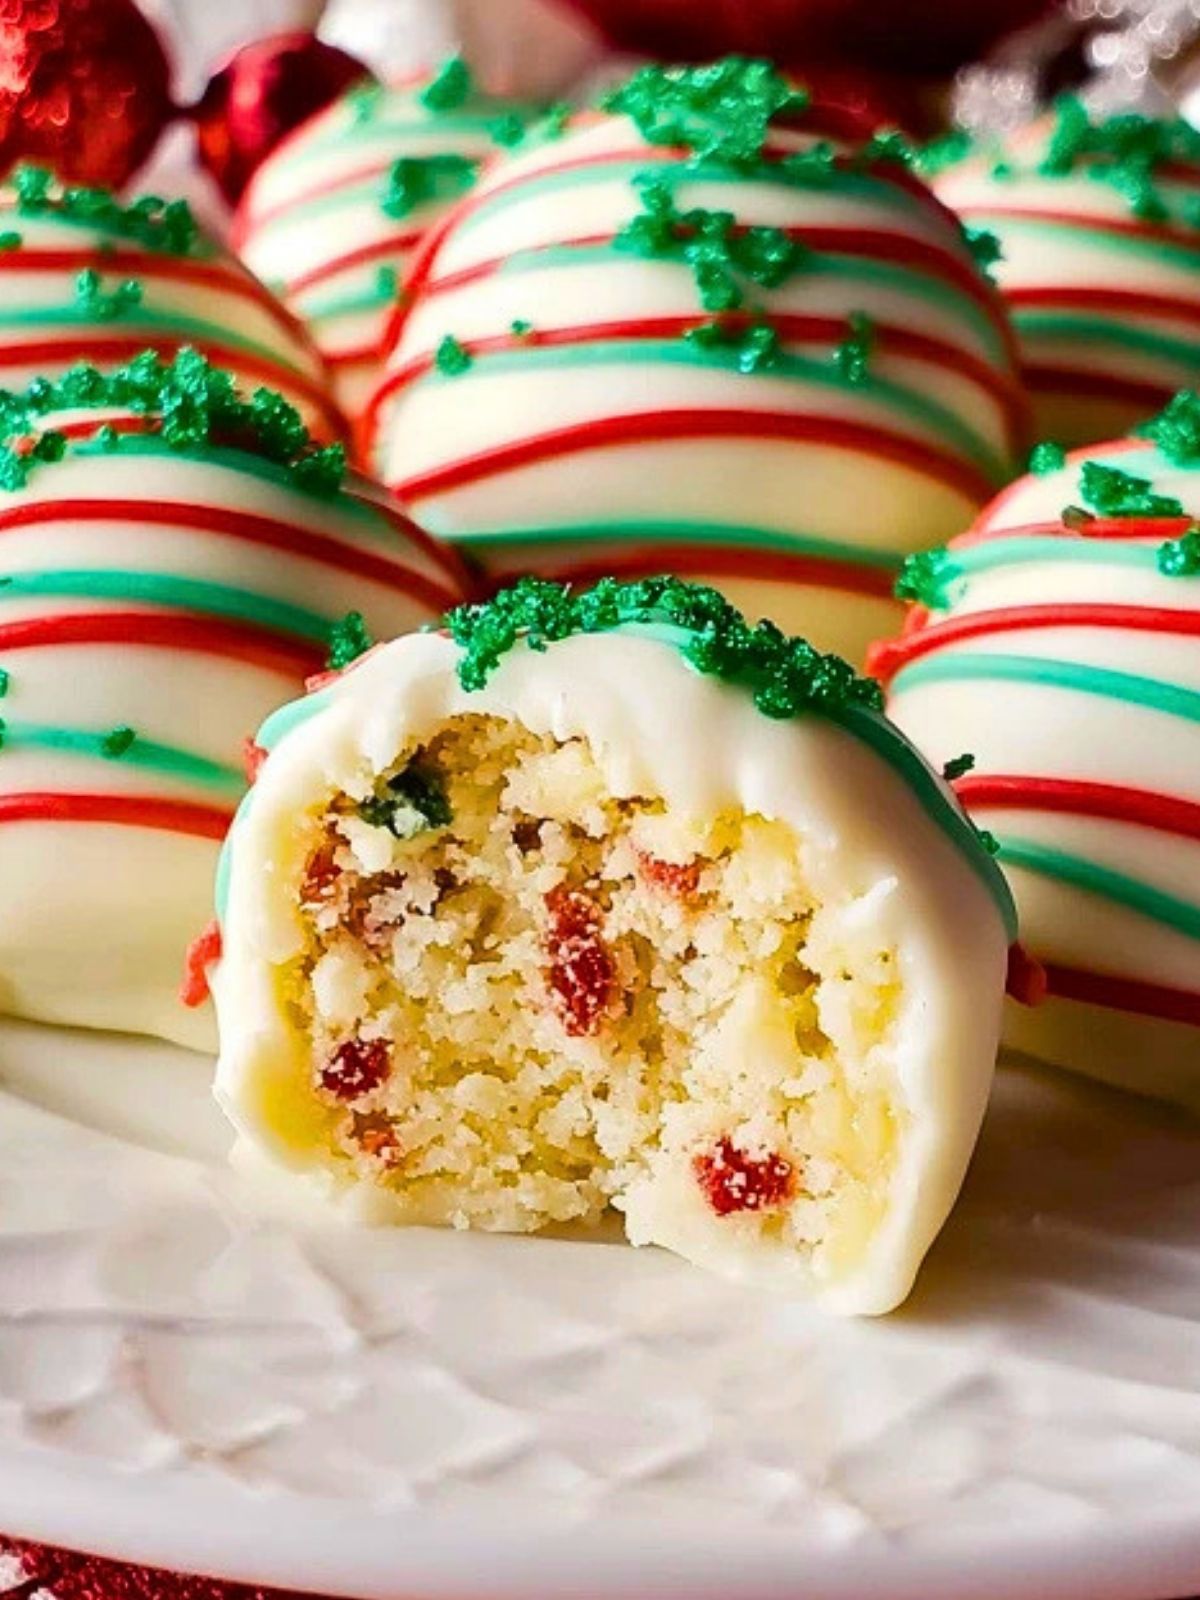
These sweet bite-sized treats turn soft snack cakes into creamy cake balls coated in white chocolate and finished with cheerful red and green drizzle. They taste rich, buttery, and nostalgic, with that signature Christmas Tree Cake flavor wrapped into an easy no-fuss dessert that feels perfect for the season.
Preparation Phase & Tools to Use
Before making Little Debbie Christmas Tree Cake Balls, it helps to set out everything you need so the process feels smooth and mess-free. Since this recipe relies on mixing, scooping, chilling, and dipping, having the right tools makes a big difference in both texture and appearance.
A large mixing bowl gives you enough space to break apart the snack cakes and combine them evenly with cream cheese. A hand mixer is helpful if you want an extra smooth filling, though a sturdy spatula works well too. A small cookie scoop keeps the cake balls uniform so they chill and set at the same rate. Parchment paper prevents sticking and makes cleanup easier, while a baking sheet or tray gives you a flat surface for chilling. For dipping, use a microwave-safe bowl deep enough for melted coating so each ball can be covered quickly. A fork or dipping tool helps lift them cleanly, and a small piping bag or spoon makes the red and green drizzle easier to control.

Ingredients for the Little Debbie Christmas Tree Cake Balls
The ingredient list for Little Debbie Christmas Tree Cake Balls is short, which is one reason this dessert is such a holiday favorite. Each ingredient has a specific job, whether it creates the soft center, helps the mixture hold its shape, or adds that festive finish.
Little Debbie Christmas Tree Cakes bring the classic flavor, soft crumb, and sweet icing that form the base of the cake balls.
Cream cheese adds richness and moisture while helping the crumbled cakes bind into a smooth mixture that rolls easily.
White melting wafers or white chocolate coating create the outer shell that gives each cake ball a clean, snowy finish.
Red melting wafers or red candy melts add bold holiday color and make the finished treats instantly recognizable.
Green melting wafers or green candy melts bring the second festive accent and help mimic the classic Christmas Tree Cake decoration.
Green sanding sugar or festive sprinkles add sparkle, texture, and that playful Christmas dessert look.
How To Make the Little Debbie Christmas Tree Cake Balls
Making Little Debbie Christmas Tree Cake Balls is simple, but a few small techniques help them turn out neat, creamy, and easy to decorate. Chilling at the right times and working with coating that is fully melted but not overheated will give you the best results.
Step 1: Crumble the Cakes
Unwrap the Christmas Tree Cakes and place them in a large bowl. Break them apart with clean hands or a fork until you have a soft, even crumb with no large chunks.
Step 2: Mix in the Cream Cheese
Add softened cream cheese to the crumbled cakes. Stir with a spatula or beat with a hand mixer until the mixture is fully blended and smooth. It should feel soft, rich, and easy to press together.
Step 3: Scoop and Roll
Use a small cookie scoop or spoon to portion the mixture, then roll into even balls. Place them on a parchment-lined tray so they are ready to chill.
Step 4: Chill Until Firm
Transfer the tray to the refrigerator for about 30 minutes or the freezer for 15 minutes. The balls should feel firm enough to dip without falling apart.
Step 5: Melt the White Coating
Melt the white wafers in a microwave-safe bowl in short intervals, stirring between each one until smooth. The coating should be fluid enough for dipping but not scorching hot.
Step 6: Dip the Cake Balls
Drop each chilled ball into the melted coating and turn to cover completely. Lift it out with a fork or dipping tool, tap away the excess, and return it to the lined tray.
Step 7: Add the Festive Topping
While the coating is still wet, sprinkle a little green sanding sugar on top. This adds texture and gives the treats that signature Christmas look.
Step 8: Drizzle with Red and Green
Melt the red and green wafers separately, then drizzle thin lines over the coated cake balls. Let the decorations set completely before serving or storing.
Serving and Storing Little Debbie Christmas Tree Cake Balls
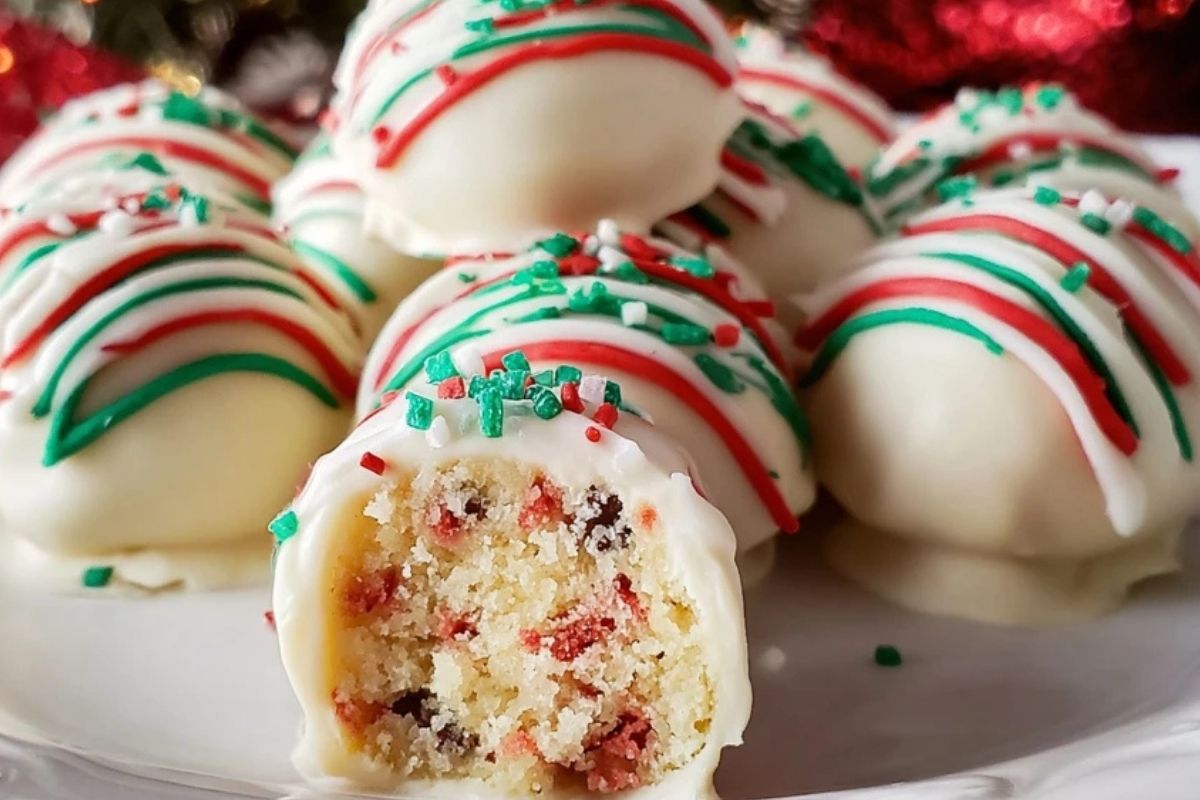
Little Debbie Christmas Tree Cake Balls are best served slightly chilled or after sitting at room temperature for a few minutes. That gives the center a soft truffle-like texture while keeping the coating firm. They look great arranged on a holiday platter, packed into treat boxes, or tucked into cookie tins for gifting.
Store them in an airtight container in the refrigerator for up to 5 days. If you need to stack them, place parchment paper between layers to protect the coating and drizzle. For longer storage, freeze them in a sealed container for up to 2 months. Let them thaw in the refrigerator before serving so the texture stays creamy and the coating does not sweat too much.
Frequently Asked Questions
Can I make Little Debbie Christmas Tree Cake Balls ahead of time?
Yes, they are a great make-ahead holiday dessert. You can prepare them a day or two before serving and keep them chilled until needed.
Do I have to use cream cheese?
Cream cheese gives the filling its smooth texture and helps the crumbs bind well. Without it, the mixture may be too dry or crumbly to roll properly.
Can I use almond bark instead of melting wafers?
Yes, almond bark works well for coating these cake balls. Just melt it gently and stir until smooth so it stays easy to dip.
Why are my cake balls falling apart when I dip them?
They usually need more chilling time. If the centers are too soft or warm, they can break in the melted coating.
Can I freeze Little Debbie Christmas Tree Cake Balls?
Yes, they freeze very well. Store them in a freezer-safe container and thaw them in the refrigerator before serving.
What other decorations can I use?
You can use holiday nonpareils, crushed peppermint, colored sugar, or extra white drizzle for a slightly different Christmas finish.
Want More Christmas Dessert Ideas?
If you love fun holiday sweets like Little Debbie Christmas Tree Cake Balls, there are plenty of other dessert ideas on LadyPlate worth saving for later. For fruity cheesecake flavor in bite-sized form, try Cheesecake Deviled Strawberries. If you want something creamy and chilled, No-Bake Mini Banana Cream Pies are a great make-ahead option.
For soft bakery-style treats, Mini Cinnamon Roll Cheesecakes bring a cozy dessert vibe, while Easy Jello Meringue Cookies add bright color and a light crisp texture to a holiday dessert tray. And if you want something sweet and crunchy for gifting, Praline Crunch is another fun choice to keep in the mix.
Pin and Tell Me How Yours Turned Out
Save these Little Debbie Christmas Tree Cake Balls to your holiday dessert board so you have them ready for cookie exchanges, party trays, and easy Christmas treats all season long.
If you make them, I would love to hear how they turned out. Did you go heavy on the drizzle? Did you use extra sprinkles or make them smaller for party platters? Share your version in the comments and find even more festive inspiration on LadyPlate Pinterest.

Little Debbie Christmas Tree Cake Balls
- Total Time: 55 minutes
- Yield: 18 cake balls
- Diet: Vegetarian
Description
Little Debbie Christmas Tree Cake Balls are a festive easy recipe that turns classic snack cakes into creamy no-bake dessert bites with a sweet white chocolate shell and cheerful holiday drizzle. They are perfect for Christmas dessert trays, party food ideas, easy holiday treats, make-ahead sweets, and fun dessert ideas when you want something cute, rich, and simple to share.
Ingredients
10 Little Debbie Christmas Tree Cakes
4 oz cream cheese, softened
12 oz white melting wafers
2 oz red candy melts
2 oz green candy melts
2 tbsp green sanding sugar
Instructions
1. Unwrap the Little Debbie Christmas Tree Cakes and place them in a large mixing bowl. Crumble them completely until no large pieces remain.
2. Add the softened cream cheese and mix until the crumbs become a smooth, thick dough.
3. Scoop the mixture into even portions and roll into balls. Place them on a parchment-lined tray.
4. Chill the cake balls in the refrigerator for 30 minutes or in the freezer for 15 minutes until firm.
5. Melt the white melting wafers in a microwave-safe bowl in short bursts, stirring until smooth.
6. Dip each chilled cake ball into the melted white coating, let the excess drip off, and place it back on the tray.
7. Sprinkle a little green sanding sugar on top while the coating is still wet.
8. Melt the red and green candy melts separately and drizzle them over the coated cake balls.
9. Let the coating set completely, then serve or refrigerate until ready to enjoy.
Notes
Use fully softened cream cheese so the filling mixes smoothly without lumps.
Chill the cake balls well before dipping so they hold their shape in the melted coating.
Let the melted coating cool slightly if it feels too hot, because overly hot coating can crack or slide off the cake balls.
- Prep Time: 25 minutes
- Cook Time: 0 minutes
- Category: Dessert
- Method: No-Bake
- Cuisine: American
Nutrition
- Serving Size: 1 cake ball
- Calories: 180
- Sugar: 16g
- Sodium: 95mg
- Fat: 9g
- Saturated Fat: 6g
- Unsaturated Fat: 2g
- Trans Fat: 0g
- Carbohydrates: 23g
- Fiber: 0g
- Protein: 2g
- Cholesterol: 10mg