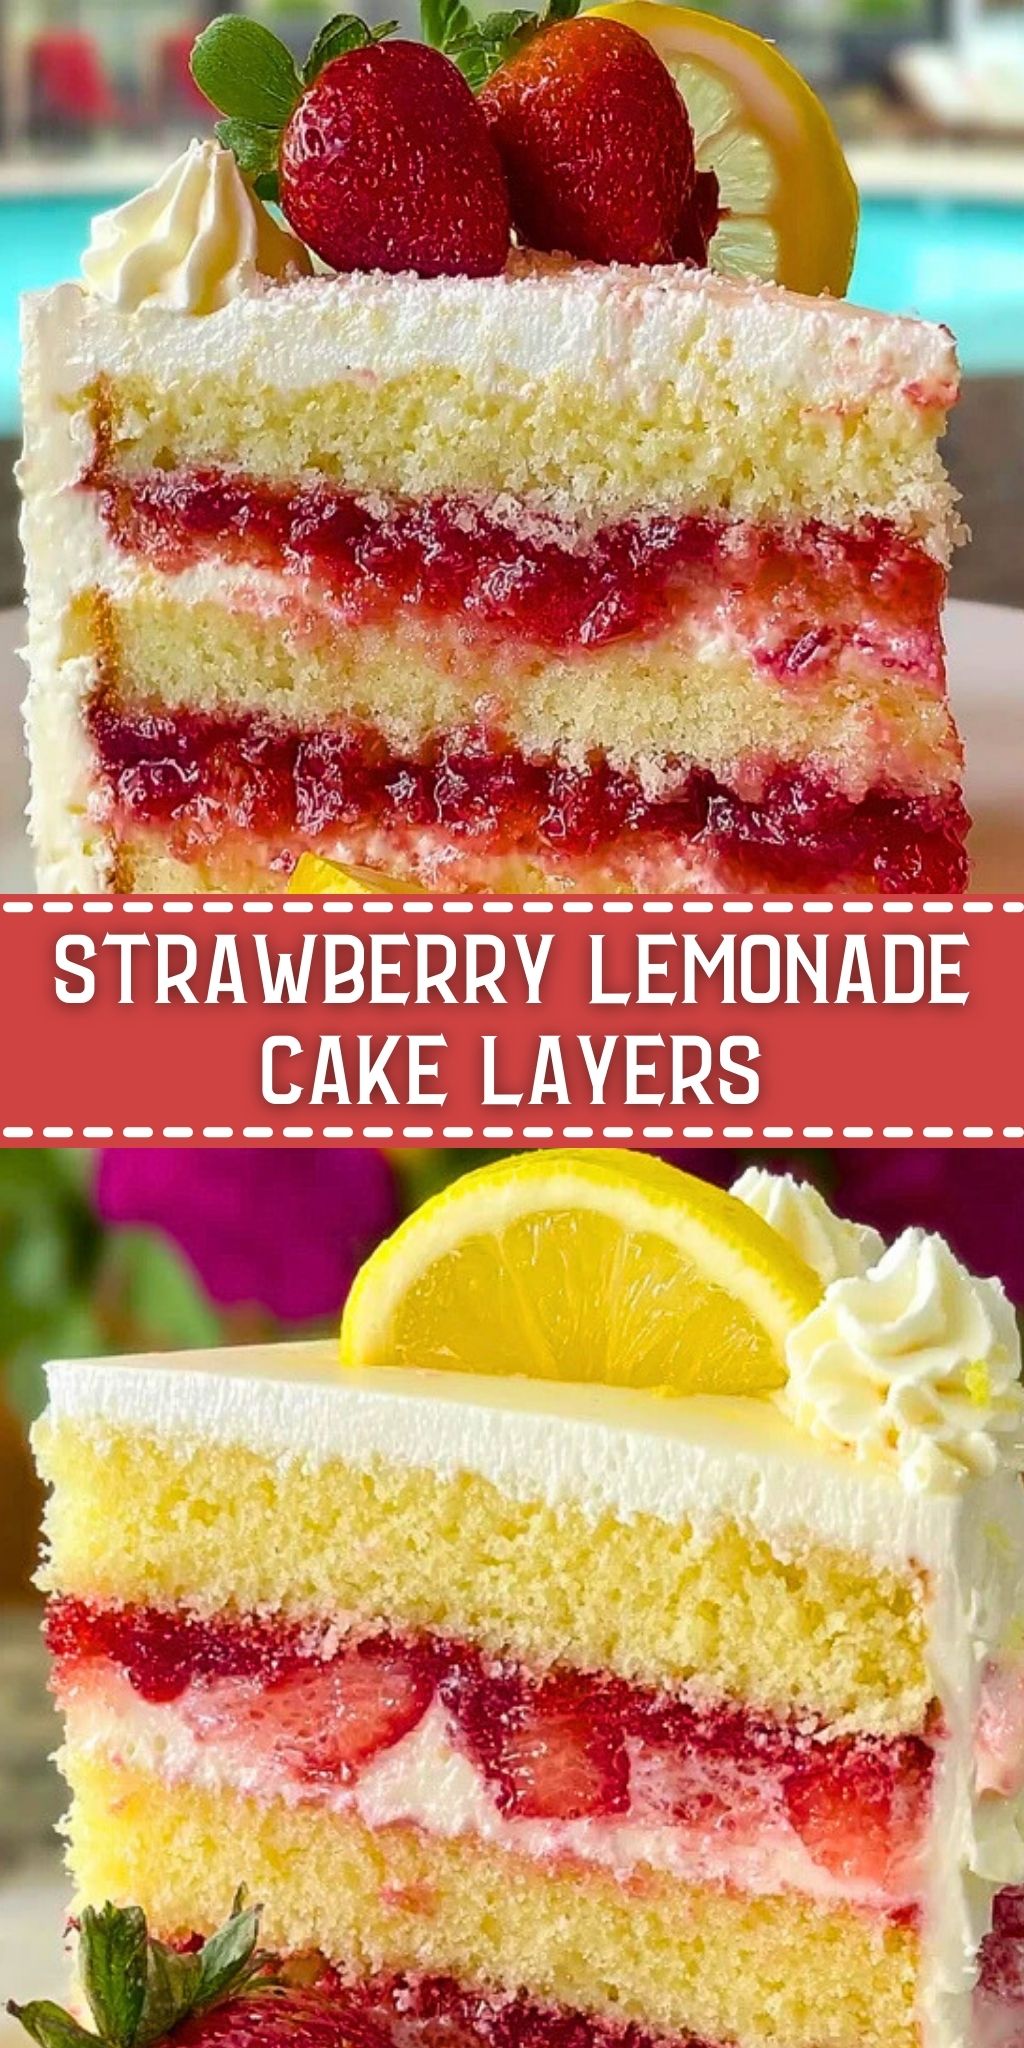

Love the tang of lemons and the sweetness of strawberries in your desserts? This Strawberry Lemonade Cake Layers recipe is a vibrant slice of summer, no matter the season. With fluffy lemon sponge, fresh strawberry filling, and whipped cream frosting, it’s the kind of cake that instantly lifts any gathering or weekend bake into a celebration.
The real charm of this dessert is the balance—the zing of citrus brightens every bite, while the juicy strawberries bring a soft, jammy contrast. Layered between moist, buttery cake and topped with a lemon twist, this is one of those recipes you bookmark for birthdays, brunches, or simply because you deserve it.
Preparation Phase & Tools to Use
Creating perfect Strawberry Lemonade Cake Layers calls for the right setup:
- 8 or 9-Inch Round Cake Pans (x3): These ensure uniform layers. Non-stick pans are a bonus for easy release.
- Mixing Bowls: You’ll need a few sizes for separating dry and wet ingredients, plus prepping the whipped cream and strawberries.
- Electric Hand Mixer or Stand Mixer: Essential for achieving that light, fluffy texture in the batter and stable whipped cream.
- Offset Spatula: For smooth, even frosting across layers without damaging the cake.
- Cooling Rack: Crucial for letting your cake layers cool evenly without becoming soggy.
- Zester and Citrus Juicer: To maximize lemon flavor without bitterness.
- Serrated Knife or Cake Leveler: For trimming domed tops and getting those Instagram-perfect layers.
Taking the time to prep your tools before baking will make the entire process smoother and more enjoyable—and you’ll thank yourself when assembling that final, gorgeous slice.

Ingredients for the Strawberry Lemonade Cake Layers
- All-Purpose Flour: Provides the structure and base of the cake. It’s essential for achieving that perfect crumb.
- Baking Powder: Gives the cake its lift and lightness. Don’t skip it, or the layers will be too dense.
- Salt: Enhances the overall flavor and balances the sweetness.
- Unsalted Butter: Adds richness and moistness to the sponge.
- Granulated Sugar: Sweetens the cake and helps in aerating the batter.
- Eggs: Provide structure and contribute to the cake’s moist texture.
- Lemon Zest & Fresh Lemon Juice: The heroes of that bright, citrusy flavor.
- Whole Milk: Keeps the batter smooth and adds tenderness.
- Vanilla Extract: Adds a warm, subtle background flavor that ties everything together.
- Fresh Strawberries: For the filling—they bring the sweetness and a touch of tartness.
- Heavy Whipping Cream: Used in the frosting for a fluffy, light finish.
- Powdered Sugar: Sweetens and stabilizes the whipped cream.
How To Make the Strawberry Lemonade Cake Layers
Step 1: Prepare Your Cake Pans
Preheat your oven to 350°F (175°C). Grease and line three 8- or 9-inch round cake pans with parchment paper. This ensures easy release and cleaner edges.
Step 2: Make the Cake Batter
In a bowl, whisk together flour, baking powder, and salt. In a separate large bowl, cream the butter and sugar until pale and fluffy. Beat in the eggs one at a time. Mix in lemon zest, lemon juice, and vanilla. Alternate adding dry ingredients and milk to the wet mixture, beginning and ending with dry.
Step 3: Bake and Cool
Divide the batter evenly among the pans. Smooth the tops and bake for 20–25 minutes or until a toothpick comes out clean. Cool in pans for 10 minutes before transferring to a rack to cool completely.
Step 4: Prepare the Strawberry Filling
Slice the strawberries and gently mash half of them. Mix with a bit of sugar and lemon juice. Let sit to release juices.
Step 5: Whip the Frosting
Using a mixer, beat heavy cream with powdered sugar until stiff peaks form. Keep chilled until ready to use.
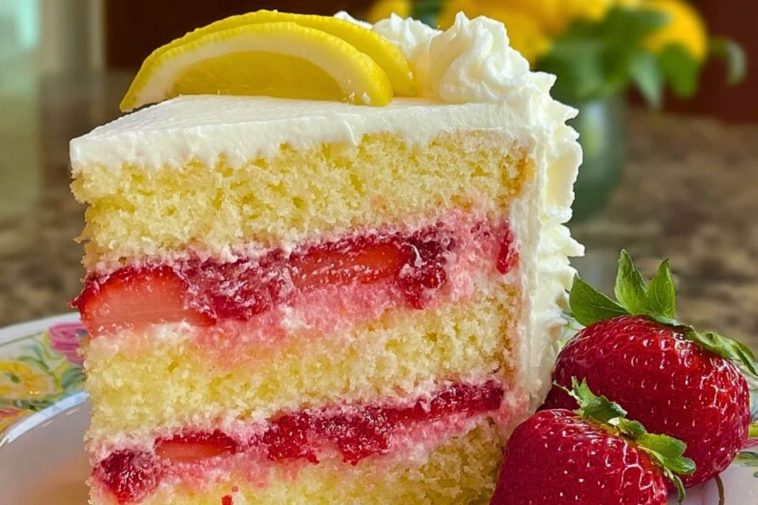
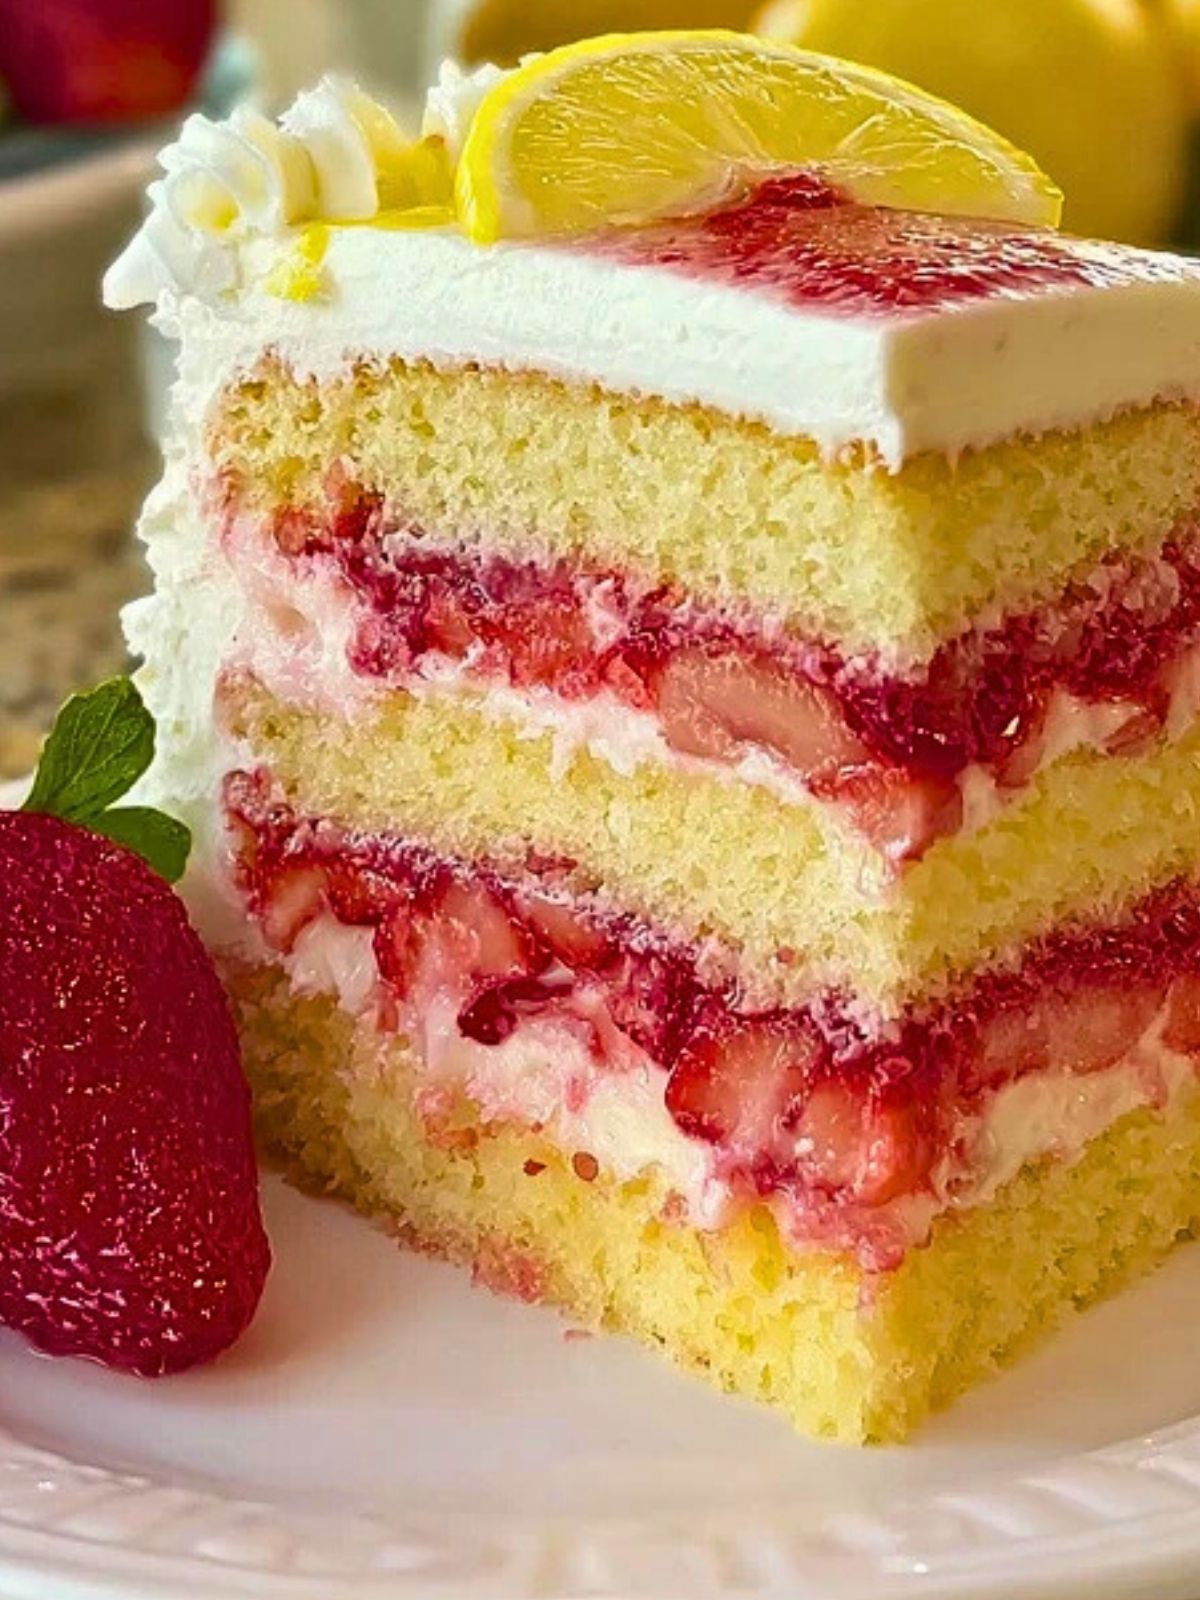
Step 6: Assemble the Layers
Place the first cake layer on a plate. Spread whipped cream, followed by a layer of strawberry filling. Repeat with the next two layers. Finish with whipped cream on top and a drizzle of strawberry juice. Garnish with lemon slices or zest.
How to Serve and Store Strawberry Lemonade Cake Layers
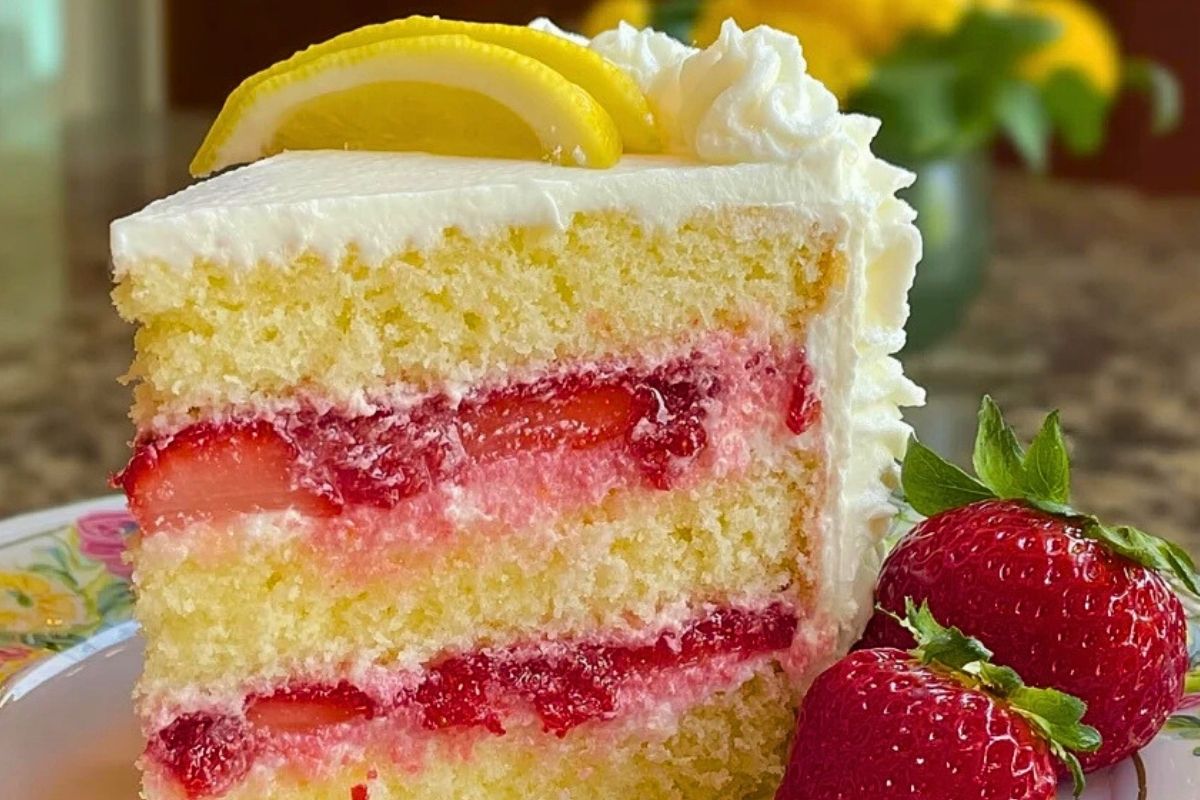
For best flavor and texture, serve this cake chilled. The cool whipped cream and vibrant strawberry layers taste incredibly refreshing straight from the fridge. Use a sharp, clean knife to slice, and wipe it between cuts for neat presentation.
If you’re preparing in advance, assemble the cake and store it in a cake carrier or airtight container in the refrigerator for up to 3 days. The whipped cream holds up well, and the strawberry filling continues to soak deliciously into the sponge. You can also freeze individual slices by wrapping them tightly in plastic wrap and storing in a freezer-safe bag for up to 1 month. Just thaw overnight in the fridge before serving.
Frequently Asked Questions
How can I make the lemon flavor more intense?
Try adding a bit of lemon extract in addition to the zest and juice, or brush each cake layer with lemon syrup before assembling.
Can I use frozen strawberries?
Yes, but thaw and drain them first to prevent excess moisture. Fresh is best for texture, but frozen works in a pinch.
What if I don’t have three cake pans?
You can bake the layers one or two at a time. Just be sure not to let the unused batter sit too long—get them in the oven as soon as a pan is free.
Is it okay to use store-bought whipped topping?
It works in a time crunch, but homemade whipped cream gives a fresher, more luscious taste.
Can this cake be made gluten-free?
Absolutely. Just swap the all-purpose flour with a 1:1 gluten-free baking flour blend that includes xanthan gum.
How do I prevent the whipped cream from melting?
Make sure your cream is very cold before whipping, and keep the cake refrigerated until you’re ready to serve. Avoid direct sunlight or warm conditions if displaying for a party.
Want More Strawberry Dessert Ideas?
If you’re loving the balance of sweet and tart in this cake, you might want to try a few more strawberry-themed treats from the LadyPlate kitchen.
The Cheesecake Deviled Strawberries are bite-sized and elegant—perfect for parties and tea time. Another crowd-pleaser is the Simple Strawberry Cheesecake with Fresh Strawberries that leans creamy and rich without being heavy.
If you’re after something with layers and texture, the Raspberry Crescent Rolls bring in a flaky, buttery crunch with fruity depth. For quick indulgence, the Mini Cinnamon Roll Cheesecakes blend creamy filling with a cinnamon swirl twist.
Want even more daily dessert inspiration? I share new recipes regularly on Pinterest. Follow me here: LadyPlate Pinterest
Pin and Tell Me How Yours Turned Out
You can save this to your cake or dessert boards for easy access next time. Just click the Pin button at the top.
When you bake it, let me know how it turned out. Did you go heavy on the lemon? Add a different berry? Leave a comment below! I’d love to see your take on this refreshing layer cake.

Strawberry Lemonade Cake Layers
- Total Time: 45 minutes
- Yield: 20 bites
- Diet: Vegetarian
Description
Maple Roasted Sweet Potato Bites are the ultimate cozy appetizer—bite-sized rounds of tender sweet potato, caramelized with maple syrup, topped with a spiced cream cheese swirl and toasted pecans. They’re perfect for fall gatherings, holiday tables, or anytime you crave a sweet-savory treat.
Ingredients
2 medium sweet potatoes
2 tablespoons maple syrup
1 tablespoon olive oil
1/2 teaspoon ground cinnamon
1/4 teaspoon salt
6 ounces cream cheese (softened)
2 tablespoons powdered sugar
1/2 teaspoon vanilla extract
1/4 teaspoon ground cinnamon (for cream cheese)
1/3 cup pecan halves
Instructions
1. Preheat your oven to 400°F (200°C). Peel and slice the sweet potatoes into 1/2-inch rounds. Line a rimmed baking sheet with parchment paper and arrange the slices evenly.
2. In a small bowl, combine olive oil, maple syrup, cinnamon, and salt. Brush this mixture onto both sides of the sweet potato slices.
3. Roast for 25–30 minutes, flipping once halfway, until soft and slightly caramelized at the edges.
4. While roasting, beat cream cheese, powdered sugar, cinnamon, and vanilla extract until fluffy. Transfer to a piping bag or zip-top bag with the corner snipped.
5. Toast pecans in a dry skillet over medium heat for 2–3 minutes until fragrant. Set aside to cool.
6. Let sweet potatoes cool slightly, then pipe cream cheese mixture onto each round. Top with toasted pecans and drizzle with a touch of warm maple syrup before serving.
Notes
Use pure maple syrup—not pancake syrup—for the richest flavor.
For perfectly piped cream cheese, make sure it’s softened and beaten well.
Toast pecans right before assembling to keep them crisp and aromatic.
- Prep Time: 15 minutes
- Cook Time: 30 minutes
- Category: Appetizer
- Method: Roasted
- Cuisine: American
Nutrition
- Serving Size: 1 bite
- Calories: 90
- Sugar: 4g
- Sodium: 65mg
- Fat: 6g
- Saturated Fat: 2.5g
- Unsaturated Fat: 3g
- Trans Fat: 0g
- Carbohydrates: 8g
- Fiber: 1g
- Protein: 1g
- Cholesterol: 10mg