
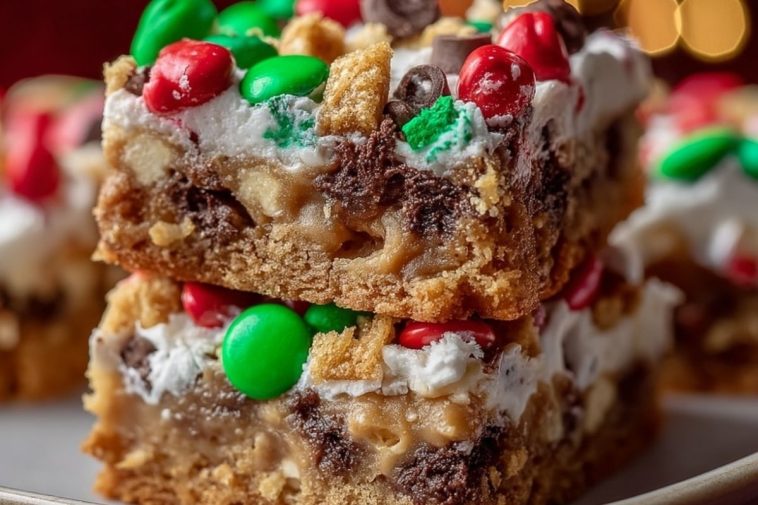
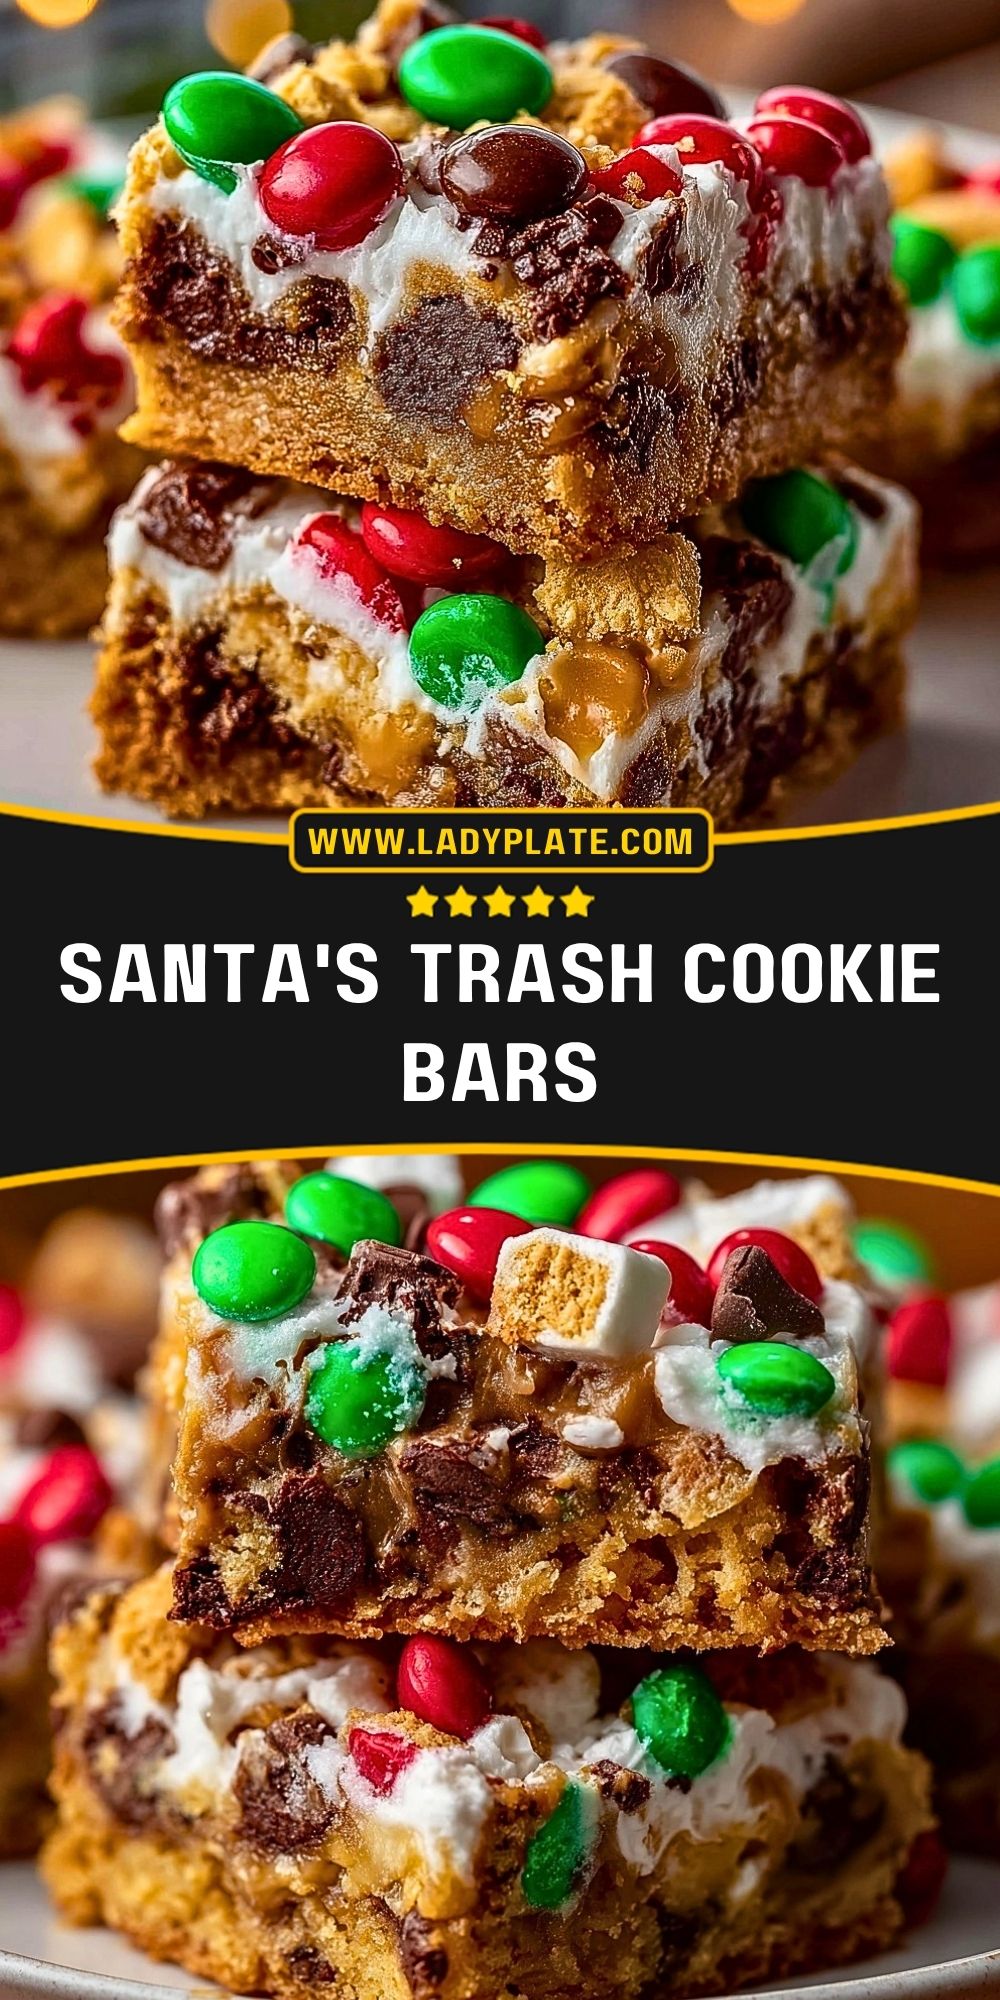
Have you ever wanted a Christmas dessert that feels a little messy, a little over-the-top, and completely impossible to resist? Santa’s Trash Cookie Bars are exactly that kind of treat, packed with chocolate, candy, crunchy cereal, and gooey marshmallow in every festive bite.
These bars are the kind of holiday bake that disappears fast from cookie trays and dessert tables. They bring together the cozy flavor of a soft cookie bar with the fun of sweet mix-ins, making them perfect for parties, gift tins, movie nights, and all those moments when you need an easy holiday dessert that looks cheerful and tastes even better.
Preparation Phase & Tools to Use
Before you start baking Santa’s Trash Cookie Bars, it helps to have everything measured and ready to go. Since this recipe includes a mix of cookie dough, candy pieces, and crunchy toppings, a little prep makes the whole process smoother and keeps the texture balanced from edge to center.
A large mixing bowl is important because you need enough room to combine the dough and fold in all the mix-ins without crushing them too much. A hand mixer or stand mixer helps cream the butter and sugars properly, which gives the bars their soft, chewy base. Measuring cups and spoons keep the sweetness and flour ratio on track, and that matters for bars that stay thick without turning dry.
You will also need a sturdy spatula for folding in the candy and cereal gently, a 9×13-inch baking pan for even baking, and parchment paper to make lifting and slicing easier later. A wire rack is useful for cooling the bars fully so the topping can set and the slices hold together cleanly.

Ingredients for the Santa’s Trash Cookie Bars
The butter gives the bars richness and helps create that soft, bakery-style texture.
Brown sugar adds moisture and a deeper caramel note that works especially well with chocolate and graham cracker pieces.
Granulated sugar brings balance and helps the edges bake up lightly golden.
Eggs hold the dough together and help the bars stay tender instead of crumbly.
Vanilla extract rounds out the sweetness and gives the whole batch a warm cookie flavor.
All-purpose flour forms the structure of the bars and keeps the mix-ins suspended throughout the dough.
Baking soda helps the bars rise just enough so they stay thick and soft.
Salt sharpens the sweetness and keeps the dessert from tasting flat.
Chocolate chips melt into the dough and create rich pockets of chocolate in every bite.
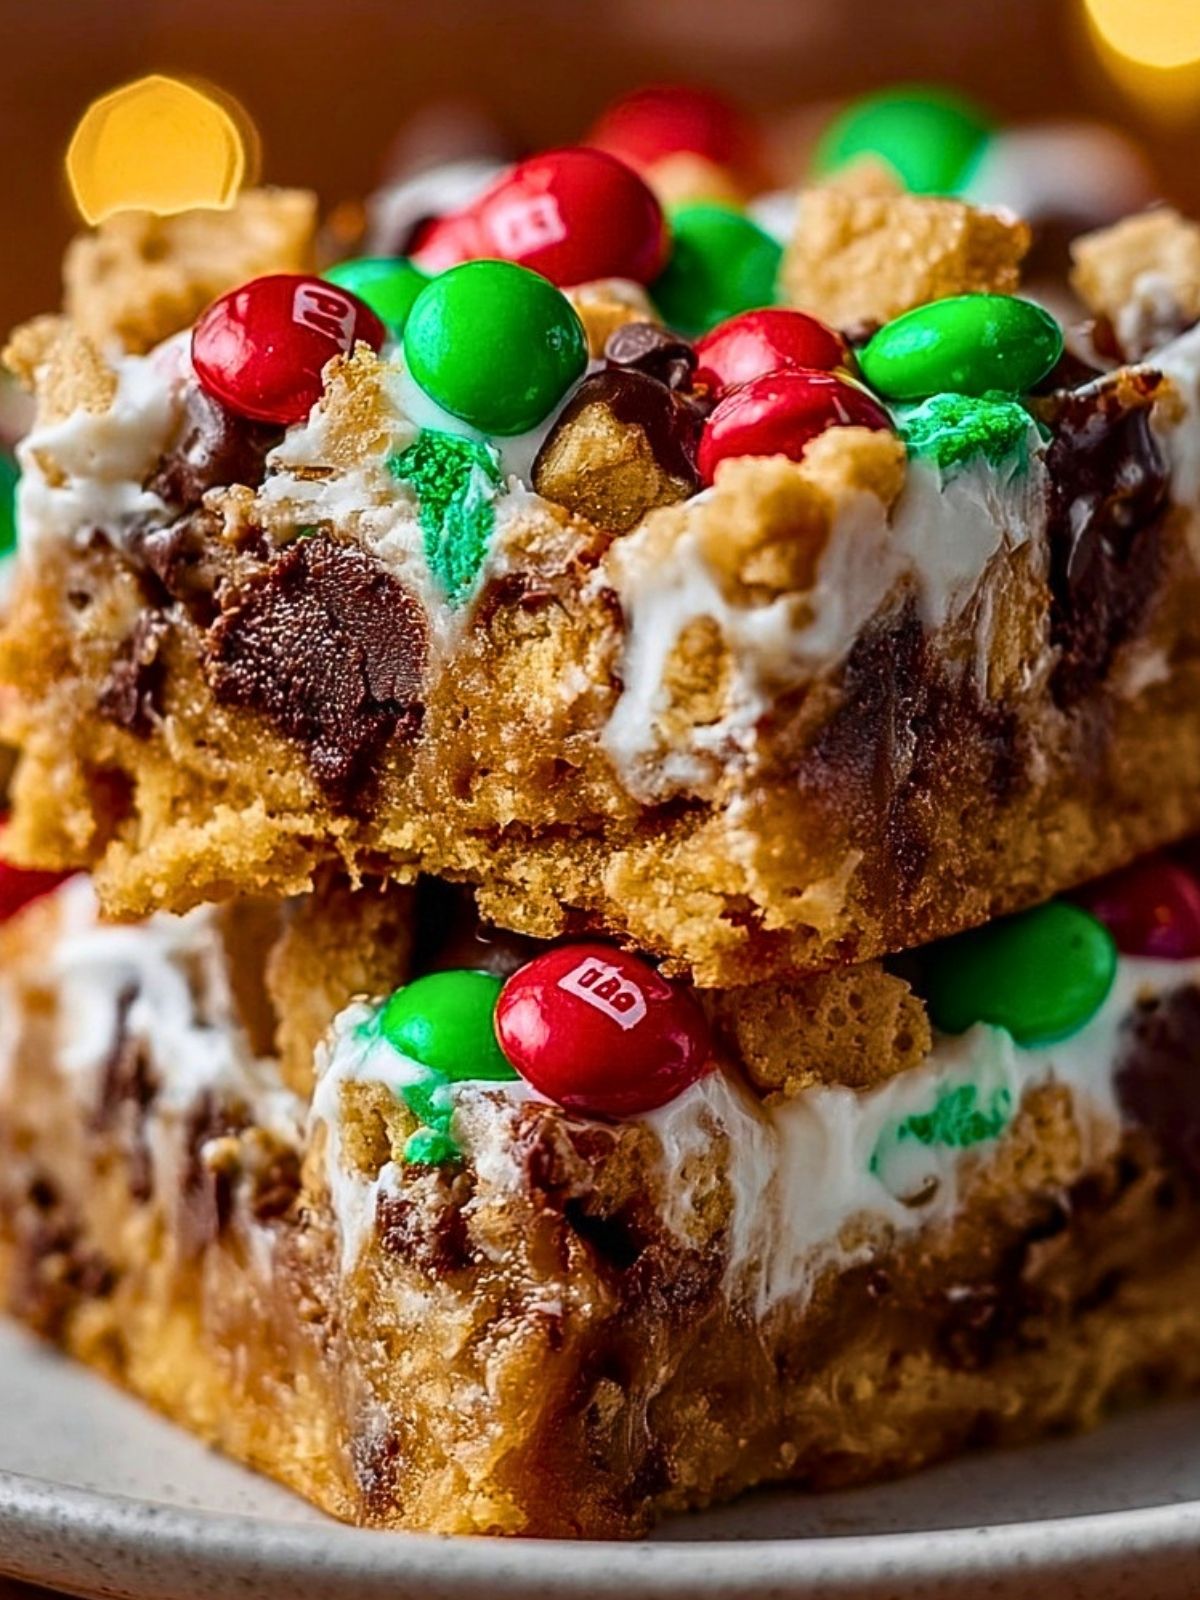
Red and green chocolate candies make the bars festive and add a little crunch on top.
Mini marshmallows bring a gooey, holiday-sweet texture that makes these bars feel extra fun.
Golden graham cereal or broken graham cracker pieces add crunch and a lightly honeyed flavor.
Chocolate-coated candies or chopped chocolate pieces build in more texture and make the bars feel loaded and generous.
White icing or melted white chocolate on top adds a snowy finish and ties the whole dessert together visually.
Holiday sprinkles or extra candy pieces on top make the bars look party-ready with very little extra effort.
How To Make the Santa’s Trash Cookie Bars
This recipe comes together in a few simple steps, but each one helps create that chewy center and loaded topping that makes these bars stand out.
Step 1: Prep the Pan and Oven
Preheat your oven to 350°F. Line a 9×13-inch baking pan with parchment paper, leaving enough overhang on the sides to lift the bars out easily after baking. Lightly grease the parchment if you want extra insurance against sticking.
Step 2: Cream the Butter and Sugars
In a large bowl, beat the softened butter, brown sugar, and granulated sugar until the mixture looks light and fluffy. This step builds the base texture, so give it a couple of minutes instead of rushing through it.
Step 3: Add the Eggs and Vanilla
Mix in the eggs one at a time, then add the vanilla extract. Scrape down the sides of the bowl so everything blends evenly and the dough stays smooth.
Step 4: Combine the Dry Ingredients
In a separate bowl, whisk together the flour, baking soda, and salt. Add the dry ingredients to the wet mixture and stir just until combined. Try not to overmix here, since that can make the bars firmer than you want.
Step 5: Fold in the Fun Mix-Ins
Gently fold in the chocolate chips, red and green candies, mini marshmallows, and cereal or graham pieces. Hold back a small handful of each topping so you can scatter them over the top before baking for a prettier finish.
Step 6: Spread and Top the Dough
Press the dough evenly into the prepared pan. Sprinkle the reserved candies, marshmallows, and crunchy pieces over the surface, pressing them in lightly so they stay in place while baking.
Step 7: Bake Until Golden
Bake for 24 to 30 minutes, or until the edges are lightly golden and the center looks just set. Avoid overbaking if you want that soft and chewy middle. The bars will continue to firm up as they cool.
Step 8: Cool and Finish
Let the bars cool completely in the pan. Drizzle with white icing or melted white chocolate, then add a few extra festive candies or sprinkles if you like. Once the topping is set, lift the slab out and slice into squares or rectangles.
Serving and Storing Santa’s Trash Cookie Bars
Santa’s Trash Cookie Bars are best served once fully cooled, when the bars have set enough to slice cleanly but still feel soft and chewy inside. They work beautifully on holiday cookie platters, tucked into dessert boxes, or served slightly warm with a mug of hot cocoa for a cozy winter treat.
To store them, place the bars in an airtight container at room temperature for up to 4 days. If your kitchen is warm, you can refrigerate them for a slightly firmer texture, though they are best after coming back to room temperature. For longer storage, freeze the sliced bars in layers with parchment paper between them for up to 2 months.
Frequently Asked Questions
Can I use different candies in Santa’s Trash Cookie Bars?
Yes, this recipe is flexible. You can swap in holiday chocolate candies, chopped peanut butter cups, toffee bits, or mini pretzels if you want a sweet-salty twist.
Do I need to use marshmallows?
No, but they do add a gooey texture that makes these bars extra fun. If you leave them out, the bars will still be delicious and slightly more cookie-like.
Why are my bars falling apart when sliced?
That usually means they need more cooling time. Let them cool completely before cutting so the melted chocolate and marshmallow can settle.
Can I make Santa’s Trash Cookie Bars ahead of time?
Yes, they are a great make-ahead holiday dessert. Bake them a day in advance, store them covered, and slice just before serving if you want the neatest presentation.
Can I freeze these cookie bars?
Yes. Wrap the sliced bars well or store them in a freezer-safe container with parchment between layers. Thaw at room temperature before serving.
What makes these different from regular cookie bars?
The mix of candy, marshmallow, cereal, and chocolate gives them a loaded texture that feels more playful and festive than a standard cookie bar.
Want More Christmas Dessert Ideas?
If you love festive treats with a rich, playful finish, you might also enjoy Chocolate Peanut Butter Dream Bars for another easy bar dessert with plenty of indulgent flavor. For something creamy and chilled, No-Bake Banana Pudding Cheesecake is a great holiday make-ahead option.
You can also try Elegant Lemon Marbled Cheesecake Bars when you want a brighter dessert for a holiday spread, or bake a batch of Rice Krispie Chocolate Chip Cookies if you are in the mood for another fun texture-packed sweet.
For even more cozy dessert inspiration, I also love sharing fresh recipe ideas on LadyPlate on Pinterest, where you can save more easy holiday bakes, cookie bar ideas, and crowd-pleasing sweets for later.
Pin and Tell Me How Yours Turned Out
These bars are made for holiday baking boards, cookie swap inspiration, and those last-minute dessert ideas you want to come back to every season. Save them for later so you have an easy Christmas cookie bar ready whenever the craving hits.
If you bake Santa’s Trash Cookie Bars, I would love to hear how they turned out. Did you go extra heavy on the candy? Did you add pretzels or more chocolate chips? Leave a comment and share your twist because those little changes are always the fun part of a recipe like this.


Santa’s Trash Cookie Bars
- Total Time: 43 minutes
- Yield: 16 bars
- Diet: Vegetarian
Description
Santa’s Trash Cookie Bars are a festive, easy recipe loaded with chocolate, crunchy cereal, marshmallows, and holiday candy for the ultimate Christmas dessert. Perfect for cookie trays, party treats, holiday baking, and sweet food ideas, these chewy bars are a fun make-ahead dessert, easy recipe, and crowd-pleasing snack for every holiday table.
Ingredients
1 cup unsalted butter, softened
1 cup brown sugar, packed
1/2 cup granulated sugar
2 large eggs
2 teaspoons vanilla extract
2 1/4 cups all-purpose flour
1 teaspoon baking soda
1/2 teaspoon salt
1 cup semi-sweet chocolate chips
1 cup red and green chocolate candies
1 cup mini marshmallows
1 cup golden graham cereal or chopped graham crackers
1/2 cup chopped chocolate pieces or chocolate-coated candies
1/3 cup white icing or melted white chocolate
2 tablespoons holiday sprinkles
Instructions
1. Preheat the oven to 350°F and line a 9×13-inch baking pan with parchment paper.
2. Beat the softened butter, brown sugar, and granulated sugar until light and fluffy.
3. Mix in the eggs one at a time, then stir in the vanilla extract.
4. In a separate bowl, whisk together the flour, baking soda, and salt.
5. Add the dry ingredients to the wet ingredients and mix just until combined.
6. Fold in the chocolate chips, chocolate candies, mini marshmallows, graham cereal, and chopped chocolate pieces, reserving a little for the top.
7. Spread the dough evenly into the prepared pan and scatter the reserved toppings over the surface.
8. Bake for 24 to 30 minutes, until the edges are golden and the center is just set.
9. Cool completely in the pan, then drizzle with white icing and finish with holiday sprinkles before slicing into bars.
Notes
Use room temperature butter and eggs so the dough mixes evenly and bakes into soft, chewy bars.
Do not overbake the bars or they can lose their gooey center and tender texture.
Let the bars cool fully before slicing so the chocolate and marshmallow set properly.
- Prep Time: 15 minutes
- Cook Time: 28 minutes
- Category: Dessert
- Method: Baking
- Cuisine: American
Nutrition
- Serving Size: 1 bar
- Calories: 315
- Sugar: 26g
- Sodium: 190mg
- Fat: 15g
- Saturated Fat: 8g
- Unsaturated Fat: 6g
- Trans Fat: 0g
- Carbohydrates: 44g
- Fiber: 1g
- Protein: 3g
- Cholesterol: 43mg
