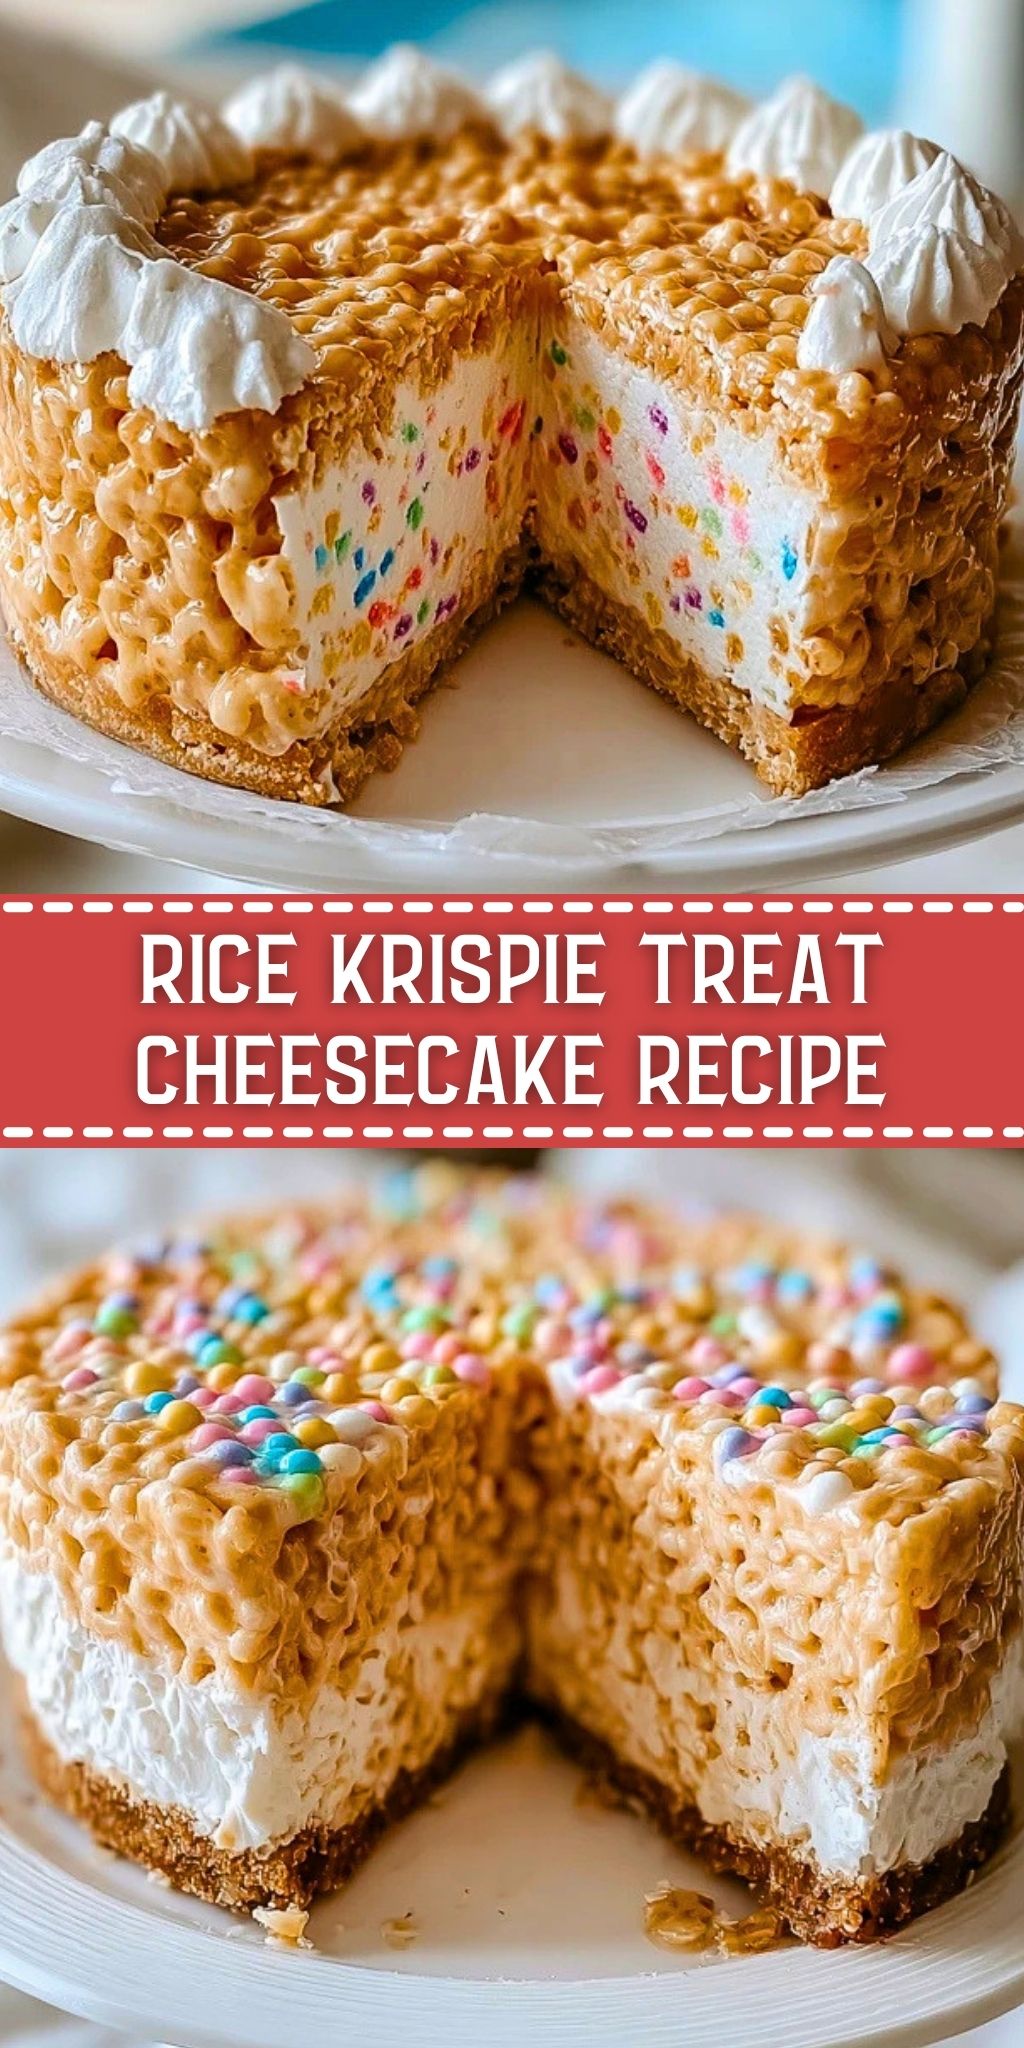
Do you love the crunch of a Rice Krispie treat and the creamy dreaminess of cheesecake? Then imagine both in one glorious bite. The Rice Krispie Treat Cheesecake is what dessert dreams are made of—a no-bake, texture-packed creation that looks as magical as it tastes.
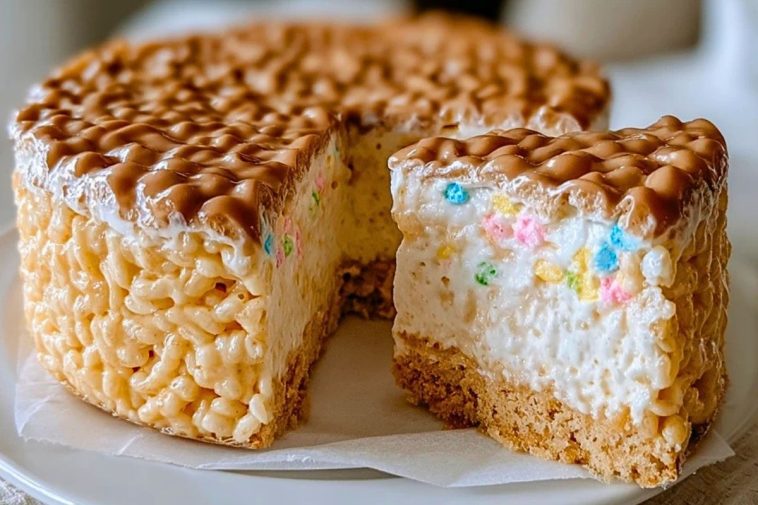
With its gooey marshmallow-crisped base and top, sandwiching a fluffy cheesecake layer speckled with fun bursts of color, this is a treat that feels nostalgic and festive all at once. Whether you’re planning a kids’ party or just craving a whimsical twist on a classic cheesecake, this dessert is a crowd-pleaser that delivers both crunch and cream.
Preparation Phase & Tools to Use
To nail this Rice Krispie Treat Cheesecake, your tool selection really matters. Here’s what you’ll need:
- Springform Pan (9-inch): Essential for clean release and maintaining that beautiful layered shape.
- Large Nonstick Saucepan: For melting butter and marshmallows without scorching.
- Mixing Bowls: One for the crispy base mix, one for the cheesecake filling.
- Spatula: Non-stick silicone is best to spread and press the sticky layers evenly.
- Hand Mixer or Stand Mixer: To whip the cheesecake layer until light and fluffy.
- Measuring Cups & Spoons: Precision counts here, especially when working with melted marshmallows and cream cheese.
Proper tools prevent the crust from hardening too quickly or the cheesecake from being under-mixed. When everything is prepped ahead, assembling this dessert becomes a breeze.

Ingredients for the Rice Krispie Treat Cheesecake
- Rice Krispies Cereal: This gives the signature crisp crunch that defines the crust and topping. You’ll need enough for both layers.
- Mini Marshmallows: They melt into that irresistible sticky-sweet binder for the Rice Krispies.
- Unsalted Butter: Helps bind the cereal and adds richness. It’s melted into the marshmallows.
- Cream Cheese: The heart of the cheesecake layer. Use full-fat for a rich, velvety texture.
- Powdered Sugar: Sweetens the cheesecake without grittiness.
- Heavy Whipping Cream: When whipped, it lightens the cheesecake into a mousse-like filling.
- Vanilla Extract: Just a touch elevates the flavor profile.
- Rainbow Sprinkles or Fruity Cereal Bits (optional): For pops of fun and color in the cheesecake layer.
Each ingredient plays a role in texture or flavor—keep the ratios right, and you’ll have the perfect balance of crunch and cream.
How To Make the Rice Krispie Treat Cheesecake
Step 1: Create the Bottom Layer
Melt the butter and mini marshmallows in a nonstick saucepan over medium heat until smooth. Stir in Rice Krispies until evenly coated. Press half of the mixture firmly into the bottom of a greased springform pan. Use a spatula or wax paper to flatten it evenly.
Step 2: Make the Cheesecake Filling
In a large bowl, beat the cream cheese until smooth. Add powdered sugar and vanilla extract, then mix until combined. Separately, whip the heavy cream until stiff peaks form. Gently fold the whipped cream into the cream cheese mixture. If using, fold in rainbow sprinkles or cereal bits.
Step 3: Assemble the Middle
Spoon the cheesecake mixture over the base and spread evenly with a spatula. Chill in the refrigerator for at least 2 hours, or until firm.
Step 4: Top with More Krispies
Reheat the remaining marshmallow mixture if it’s set, or make a fresh batch. Press it gently over the top of the chilled cheesecake layer to form the final crispy topping.
Step 5: Chill and Serve
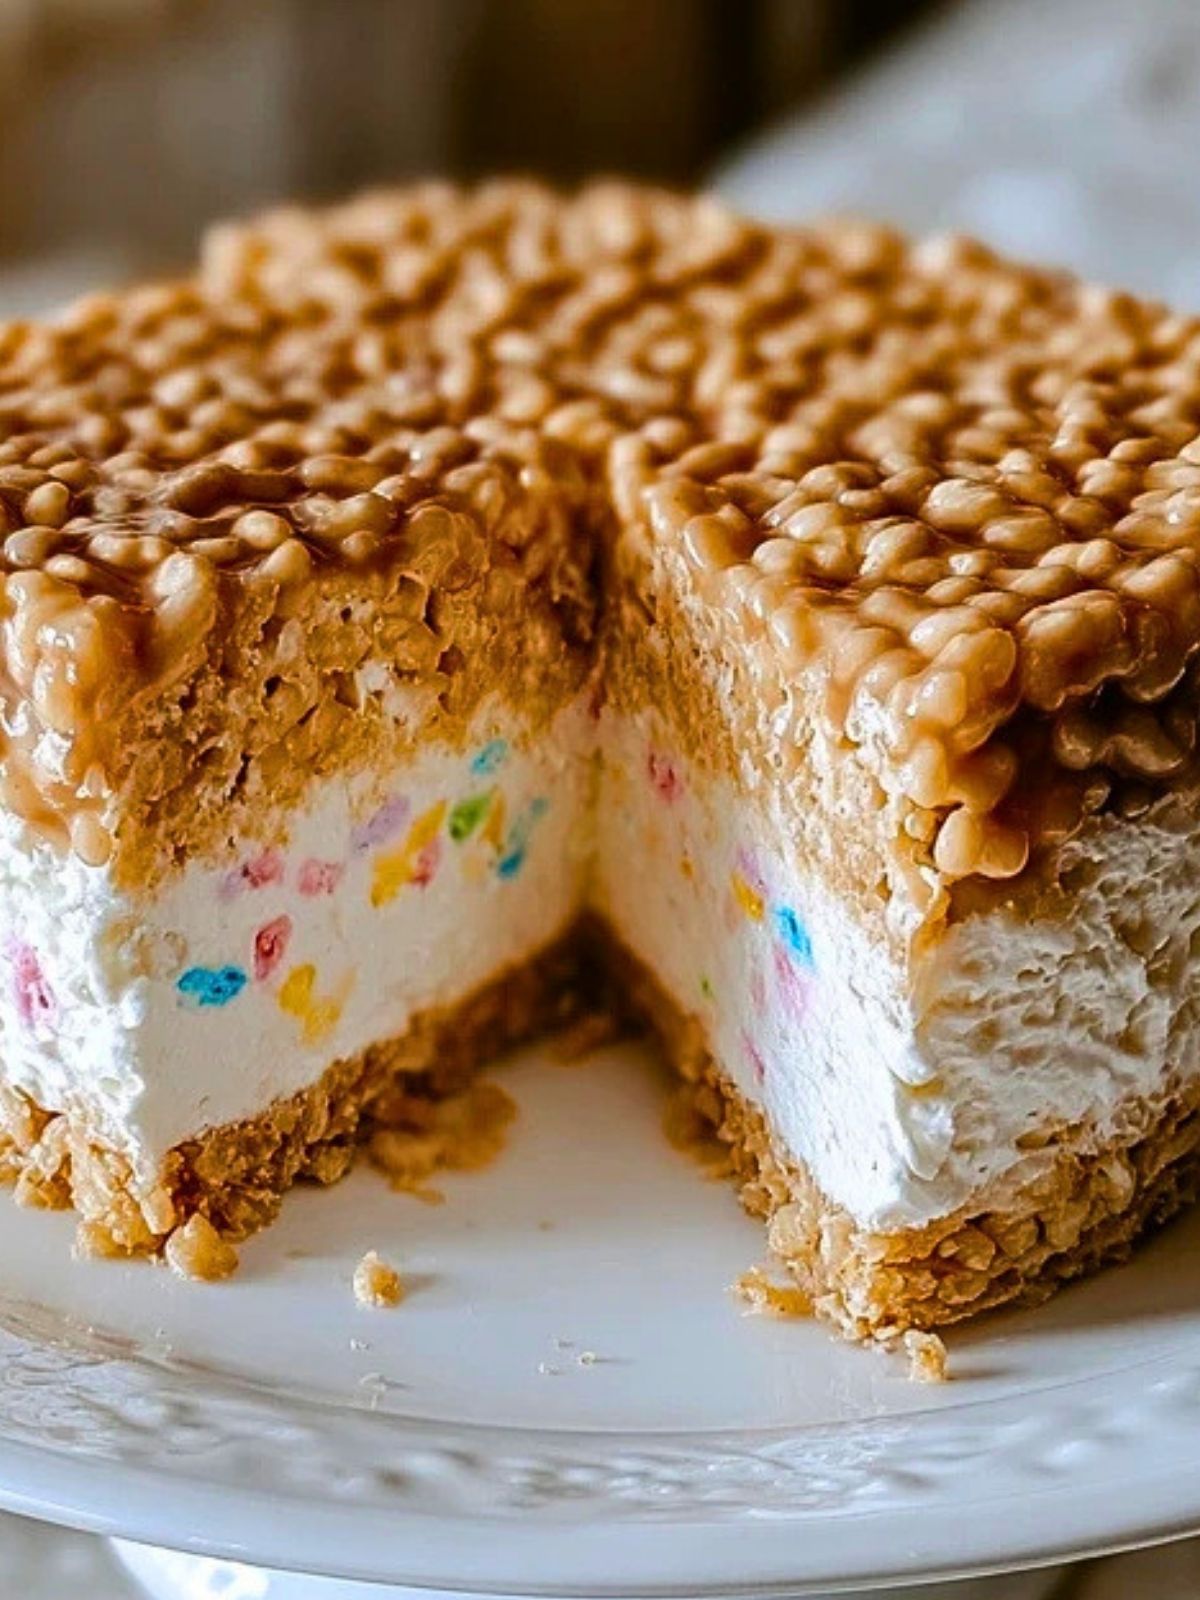
Chill for another 30 minutes to set the top layer. When ready, remove the springform ring, slice, and serve chilled!
Serving and Storing This Cheesecake Delight
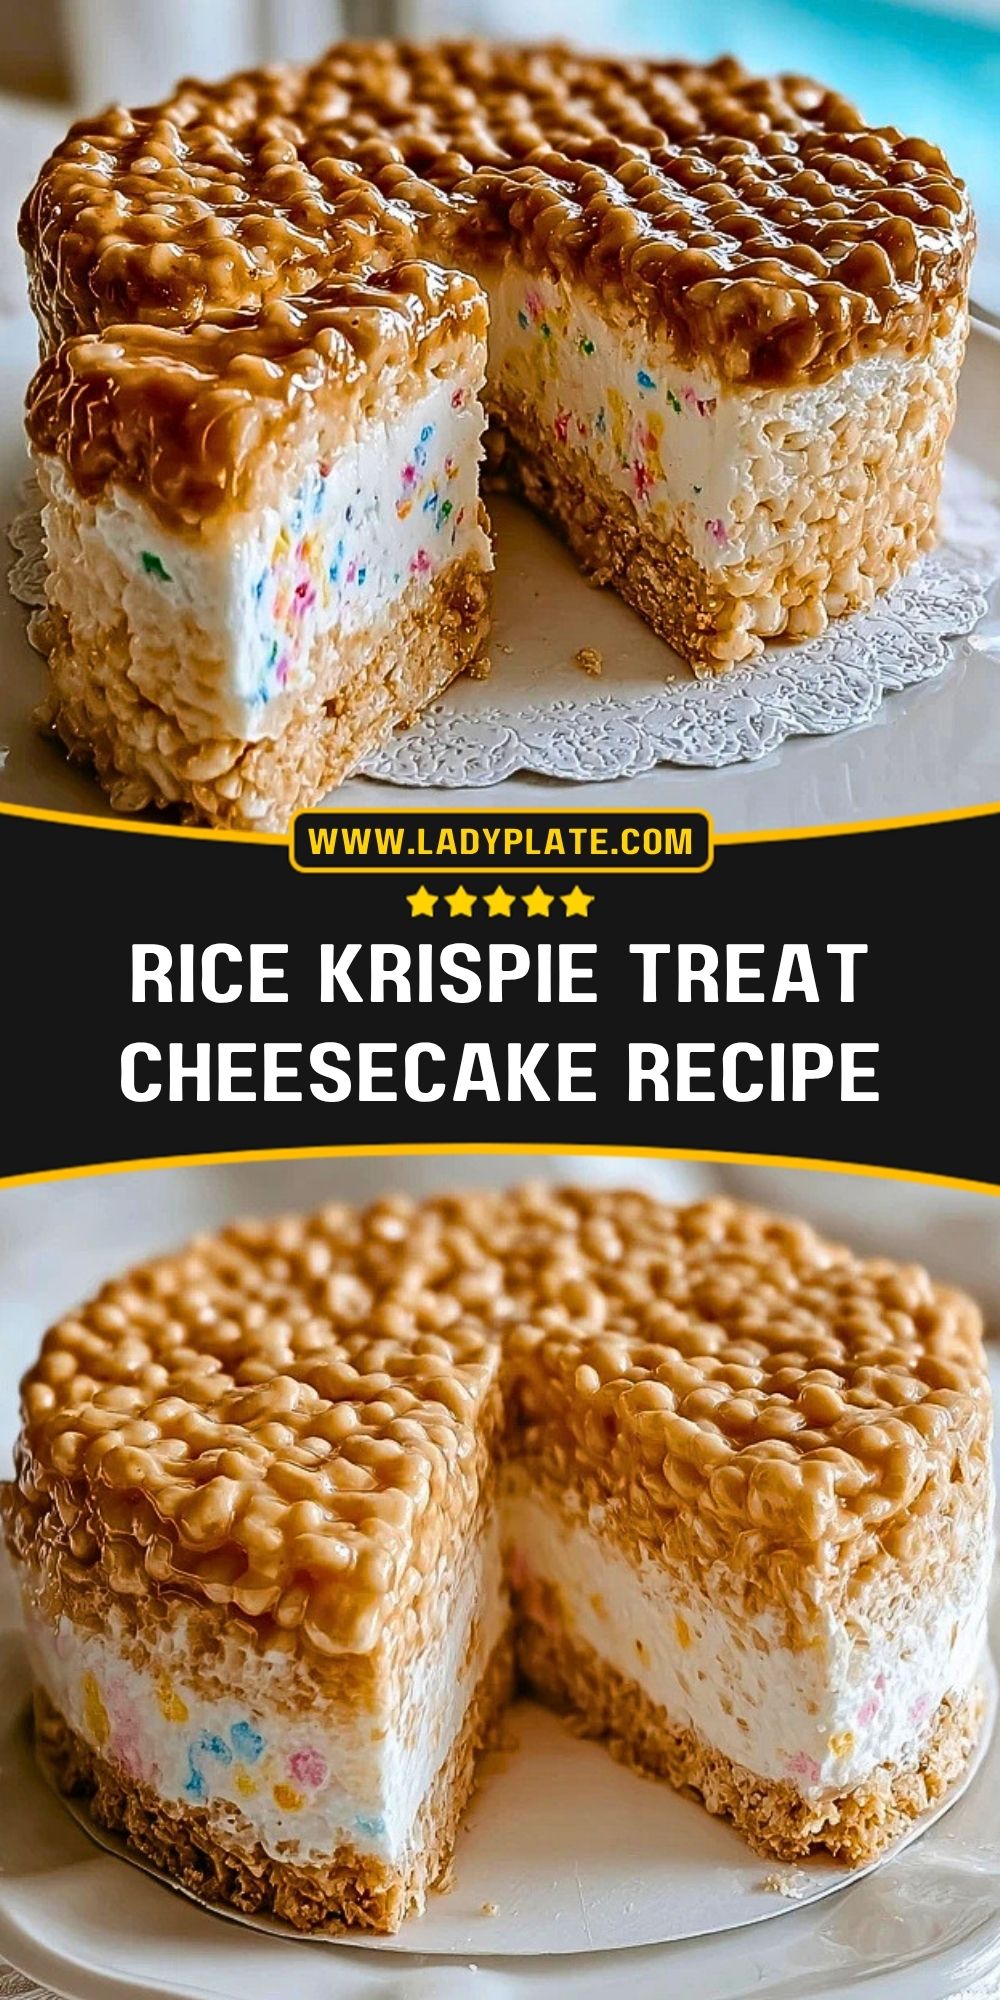
Serve this whimsical Rice Krispie Treat Cheesecake cold, straight from the fridge. It slices best when fully chilled, giving you clean layers of crunch and cream. This makes it perfect for parties or potlucks where presentation matters.
To store, cover tightly with plastic wrap or place in an airtight container. It keeps well in the fridge for up to 5 days. For longer storage, freeze individual slices wrapped in parchment and foil—just thaw overnight before serving.
Frequently Asked Questions
Can I make this ahead of time?
Yes! It actually tastes better after chilling for a few hours. You can prep it up to 2 days in advance.
Can I use store-bought whipped topping?
You can, but freshly whipped cream gives a better texture and flavor.
Is this recipe gluten-free?
Use certified gluten-free Rice Krispies if needed. Most marshmallows and dairy are naturally gluten-free.
How do I keep the base from sticking?
Lightly grease the pan and use parchment paper or wax paper when pressing the layers.
Can I use flavored cream cheese?
Yes, but it will alter the final taste. Plain cream cheese lets the vanilla and sprinkles shine.
What if I don’t have a springform pan?
You can use a deep 9-inch cake pan lined with parchment paper, though removal may be trickier.
Want More No-Bake Dessert Ideas?
You might also like the Cheesecake Deviled Strawberries, a playful bite-sized idea with rich filling. Or try the No-Bake Banana Pudding Cheesecake for a Southern-style comfort twist.
If creamy is your thing, explore our Mini Cinnamon Roll Cheesecakes or the Irresistible Blueberry Lime Cheesecake Cupcakes.
And for a caramel-drizzled option, the Elegant Lemon Marbled Cheesecake Bars hit all the right notes.
Pin and Tell Me How Yours Turned Out
You can save this to your dessert boards for next time. Just click the Pin button.
If you make it, I’d love to hear how it turned out. Did you add colorful cereal? Did you go extra thick on the cheesecake? Leave a comment below or tag me—I’m always curious how others layer it.
For more dessert inspiration, follow along on my Pinterest where I share new ideas daily: LadyPlate on Pinterest.


Rice Krispie Treat Cheesecake
- Total Time: 2 hours 30 minutes
- Yield: 10 slices
- Diet: Vegetarian
Description
Craving a fun, no-bake dessert that blends crunch and creaminess in every bite? This Rice Krispie Treat Cheesecake is the perfect easy recipe for parties, birthdays, or whenever you need quick dessert ideas. With layers of gooey marshmallow cereal and a light, fluffy cheesecake filling, it’s a playful twist on classic cheesecake and nostalgic Rice Krispie treats. Ideal for no-bake dessert lovers, easy entertaining, and creative food ideas that stand out.
Ingredients
6 cups Rice Krispies cereal
10 oz mini marshmallows
4 tbsp unsalted butter
16 oz cream cheese softened
1 cup powdered sugar
1 tsp vanilla extract
1 cup heavy whipping cream
1/4 cup rainbow sprinkles optional
Instructions
1. Melt butter and marshmallows in a saucepan over medium heat until smooth and fully combined.
2. Stir in Rice Krispies cereal until evenly coated, then press half of the mixture into a greased 9-inch springform pan to form the base.
3. In a mixing bowl, beat softened cream cheese until smooth, then add powdered sugar and vanilla extract and mix well.
4. In a separate bowl, whip heavy cream until stiff peaks form, then gently fold into the cream cheese mixture.
5. Spread the cheesecake filling evenly over the prepared base layer and refrigerate for 2 hours until firm.
6. Prepare the remaining Rice Krispie mixture or reheat if needed and gently press it over the cheesecake layer.
7. Chill for an additional 30 minutes then slice and serve cold.
Notes
Use slightly greased hands or parchment paper when pressing the Rice Krispie layers to prevent sticking.
Make sure the cheesecake layer is fully chilled before adding the top layer to keep clean distinct layers.
For extra flavor try mixing in crushed cookies or flavored cereal into the cheesecake filling.
- Prep Time: 20 minutes
- Cook Time: 10 minutes
- Category: Dessert
- Method: No-Bake
- Cuisine: American
Nutrition
- Serving Size: 1 slice
- Calories: 420
- Sugar: 28g
- Sodium: 220mg
- Fat: 24g
- Saturated Fat: 14g
- Unsaturated Fat: 8g
- Trans Fat: 0g
- Carbohydrates: 48g
- Fiber: 1g
- Protein: 5g
- Cholesterol: 70mg