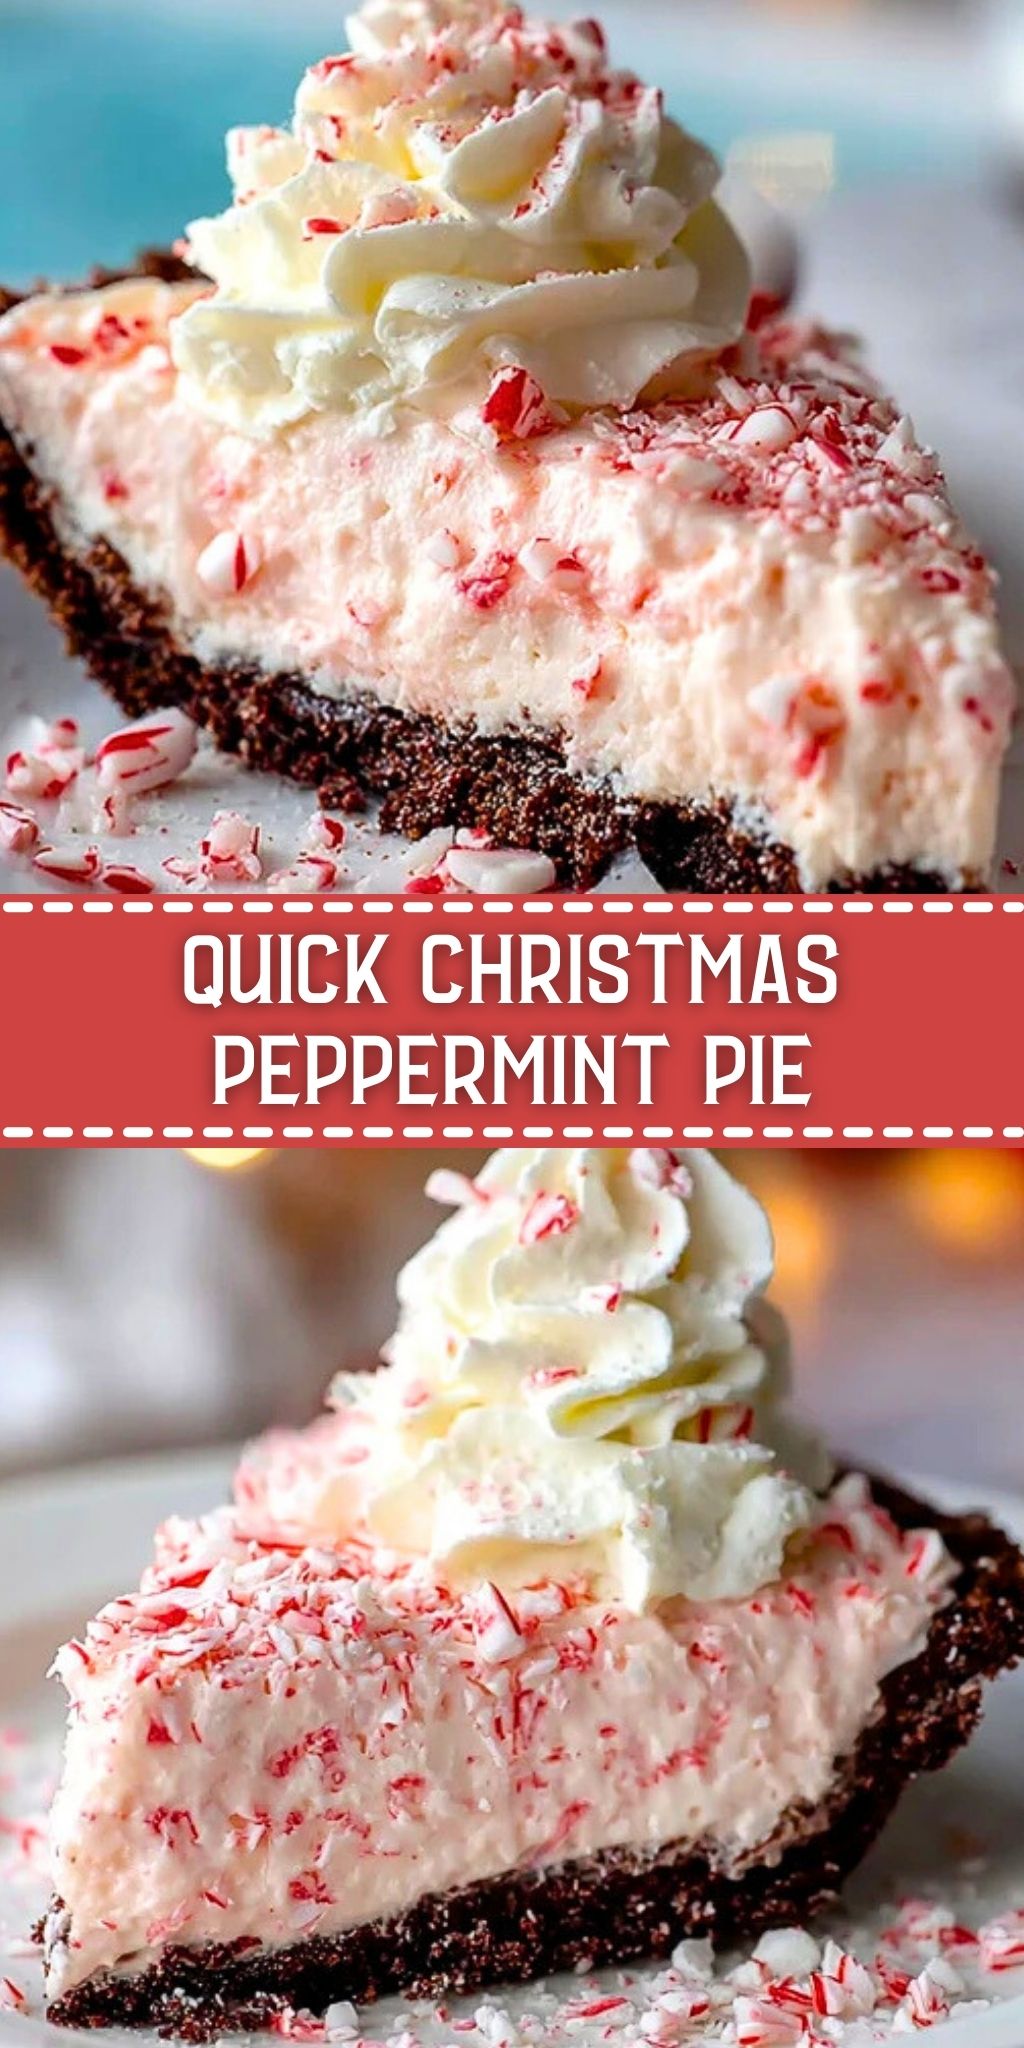
Looking for a festive dessert that takes minimal effort but delivers maximum cheer? Quick Christmas Peppermint Pie is exactly what your holiday table needs. With its creamy texture, refreshing peppermint crunch, and no-bake convenience, it’s the kind of dessert that disappears faster than you can say “Merry Christmas.” Whether you’re hosting a big family dinner or need a quick treat to bring to a holiday gathering, this pie offers the perfect blend of elegance and ease.
The combination of crushed peppermint candies and smooth whipped filling set in a chocolate cookie crust makes each bite taste like a winter wonderland. It’s light, fluffy, and completely irresistible. Plus, this pie requires no oven time, which is a gift in itself during the busiest time of the year.
Preparation Phase & Tools to Use
Making the Quick Christmas Peppermint Pie is refreshingly simple, but having the right tools on hand makes it even smoother:
- Electric Hand Mixer or Stand Mixer: Essential for whipping the cream cheese and heavy cream until fluffy and fully incorporated.
- Mixing Bowls: You’ll need at least two medium to large bowls—one for the filling and another for the whipped cream.
- Rubber Spatula: For gently folding in ingredients like crushed peppermint without deflating the mixture.
- Measuring Cups & Spoons: Precision is key, especially with ingredients like peppermint extract and sugar.
- 9-inch Pie Dish or Store-bought Chocolate Crust: You can go with a ready-made crust for speed, or make your own with crushed chocolate cookies and melted butter.
- Plastic Wrap or Pie Carrier: To cover and chill the pie securely until it’s time to serve.
Preparation takes less than 20 minutes, and after a short chill in the fridge, you’re ready to slice into creamy peppermint bliss.

Ingredients for the Quick Christmas Peppermint Pie
- Cream Cheese: The base of the filling, giving it body and slight tanginess that balances the sweetness.
- Powdered Sugar: Adds sweetness without grittiness and blends easily into the cream cheese.
- Peppermint Extract: Just a touch brings that festive, cool flavor throughout the pie.
- Crushed Peppermints or Candy Canes: Stirred into the filling and sprinkled on top for both texture and holiday flair.
- Heavy Whipping Cream: Whipped into soft peaks, it lightens the filling and adds that dreamy texture.
- Chocolate Cookie Crust: A crunchy, chocolatey contrast to the soft peppermint filling; no baking required.
- Whipped Cream (optional for topping): Adds height and indulgence to the presentation.
How To Make the Quick Christmas Peppermint Pie
Step 1: Whip the Base
In a large mixing bowl, beat the softened cream cheese until smooth. Add in powdered sugar and peppermint extract, mixing until fully incorporated and creamy.
Step 2: Crush & Fold
Fold in crushed peppermint candies using a rubber spatula, being careful not to overmix. The bits should be evenly distributed throughout the filling.
Step 3: Whip the Cream
In a separate bowl, beat the heavy whipping cream until soft peaks form. This will take about 3-4 minutes with a hand mixer on high speed.
Step 4: Combine
Gently fold the whipped cream into the peppermint cream cheese mixture. This step adds air and makes the texture light and mousse-like.
Step 5: Fill the Crust
Transfer the filling into your chocolate crust, smoothing the top with a spatula. Add extra crushed peppermint or whipped cream on top if desired.
Step 6: Chill
Refrigerate the pie for at least 4 hours, or overnight if you have time. This allows the filling to set and flavors to meld.
How to Serve and Store This Pie
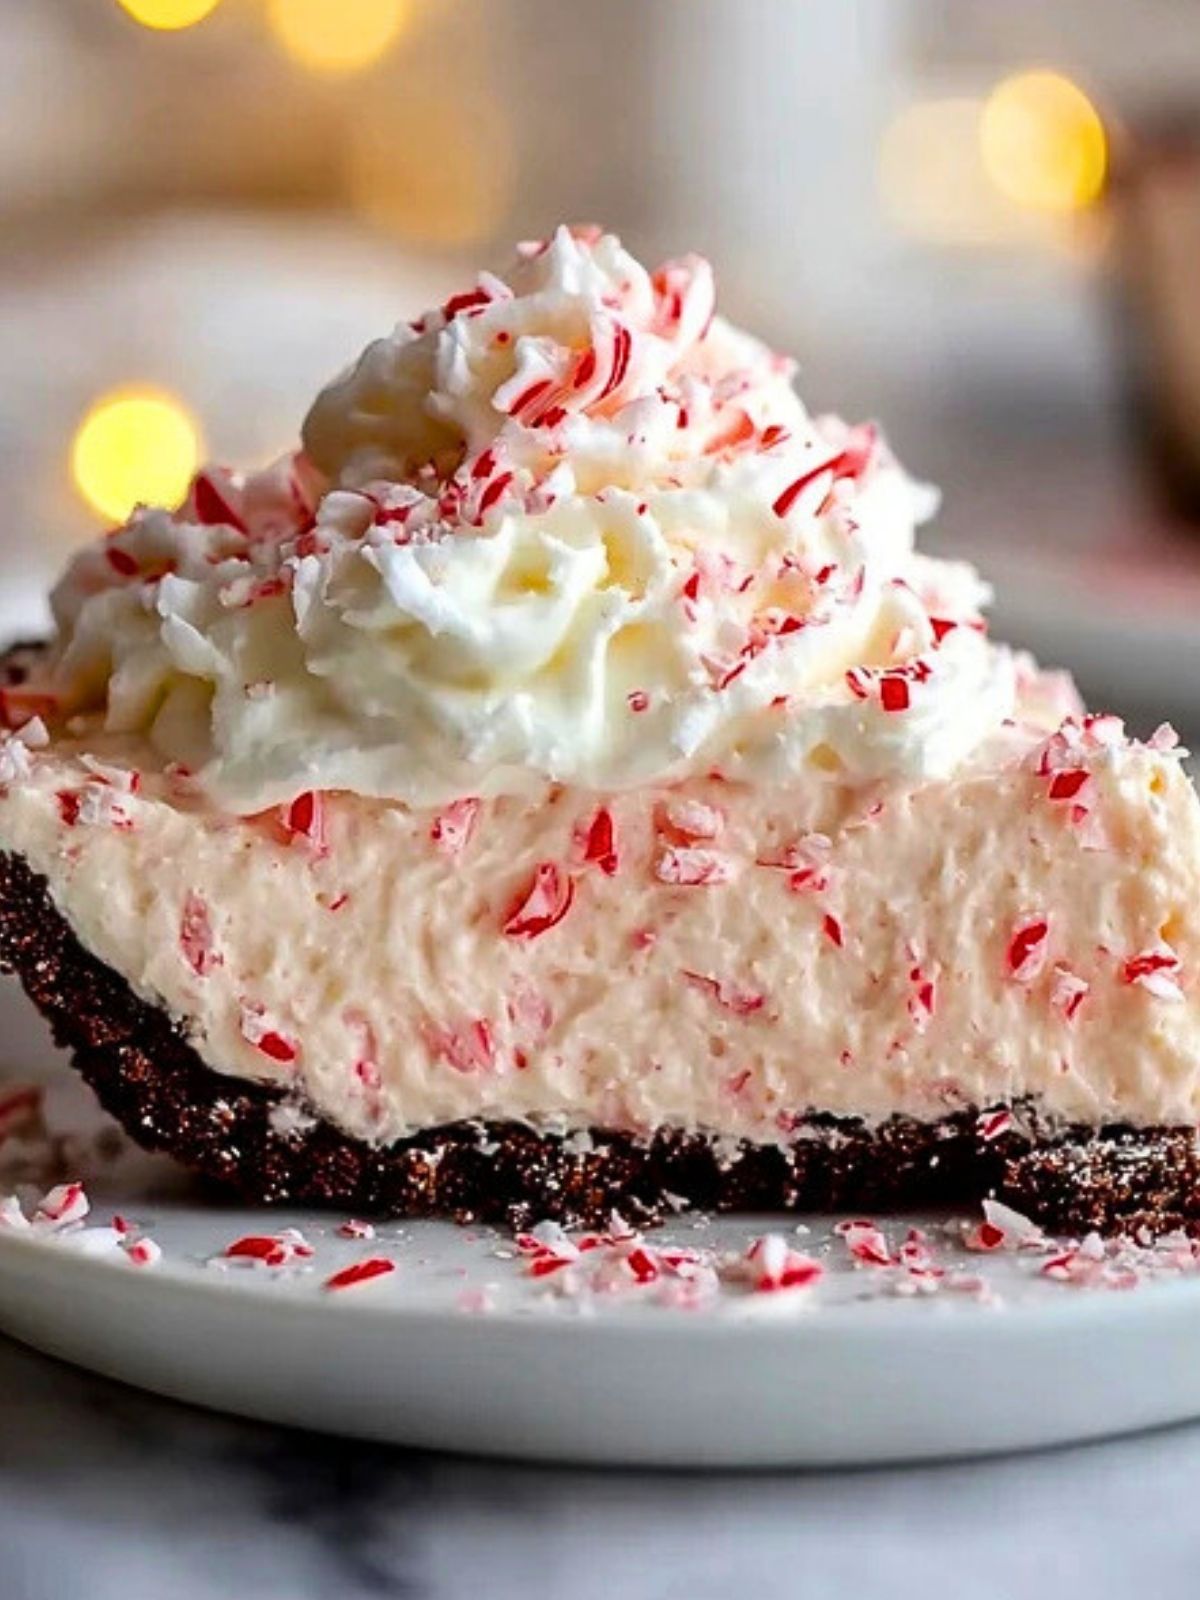
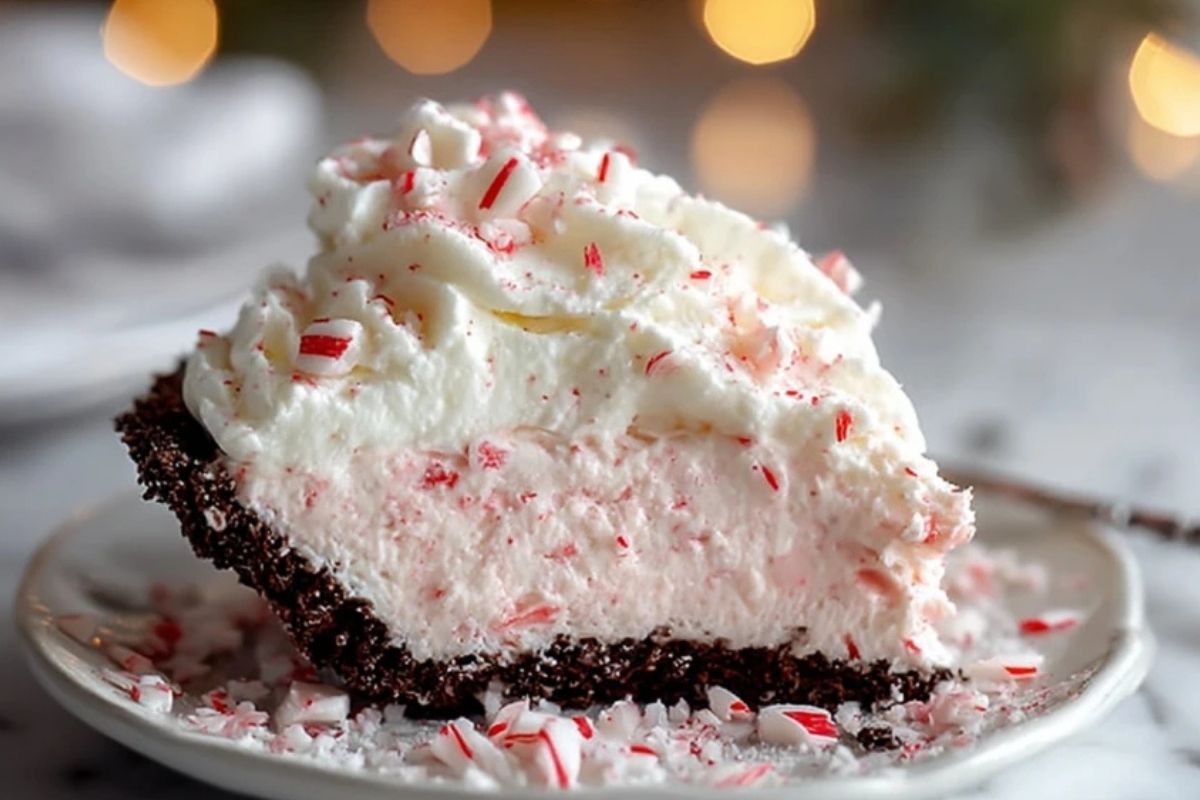
To serve, slice the Quick Christmas Peppermint Pie with a warm knife for clean cuts. It’s best enjoyed chilled, so keep it in the fridge until just before serving. Garnish each slice with a dollop of whipped cream and a sprinkle of crushed candy cane for that extra touch of holiday sparkle.
For storing, cover the pie tightly with plastic wrap or store in a pie container. It will stay fresh in the refrigerator for up to 4 days. For longer storage, freeze individual slices wrapped in plastic and foil—just let them thaw in the fridge before serving.
Frequently Asked Questions
Can I make this pie ahead of time?
Absolutely! This pie is perfect for making a day in advance. It actually tastes better after a full night in the fridge.
What if I don’t have peppermint extract?
You can omit it, but the peppermint flavor will be less intense. Crushed candy alone gives a mild mintiness, but extract helps deepen the flavor.
Can I use Cool Whip instead of whipping cream?
Yes, you can substitute Cool Whip to save time. Just fold it in gently as you would with freshly whipped cream.
Can I use a graham cracker crust instead of chocolate?
Sure! A graham cracker crust will make the pie a bit sweeter and lighter. The chocolate crust adds a nice contrast, but both work beautifully.
Are there any nut-free options for decoration?
Stick to classic peppermint toppings or chocolate curls. Avoid nut-based crusts or garnishes if you’re baking for someone with allergies.
Can I make this dairy-free?
With dairy-free cream cheese and coconut whipped cream, you can create a vegan version. Just be sure your chocolate crust is dairy-free too.
Want More Holiday Dessert Ideas?
If you loved this Quick Christmas Peppermint Pie, you’ll probably fall for the Chocolate Peanut Butter Dream Bars—a rich, chilled treat layered to perfection. For something equally festive and fruity, don’t miss these No-Bake Mini Banana Cream Pies.
And if creamy textures are your go-to, the Creamy Easy Egg Custard Pie is a silky-smooth classic that always hits the spot.
Looking for a handheld sweet to serve alongside? Try the Mini Cinnamon Roll Cheesecakes—they’re cute, cozy, and holiday-ready.
For even more dessert inspiration, browse my daily Pinterest boards over at LadyPlate on Pinterest and follow along for fresh ideas!

Quick Christmas Peppermint Pie
- Total Time: 4 hours 20 minutes
- Yield: 8 servings
- Diet: Vegetarian
Description
A festive, no-bake dessert with a fluffy peppermint cream filling and crunchy chocolate crust. Perfect for holiday gatherings or a cozy winter treat.
Ingredients
8 oz cream cheese, softened
1 cup powdered sugar
1 teaspoon peppermint extract
1 cup crushed peppermint candies or candy canes
1 1/2 cups heavy whipping cream
1 chocolate cookie crust (9-inch)
1 cup whipped cream (for topping, optional)
Instructions
1. In a large bowl, beat the softened cream cheese until smooth.
2. Add powdered sugar and peppermint extract; mix until creamy.
3. Fold in the crushed peppermint candies gently.
4. In a separate bowl, beat the heavy whipping cream until soft peaks form.
5. Fold the whipped cream into the peppermint mixture until fully combined.
6. Pour the filling into the chocolate crust and smooth the top.
7. Garnish with extra crushed peppermint or whipped cream.
8. Refrigerate the pie for at least 4 hours or overnight.
9. Slice with a warm knife for clean servings.
10. Store leftovers in the fridge for up to 4 days.
Notes
For a more intense mint flavor, add a few extra drops of peppermint extract to taste.
Use a warm knife to slice clean portions—dip it in hot water and wipe between cuts.
If using Cool Whip, reduce the sugar slightly since it adds sweetness.
- Prep Time: 20 minutes
- Cook Time: 4 hours
- Category: Dessert
- Method: No-bake
- Cuisine: American
Nutrition
- Serving Size: 1 slice
- Calories: 380
- Sugar: 28g
- Sodium: 180mg
- Fat: 26g
- Saturated Fat: 15g
- Unsaturated Fat: 9g
- Trans Fat: 0g
- Carbohydrates: 34g
- Fiber: 1g
- Protein: 4g
- Cholesterol: 75mg