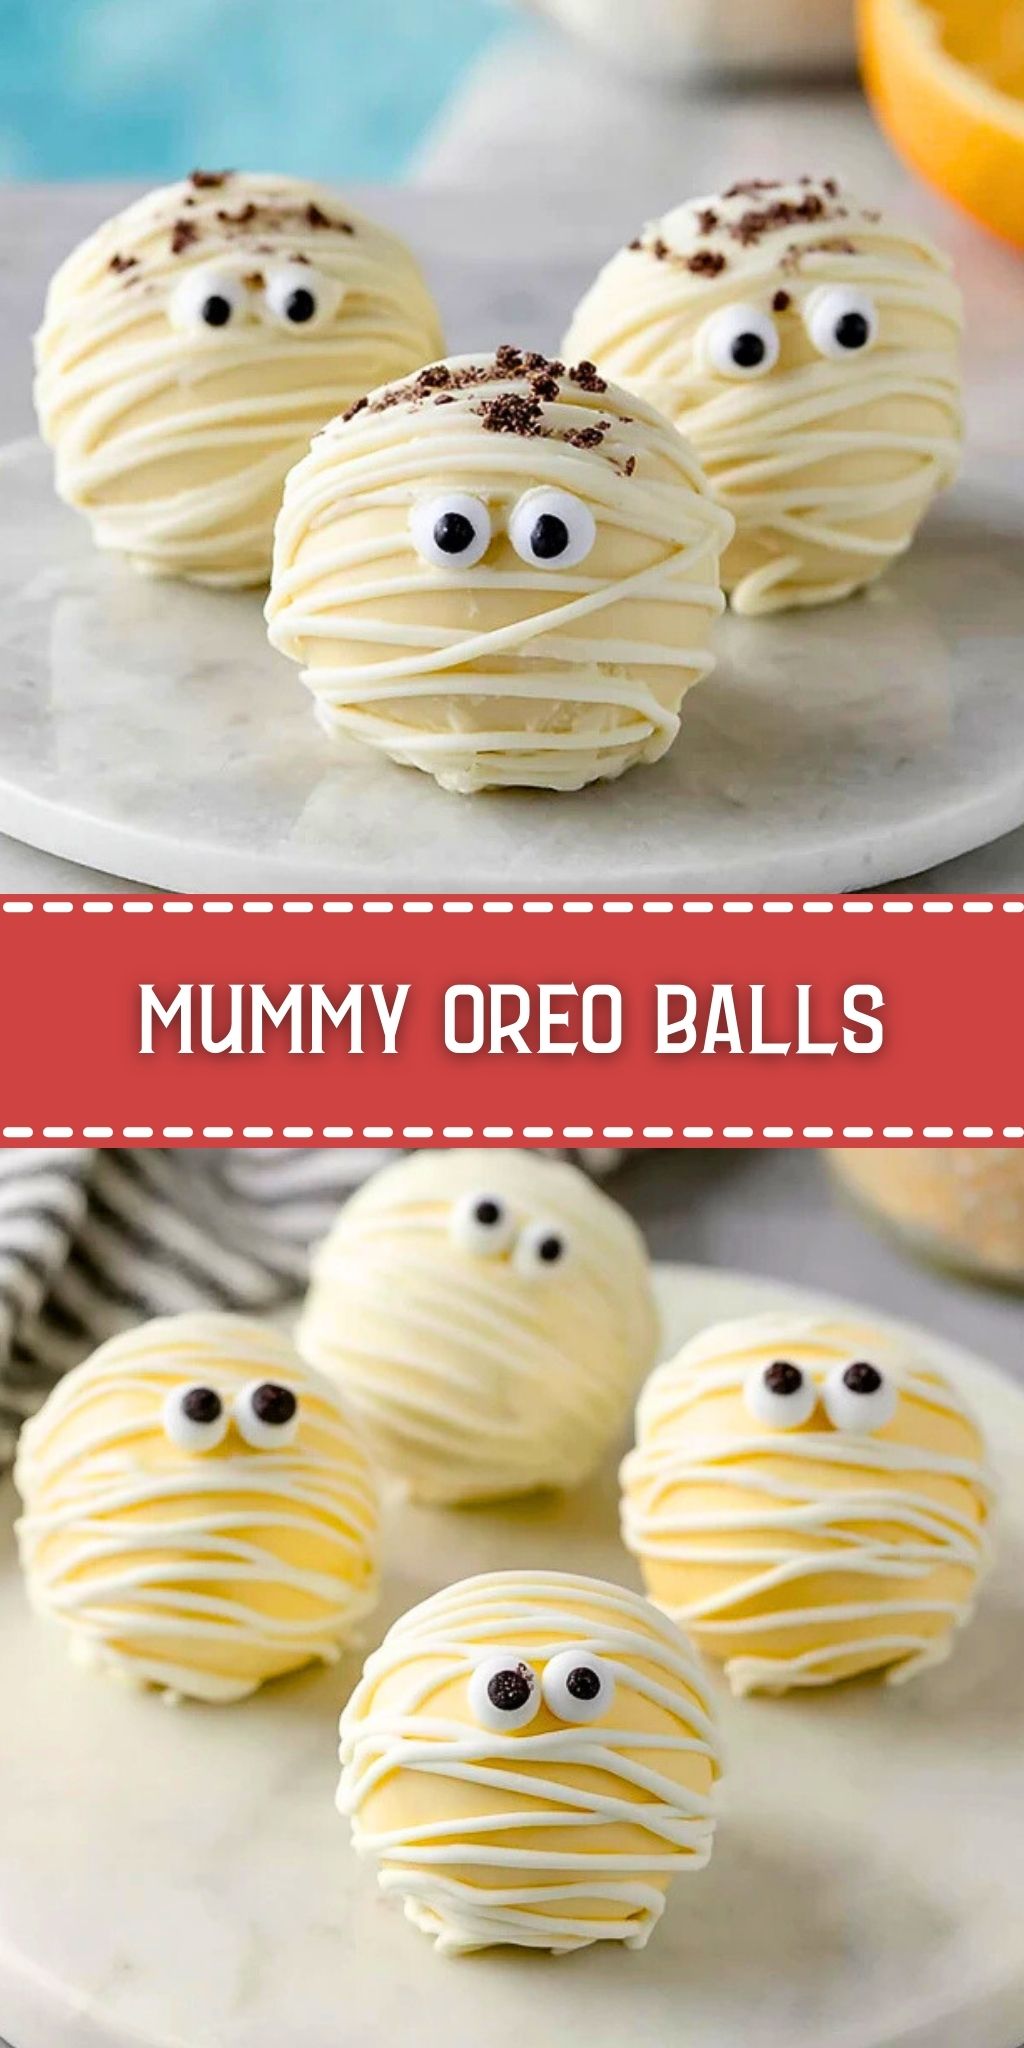
Planning a Halloween bash or just want a spooky treat to impress? These Mummy Oreo Balls are not just adorable with their white chocolate bandages and googly eyes—they’re also absolutely irresistible. With a creamy, chocolatey interior wrapped in a smooth white shell, these no-bake bites bring the perfect mix of cute and creepy to your dessert table.
Each bite delivers a delightful crunch followed by a luscious Oreo cream cheese center that melts in your mouth. Plus, they make a fantastic project for kids or a last-minute festive dessert. Whether you’re hosting a monster mash or simply channeling your inner ghoul, these mummy balls will steal the show.
Preparation Phase & Tools to Use
Before diving into the fun, get your tools ready. These essentials will make the process seamless:
- Food Processor or Blender: Crucial for finely grinding the Oreo cookies into a uniform crumb mixture.
- Mixing Bowl: Needed to combine the crushed Oreos with cream cheese evenly.
- Cookie Scoop: Ensures all the balls are the same size for even coating and a neat appearance.
- Parchment Paper: Prevents sticking while the Oreo balls chill or set.
- Microwave-Safe Bowl: To melt the white chocolate smoothly.
- Piping Bag or Zip-top Bag: Helps pipe the mummy “bandages” with control.
- Toothpick or Tweezers: Handy for placing candy eyes without smudging.
Taking a few minutes to prep your station with these tools sets you up for a no-fuss, enjoyable experience that delivers a picture-perfect Halloween treat.

Ingredients for the Mummy Oreo Balls
- Oreo Cookies: These are the star of the show, providing that deep chocolatey base that makes the filling rich and flavorful.
- Cream Cheese: Softened cream cheese blends with the cookie crumbs to create a smooth, truffle-like texture that’s irresistibly creamy.
- White Chocolate or Candy Melts: This forms the mummy “wraps” and outer shell, delivering both visual appeal and sweet contrast to the dark Oreo center.
- Candy Eyes: Essential for the spooky mummy look—they bring the character to life with minimal effort.
These simple ingredients combine to make a dessert that looks impressive but is surprisingly easy to pull off.
How To Make the Mummy Oreo Balls
Step 1: Crush the Oreos
Place all Oreo cookies into a food processor and pulse until they turn into fine crumbs. This will serve as the base of your truffle mixture.
Step 2: Mix with Cream Cheese
Transfer the crumbs into a bowl and add the softened cream cheese. Mix thoroughly until the texture is smooth and uniform.
Step 3: Roll into Balls
Using a cookie scoop or spoon, form the mixture into 1-inch balls. Place them on a parchment-lined tray and chill for at least 20 minutes.
Step 4: Dip in White Chocolate
Melt white chocolate or candy melts in a microwave-safe bowl, stirring every 30 seconds. Dip each chilled ball into the melted chocolate using a fork or skewer to coat evenly. Place back on the parchment to set.
Step 5: Add the Mummy Wraps
Once the first layer sets, drizzle additional white chocolate in thin lines over the top using a piping bag or zip-top bag with the corner snipped. This creates the classic “mummy wrap” effect.
Step 6: Attach the Eyes
Before the drizzle hardens completely, gently press on candy eyes using tweezers or a toothpick for precise placement.
Chill again until completely set, then serve or store.
Serving and Storing These Mummy Oreo Balls
Mummy Oreo Balls are perfect for parties, dessert tables, or spooky lunchbox surprises. Serve them chilled on a Halloween-themed platter for maximum effect. They hold their shape best when kept cool, making them ideal for make-ahead treats.
To store, place the Oreo balls in an airtight container with parchment between layers to prevent sticking. They last up to one week in the fridge or up to two months in the freezer. Let frozen ones thaw for 10–15 minutes before serving for the best texture.
Frequently Asked Questions
What kind of Oreos should I use?
Classic chocolate Oreos work best, but feel free to experiment with seasonal flavors like pumpkin spice or red velvet for a twist.
Can I use dark or milk chocolate instead of white?
Absolutely. While white chocolate gives the mummy look, other chocolates can be used for different effects or flavor preferences.
Do I need a food processor?
It makes the job quicker and ensures a finer crumb, but you can also crush Oreos in a zip-top bag using a rolling pin.
How do I prevent the white chocolate from seizing?
Make sure no water comes into contact with the chocolate while melting. Use low heat and stir often.
Can kids help with this recipe?
Definitely! Kids can roll the balls, add eyes, or drizzle the mummy wraps. Just supervise the chocolate melting part.
Do they need to be refrigerated?
Yes. Because of the cream cheese, refrigeration is essential both for safety and maintaining the best texture.
Want More Halloween Dessert Ideas?
If you loved making these Mummy Oreo Balls, you’ll probably enjoy creating more spooky and playful treats. For another no-bake option, check out the irresistible Cheesecake Deviled Strawberries that blend sweet and creamy in every bite.
Need a cozy fall bake? The Cinnamon Donut Bread delivers a soft crumb and nostalgic flavor. Or try the No Bake Banana Pudding Cheesecake, a creamy dessert that’s a hit year-round.
If you’re prepping for a bigger Halloween dessert spread, the Mini Cinnamon Roll Cheesecakes are a charming, bite-sized bake with a cinnamon twist.
Pin and Tell Me How Yours Turned Out
You can save this to your Halloween treats board for next time. Just click the Pin button.
If you whip up a batch, I’d love to hear your spin. Did you go crazy with the eyes? Maybe made them with golden Oreos? Let me know in the comments.
Want more ideas like this daily? Head over to my Pinterest at LadyPlate for fresh, festive recipes year-round.

Mummy Oreo Balls
- Total Time: 1 hour
- Yield: 36 balls
- Diet: Vegetarian
Description
These Mummy Oreo Balls are the perfect spooky-sweet treat for Halloween. A no-bake dessert with a creamy Oreo-cream cheese center, wrapped in white chocolate and finished with googly eyes for a fun, mummy-like appearance. Great for parties, easy to prep, and a delight for kids and adults alike.
Ingredients
36 Oreo cookies
8 oz cream cheese, softened
12 oz white chocolate or white candy melts
Candy eyes (about 36)
Instructions
1. Place Oreo cookies in a food processor and pulse until finely crushed.
2. In a mixing bowl, combine the Oreo crumbs with the softened cream cheese. Mix until smooth and fully blended.
3. Scoop out 1-inch portions of the mixture and roll into balls. Place them on a parchment-lined tray and refrigerate for 20–30 minutes.
4. Melt the white chocolate or candy melts in a microwave-safe bowl, stirring every 30 seconds until smooth.
5. Dip each chilled Oreo ball into the melted chocolate, coating fully, then set back on parchment paper to harden.
6. Once set, drizzle additional melted white chocolate across the top in lines to create the mummy “wrap” effect.
7. Before the drizzle sets completely, add two candy eyes to each ball. Use tweezers or a toothpick for precise placement.
8. Chill until fully set. Serve cold or store refrigerated.
Notes
For smoother white chocolate, avoid overheating; melt slowly and stir often.
Want a twist? Try using Golden Oreos or flavored Oreo varieties like mint or red velvet.
Store in layers with parchment between to prevent sticking and preserve their shape.
- Prep Time: 30 minutes
- Cook Time: 0 minutes
- Category: Dessert
- Method: No-Bake
- Cuisine: American
Nutrition
- Serving Size: 1 ball
- Calories: 115
- Sugar: 9g
- Sodium: 85mg
- Fat: 7g
- Saturated Fat: 4g
- Unsaturated Fat: 2g
- Trans Fat: 0g
- Carbohydrates: 13g
- Fiber: 0g
- Protein: 1g
- Cholesterol: 10mg