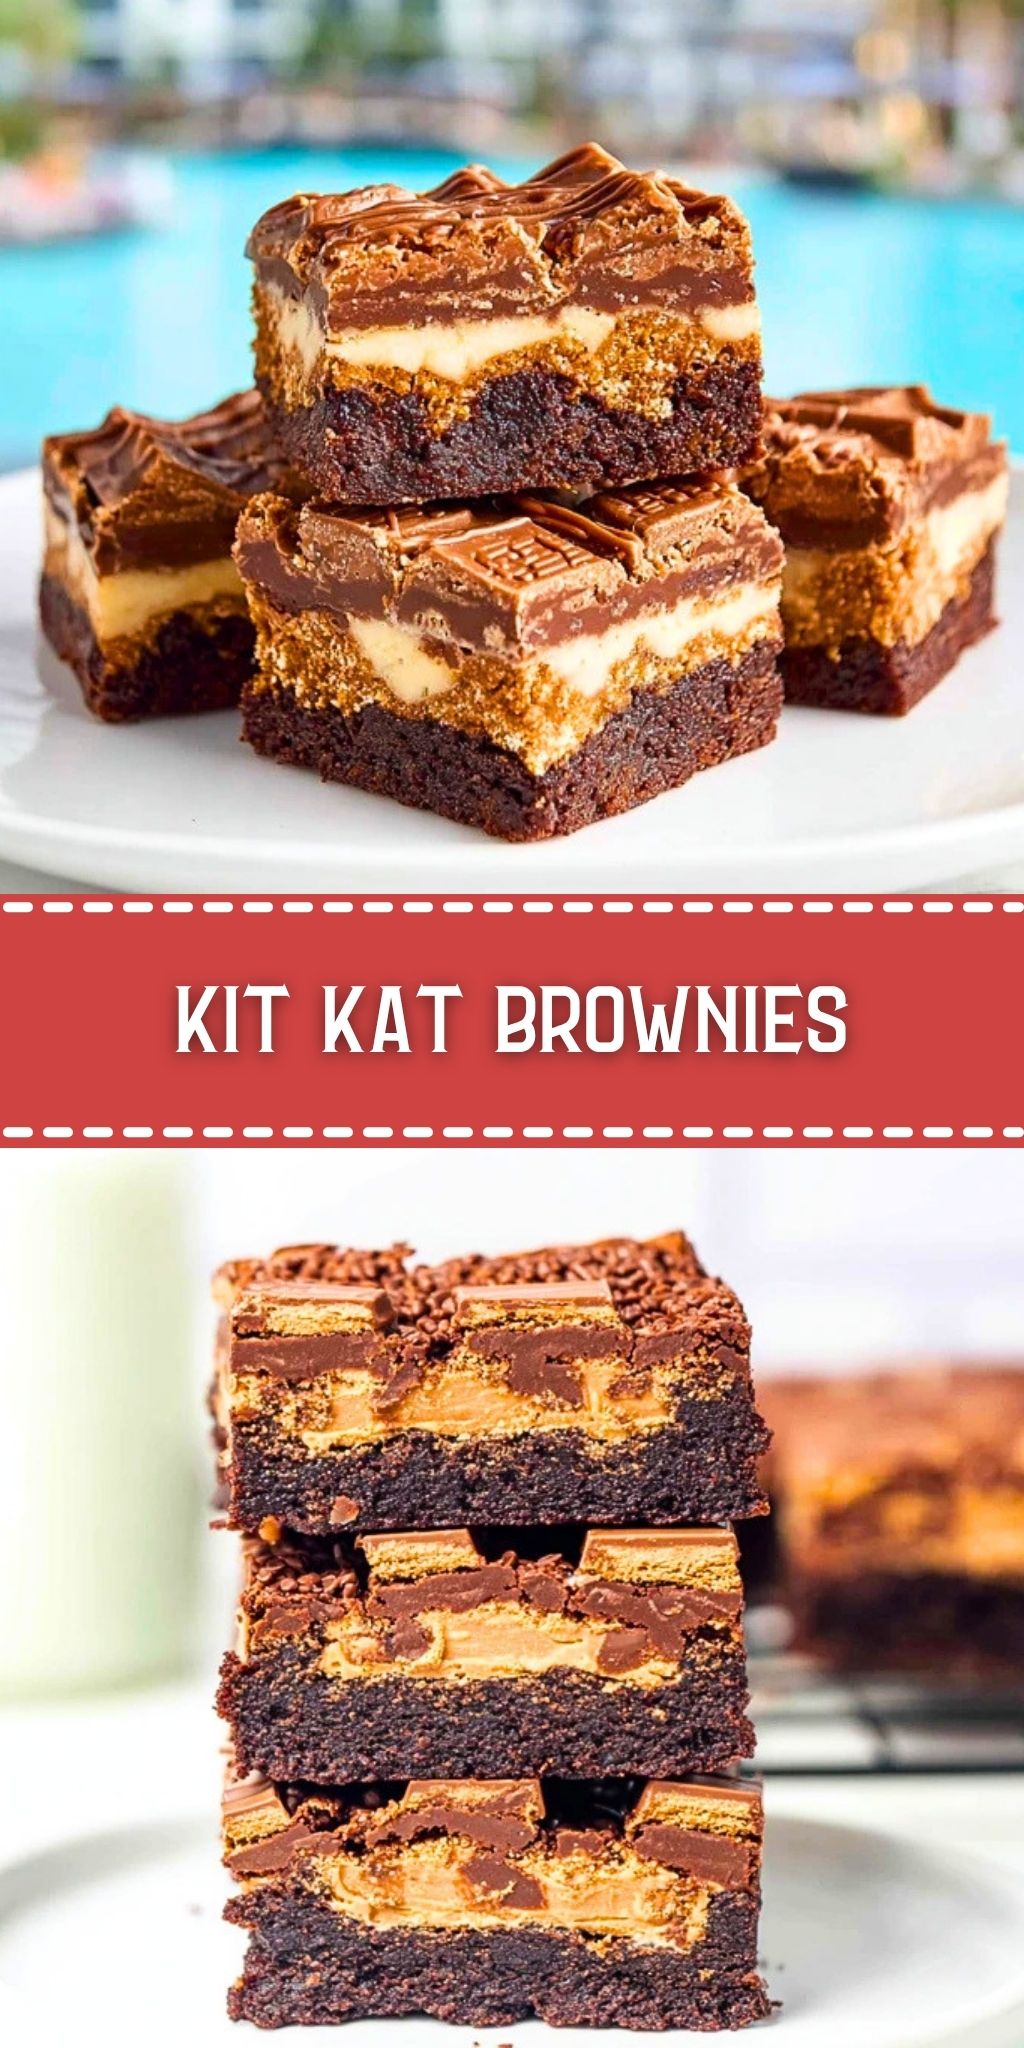
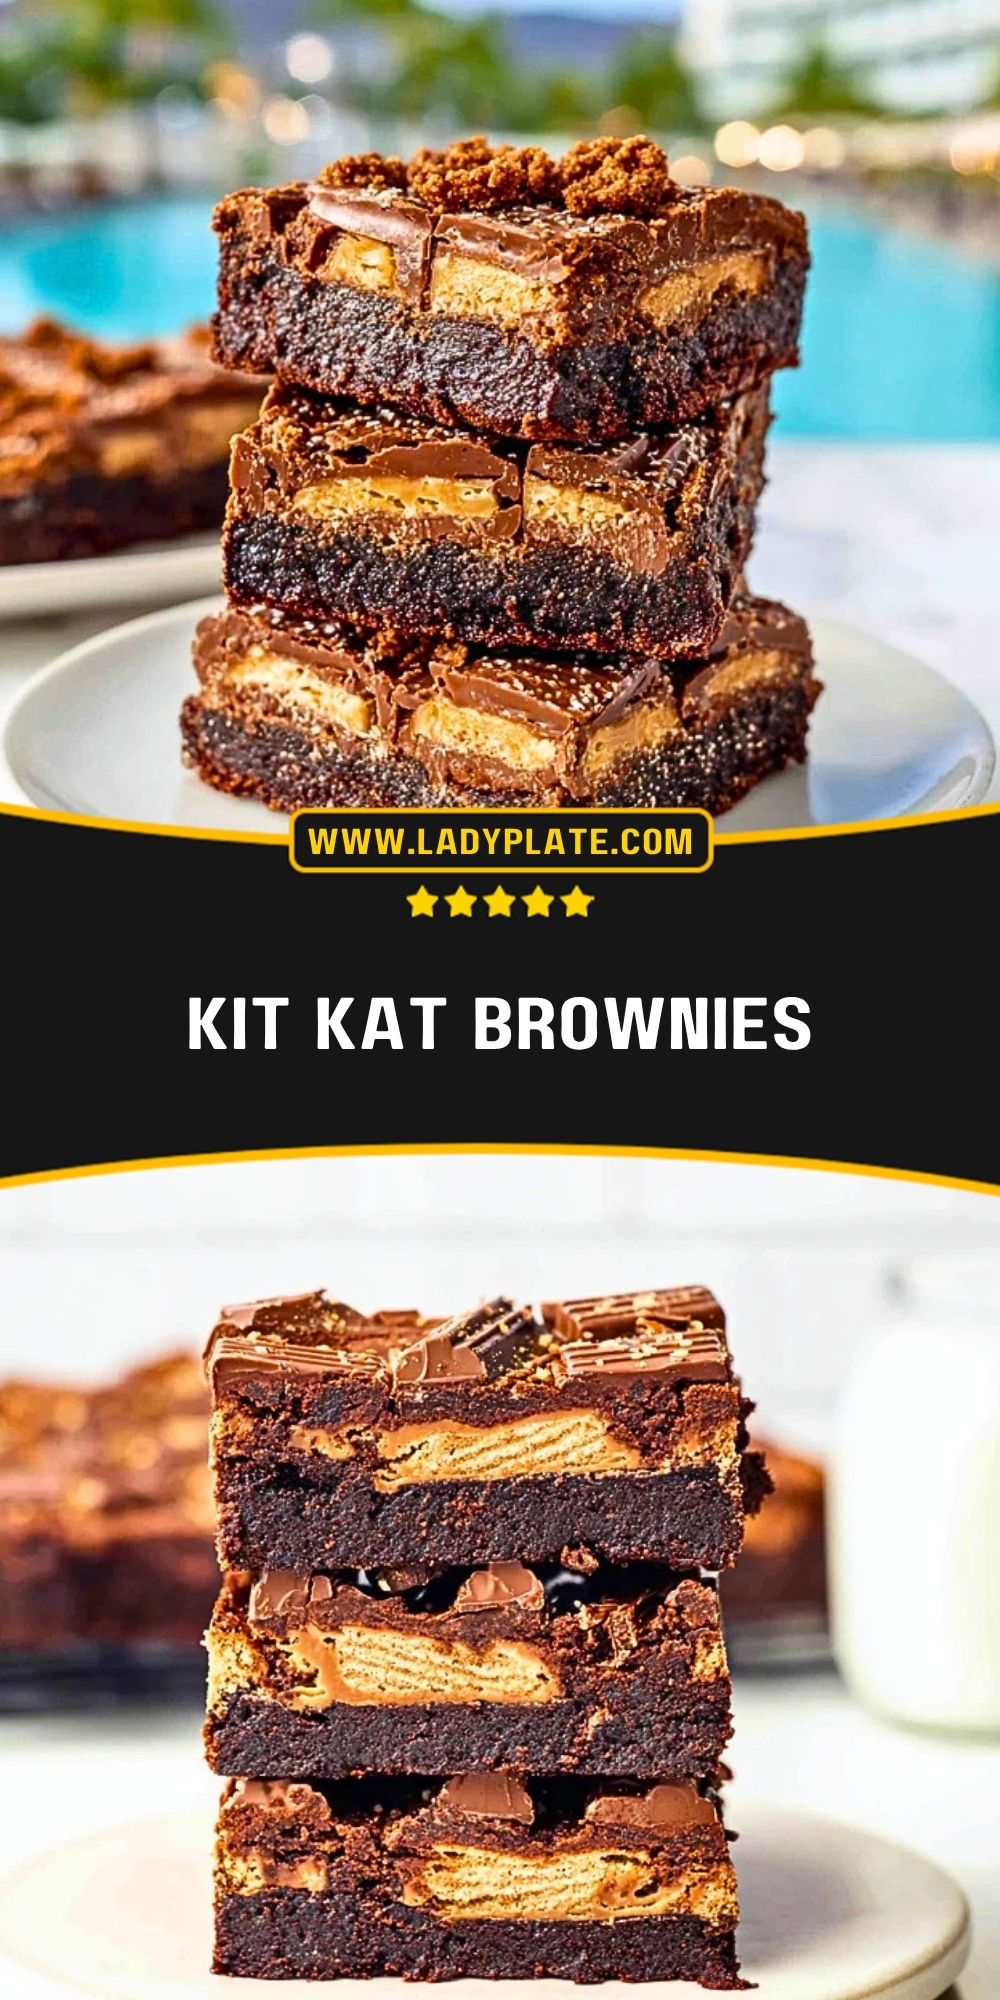
Have you ever wanted a brownie that feels even more loaded, more chocolatey, and a little more fun than the usual pan of squares? Kit Kat Brownies do exactly that by layering a rich cocoa brownie base with crisp wafer-filled candy bars that melt slightly into the top.
Every bite gives you deep fudgy texture underneath and that familiar Kit Kat crunch on top, which makes these brownies especially good for bake sales, birthday trays, movie nights, or whenever you want a dessert that looks impressive without getting complicated.
Preparation Phase & Tools to Use
Before you start mixing, it helps to set out everything you need so the process stays easy and the brownies bake evenly from edge to center.
A medium mixing bowl is useful for combining the dry ingredients without pockets of cocoa or flour. A second bowl helps with the wet ingredients so the sugar, eggs, butter, and vanilla blend smoothly before everything comes together. A whisk is great for breaking up lumps and creating a glossy batter, while a rubber spatula matters just as much because it lets you fold the batter gently without overmixing.
You will also need an 8×8-inch or 9×9-inch baking pan lined with parchment paper. The parchment makes lifting the brownies out simple and keeps those candy-topped squares from sticking. Measuring cups and spoons keep the ratios right, which is especially important in brownies where too much flour can make them dry. A sharp knife is helpful for cutting the Kit Kat bars neatly, and a wire rack helps the brownies cool faster so the texture sets before slicing.

Ingredients for the Kit Kat Brownies
Each ingredient plays a clear role in building the texture and flavor of these brownies, so even a short list works hard.
Unsalted butter gives the brownies richness and keeps the crumb soft and dense.
Granulated sugar sweetens the batter and helps create that shiny, lightly crackled top.
Brown sugar adds moisture and a deeper caramel note that works beautifully with milk chocolate candy.
Eggs bring structure and help the brownies hold together while staying fudgy.
Vanilla extract rounds out the chocolate flavor and adds warmth.
Unsweetened cocoa powder gives the brownies their deep chocolate base without making the batter too heavy.
All-purpose flour provides enough structure to keep the brownies tender but not cakey.
Salt sharpens the chocolate flavor and balances the sweetness.
Semi-sweet chocolate chips add pockets of melted chocolate throughout the brownies.
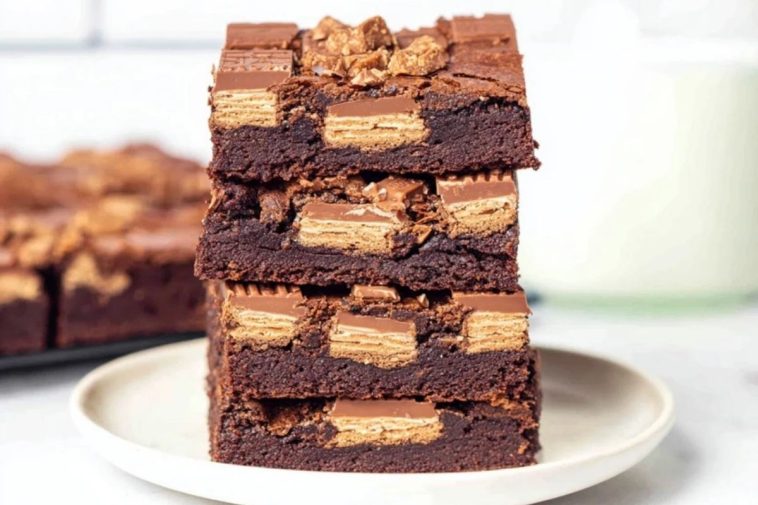
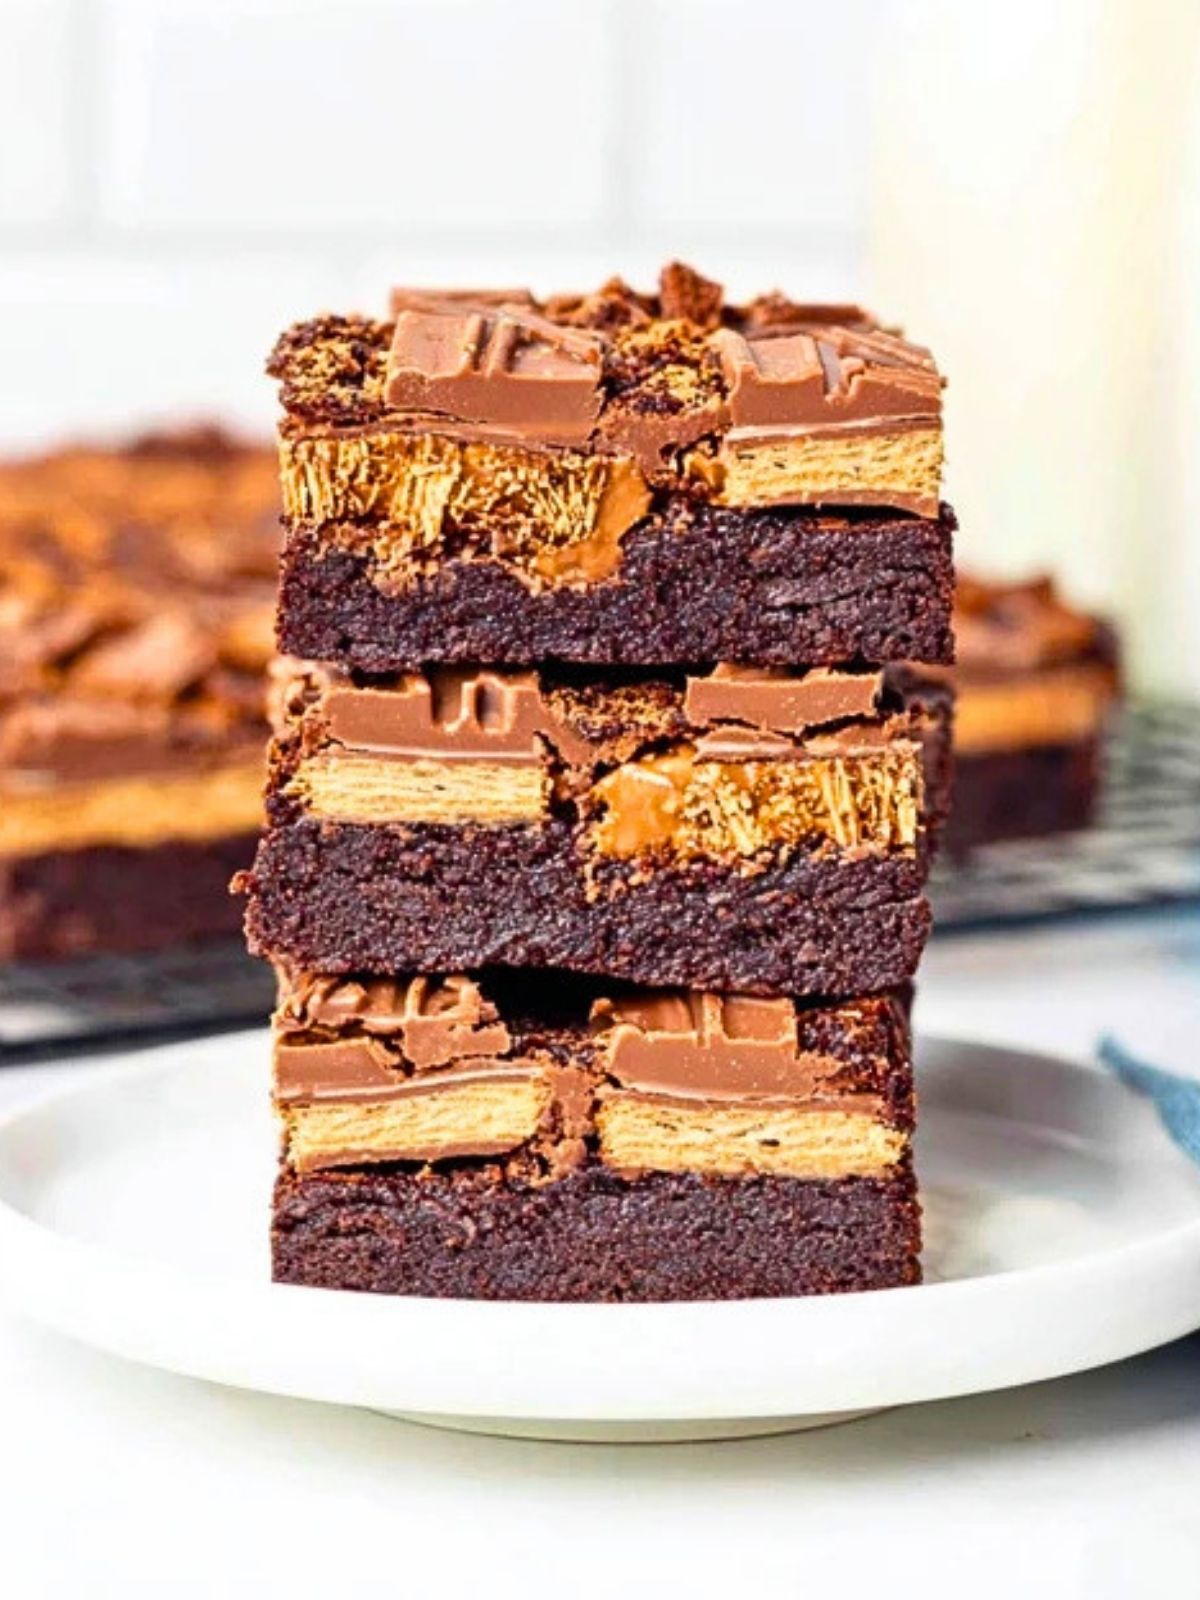
Kit Kat bars are the star ingredient, bringing crisp wafers and creamy milk chocolate to every square.
How To Make the Kit Kat Brownies
Getting these brownies right is mostly about building a smooth batter and adding the candy at the right time.
Step 1: Prep the Pan and Oven
Preheat your oven to 350°F. Line your baking pan with parchment paper, leaving a little overhang on the sides so you can lift the brownies out later.
Step 2: Melt the Butter
Melt the butter and let it cool for a minute or two. You want it warm, not piping hot, so it blends smoothly with the sugars and eggs.
Step 3: Mix the Wet Ingredients
In a bowl, whisk together the melted butter, granulated sugar, brown sugar, eggs, and vanilla until the mixture looks glossy and well combined.
Step 4: Add the Dry Ingredients
Whisk in the cocoa powder, then add the flour and salt. Stir just until no dry streaks remain. Fold in the chocolate chips so they are evenly distributed through the batter.
Step 5: Fill the Pan
Spread the brownie batter into the prepared pan in an even layer. Take your time here so the brownies bake evenly and the candy topping sits flat.
Step 6: Add the Kit Kat Layer
Arrange chopped or halved Kit Kat bars over the top of the batter, pressing them in lightly. This keeps them visible after baking while still helping them settle into the brownies.
Step 7: Bake Until Just Set
Bake for about 28 to 34 minutes, depending on your pan and oven. The edges should look set, and a toothpick inserted near the center should come out with moist crumbs rather than wet batter.
Step 8: Cool and Slice
Let the brownies cool fully in the pan before lifting them out. Once cooled, slice into squares with a sharp knife for the cleanest layers.
Serving and Storing Kit Kat Brownies
Kit Kat Brownies are at their best once fully cooled, when the brownie layer has set and the candy topping keeps a little crunch. Serve them plain for an easy snack tray, or dress them up with vanilla ice cream, whipped cream, or a light drizzle of chocolate sauce for a richer dessert plate.
To store them, place the brownies in an airtight container at room temperature for up to 3 days. For a slightly firmer texture, refrigerate them for up to 1 week. If you want to freeze them, wrap individual squares tightly and store them in a freezer-safe container for up to 2 months. Let them thaw at room temperature before serving.
Frequently Asked Questions
Can I use different Kit Kat flavors?
Yes. Milk chocolate works best for the classic version, but white chocolate or dark chocolate varieties can be used for a fun twist.
Do I put the Kit Kat bars inside the batter or only on top?
For the best look and texture, place them on top and press them in lightly. That keeps the bars visible and gives the brownies their signature finish.
How do I keep the brownies fudgy?
Do not overbake them. Pull the pan when the center still has moist crumbs on a toothpick, then let the brownies finish setting as they cool.
Can I make these ahead of time?
Yes. These brownies hold up well for a day or two, which makes them a good make-ahead dessert for parties or holiday trays.
Can I add extra mix-ins?
Absolutely. Chocolate chunks, chopped nuts, or a swirl of caramel can all work well as long as you do not overload the batter.
Why should I wait before slicing?
Cooling helps the brownie base firm up. If you cut too early, the center may fall apart and the candy topping can slide.
Want More Chocolate Dessert Ideas?
If these Kit Kat Brownies hit the spot, there are a few other chocolate-packed treats on LadyPlate worth bookmarking. For a rich sliceable dessert, try the chocolate chess pie, which leans silky and classic. If you want something layered and candy-inspired, the chocolate peanut butter dream bars are a great next bake.
For bar desserts with a bright contrast, the lemon marbled cheesecake bars bring creamy texture and a fresh citrus note. And if you enjoy gooey, crowd-pleasing squares, the s’mores cookie bars and no-bake buckeye graham crackers are both fun options to keep in rotation.
Pin and Tell Me How Yours Turned Out
You can save this to your dessert boards for the next time a brownie craving hits. Visit my LadyPlate Pinterest recipe collection for more sweet ideas and everyday baking inspiration.
If you make these Kit Kat Brownies, I’d love to hear how they turned out. Did you use extra chocolate chips? Did you go with full Kit Kat fingers on top or chopped pieces? Leave a comment and share your version.


Kit Kat Brownies
- Total Time: 45 minutes
- Yield: 16 brownies
- Diet: Vegetarian
Description
These Kit Kat Brownies are a rich, fudgy chocolate dessert packed with crispy wafer candy pieces and melty chocolate in every bite. They are an easy recipe for dessert lovers, perfect for party trays, sweet snack boards, holiday baking, and fun food ideas when you need a quick dessert that still feels special.
Ingredients
1 cup unsalted butter, melted
1 cup granulated sugar
1/2 cup brown sugar
3 large eggs
2 teaspoons vanilla extract
3/4 cup unsweetened cocoa powder
1 cup all-purpose flour
1/2 teaspoon salt
1 cup semi-sweet chocolate chips
8 full-size Kit Kat bars, chopped
Instructions
1. Preheat the oven to 350°F and line an 8×8-inch baking pan with parchment paper.
2. In a large bowl, whisk together the melted butter, granulated sugar, and brown sugar until smooth.
3. Add the eggs and vanilla extract, then whisk until glossy and well combined.
4. Stir in the cocoa powder, flour, and salt until just combined.
5. Fold in the chocolate chips.
6. Spread the batter evenly into the prepared pan.
7. Arrange the chopped Kit Kat bars over the top and press them in lightly.
8. Bake for 28 to 34 minutes, or until the edges are set and the center has moist crumbs.
9. Cool completely in the pan before lifting out and slicing into squares.
Notes
Do not overmix the batter once the flour is added or the brownies can turn less fudgy.
Let the brownies cool fully before slicing so the chocolate topping sets nicely.
For cleaner cuts, chill the brownies for 20 minutes and wipe the knife between slices.
- Prep Time: 15 minutes
- Cook Time: 30 minutes
- Category: Dessert
- Method: Baking
- Cuisine: American
Nutrition
- Serving Size: 1 brownie
- Calories: 285
- Sugar: 24g
- Sodium: 120mg
- Fat: 16g
- Saturated Fat: 9g
- Unsaturated Fat: 6g
- Trans Fat: 0g
- Carbohydrates: 35g
- Fiber: 2g
- Protein: 3g
- Cholesterol: 52mg