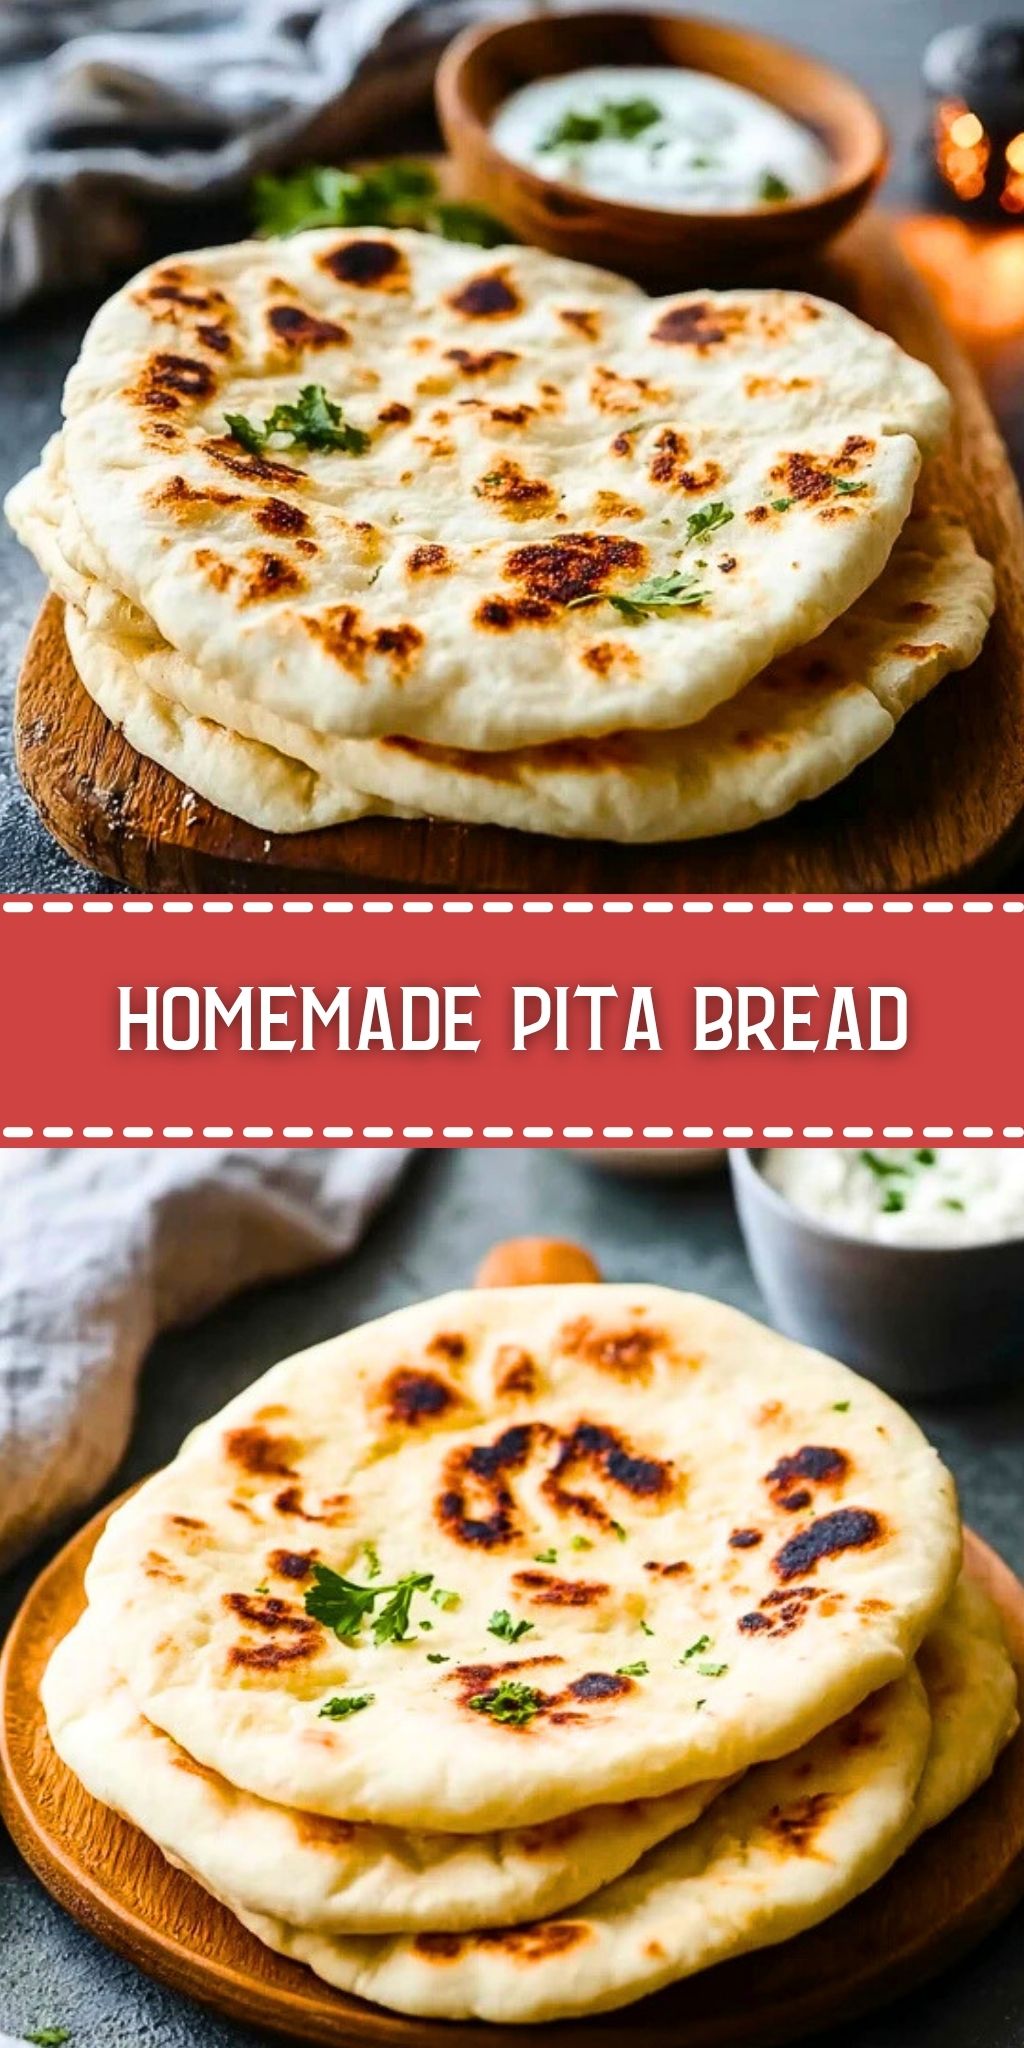

Ever wondered how restaurants get that pillowy, slightly charred pita that puffs just enough to create the perfect pocket? That dreamy texture and warm, yeasty flavor is easier to achieve at home than you might think. Whether you’re scooping up creamy hummus, wrapping grilled chicken, or stuffing with salad, homemade pita adds a rustic, irresistible charm.
Store-bought versions often lack that tender chew and just-out-of-the-oven taste. Making your own pita means control over ingredients, freshness, and flavor—with a dose of satisfying kitchen therapy. Trust me, once you try this from-scratch version, you might never look back.
Preparation Phase & Tools to Use
For homemade pita bread, simplicity is key—but so is precision. Here are the essentials you’ll want on hand before you begin:
- Mixing Bowl: Vital for combining the dough ingredients. Opt for a large one to accommodate rising.
- Measuring Cups & Spoons: Baking requires accuracy, so precise measurements are essential for the perfect dough consistency.
- Stand Mixer with Dough Hook (Optional): Saves elbow grease if you prefer a more hands-off kneading process.
- Rolling Pin: Helps to flatten the dough rounds evenly, ensuring uniform puffing during baking.
- Cast Iron Skillet or Pizza Stone: Essential for creating that signature golden puff. Cast iron holds heat evenly, mimicking the searing conditions of a tandoor oven.
- Damp Towel or Plastic Wrap: Used to cover the dough during proofing, keeping it moist and preventing surface drying.
Each tool has its part to play in helping you achieve soft, puffed-up pita rounds with the right balance of chew and airiness.

Ingredients for the Homemade Pita Bread
Every ingredient in this pita recipe serves a specific purpose, contributing to the dough’s texture, flavor, and rise:
- All-Purpose Flour: Forms the structure of the dough and gives the bread its chewy texture. You can substitute a portion with whole wheat flour for a heartier result.
- Warm Water: Activates the yeast and brings the dough together. Warm (not hot) water is crucial for proper yeast development.
- Instant Yeast: Responsible for the rise and puff of each pita. It ferments the dough, introducing airiness.
- Sugar: A small amount feeds the yeast and enhances browning during cooking.
- Salt: Adds depth of flavor and regulates yeast activity.
- Olive Oil: Tenderizes the dough and adds a light richness, helping to prevent a tough crust.
These simple pantry staples, when treated with care, create soft, perfectly puffed pita rounds ready to cradle any filling.
How To Make the Homemade Pita Bread
Step 1: Activate and Combine
In a large mixing bowl, combine warm water, sugar, and yeast. Let sit for 5-10 minutes until foamy—this signals the yeast is alive and active.
Step 2: Form the Dough
Add flour, salt, and olive oil to the yeast mixture. Mix until a shaggy dough forms. If using a stand mixer, knead with the dough hook for 5-6 minutes until smooth. By hand, knead on a floured surface for 8-10 minutes.
Step 3: First Rise
Place dough in a lightly oiled bowl, cover with a damp cloth or plastic wrap, and let it rise for 1 to 1.5 hours in a warm place until doubled in size.
Step 4: Divide and Rest
Punch down the dough and divide it into 8 equal pieces. Roll each piece into a ball. Let them rest, covered, for 10-15 minutes—this makes rolling easier.
Step 5: Roll It Out
On a floured surface, roll each dough ball into a 1/4-inch thick circle. Keep them covered with a towel while working.
Step 6: Cook to Puff
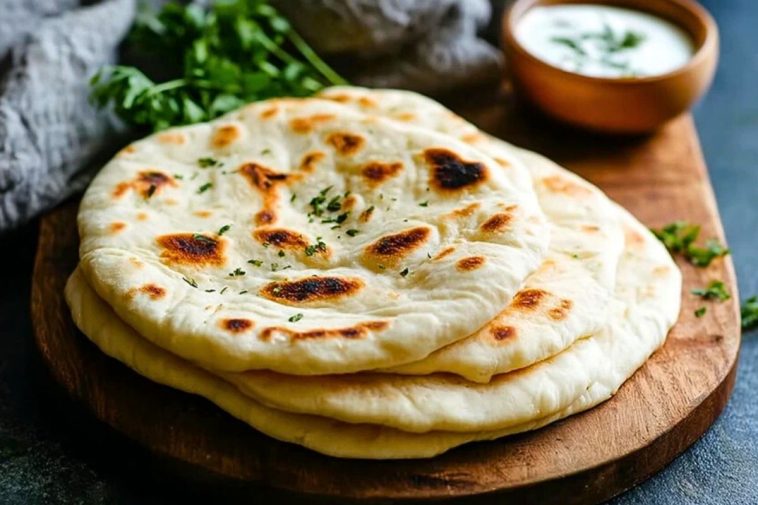
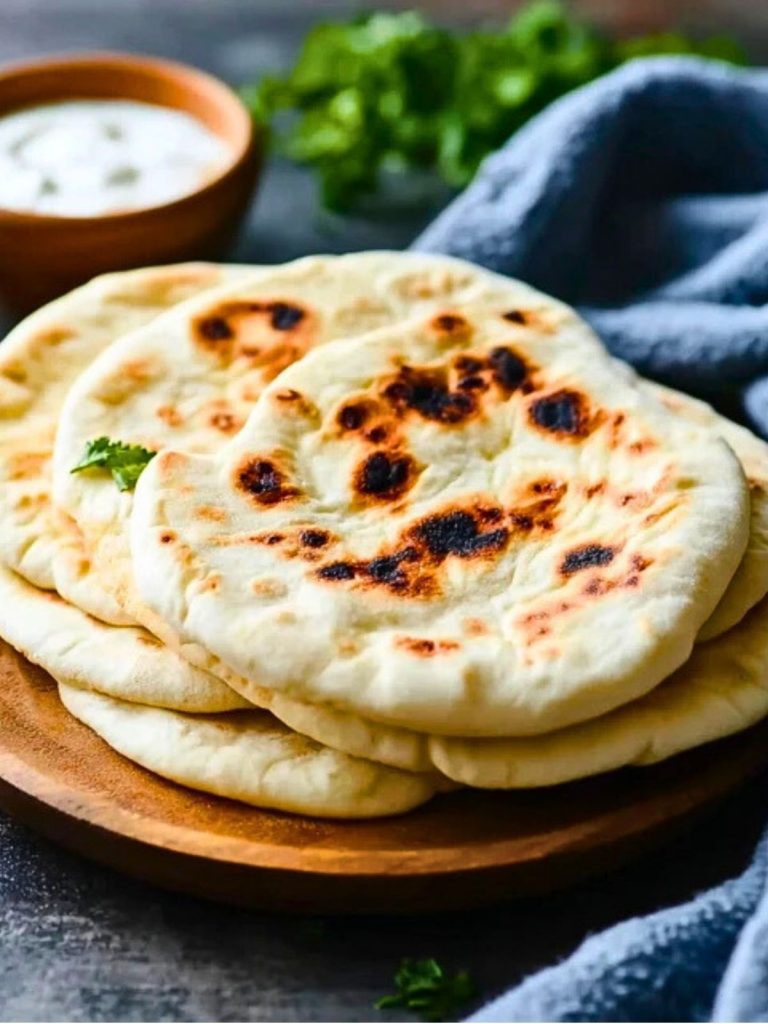
Heat a cast iron skillet over medium-high heat. Cook each pita for about 1-2 minutes on one side until bubbles appear, then flip and cook the other side for another 1-2 minutes. It should puff and develop golden spots.
Serving and Storing Your Homemade Pita Bread
Fresh off the skillet, these pitas are delightfully warm and soft—perfect for stuffing with falafel, shawarma, or grilled vegetables. You can also slice them into wedges for dips like hummus or baba ganoush. Another idea? Toast the leftovers for homemade pita chips.
To store, let the pitas cool completely. Then wrap them in foil or place in an airtight container. They stay fresh at room temperature for 2 days or in the fridge for up to 5 days. For longer storage, freeze with parchment between each pita and reheat in a skillet or oven.
Frequently Asked Questions
How do I get the pita to puff?
The puff depends on two things: a hot cooking surface and thin, evenly rolled dough. Make sure your skillet is preheated properly and your dough is not too thick.
Can I bake pita bread instead of using a skillet?
Yes! Use a pizza stone or baking sheet preheated in a 475°F (245°C) oven. Bake for about 2-3 minutes until puffed and lightly golden.
Why didn’t my pita puff up?
It could be due to under-kneading, a cold skillet, or dough that hasn’t rested enough. Each of these affects how steam develops inside the pita.
Can I use whole wheat flour instead of all-purpose?
You can swap up to 50% of the all-purpose flour with whole wheat. The texture will be slightly denser but still delicious.
Do I need to add olive oil?
Olive oil adds tenderness and flavor, but the pita can still be made without it. It just might be a bit chewier.
How do I reheat pita bread?
Wrap in foil and warm in the oven at 350°F (175°C) for 5-7 minutes. You can also reheat briefly on a dry skillet.
Want More Bread & Dough Recipes?
If you’re into baking basics that deliver maximum comfort, you might love the soft, flaky layers in my Homemade Flaky Croissants or the subtly sweet richness of Italian Ricotta Easter Bread.
Looking for quick sides? The Air Fried Potato Wedges make a crispy companion, or check out the buttery, gooey centers in Pillsbury Biscuit Garlic Butter Cheesebombs.
For more globally inspired bread pairings, try the rich base of Garlic Butter Shrimp Scampi Lasagna that begs for something soft to scoop with.
Pin and Tell Me How Yours Turned Out
You can save this to your baking boards for later. Just tap the Pin button.
And if you give it a go, I’d truly love to hear how it turned out. Did you get the puff? Did you go classic or add some spices to the dough? Drop a comment and let’s talk pita!
Explore more of my everyday bakes and global recipe finds over on Pinterest: LadyPlate on Pinterest

Homemade Pita Bread
- Total Time: 1 hour 45 minutes
- Yield: 8 pita breads
- Diet: Vegetarian
Description
This Homemade Pita Bread recipe delivers warm, fluffy rounds with that signature puff and light chewiness. Perfect for dipping, stuffing, or serving alongside hearty dishes, this simple dough requires just a handful of pantry ingredients and a hot skillet. You’ll never go back to store-bought after tasting the freshness and softness of this homemade version.
Ingredients
3 cups all-purpose flour
1 cup warm water
2 teaspoons instant yeast
1 teaspoon sugar
1 teaspoon salt
2 tablespoons olive oil
Instructions
1. In a large bowl, mix warm water, sugar, and yeast. Let sit for 5–10 minutes until foamy.
2. Add flour, salt, and olive oil. Mix into a shaggy dough.
3. Knead using a stand mixer for 5–6 minutes or by hand for 8–10 minutes until smooth.
4. Transfer dough to an oiled bowl. Cover and let rise for 1 to 1.5 hours or until doubled.
5. Punch down and divide dough into 8 pieces. Shape into balls and let rest 10–15 minutes.
6. Roll each ball into a 1/4-inch thick circle on a floured surface.
7. Preheat a cast iron skillet over medium-high heat.
8. Cook each pita for 1–2 minutes per side until puffed and golden with brown spots.
9. Serve warm or cool completely for storage.
Notes
For a lighter texture, make sure to roll the dough thin and even before cooking.
A very hot pan is essential—don’t skip the preheating step to ensure puff.
These freeze beautifully: store in zip bags with parchment between each round.
- Prep Time: 1 hour 30 minutes
- Cook Time: 15 minutes
- Category: Bread
- Method: Skillet
- Cuisine: Mediterranean
Nutrition
- Serving Size: 1 pita
- Calories: 165
- Sugar: 0.5 g
- Sodium: 293 mg
- Fat: 3.5 g
- Saturated Fat: 0.5 g
- Unsaturated Fat: 2.8 g
- Trans Fat: 0 g
- Carbohydrates: 29 g
- Fiber: 1 g
- Protein: 4 g
- Cholesterol: 0 mg