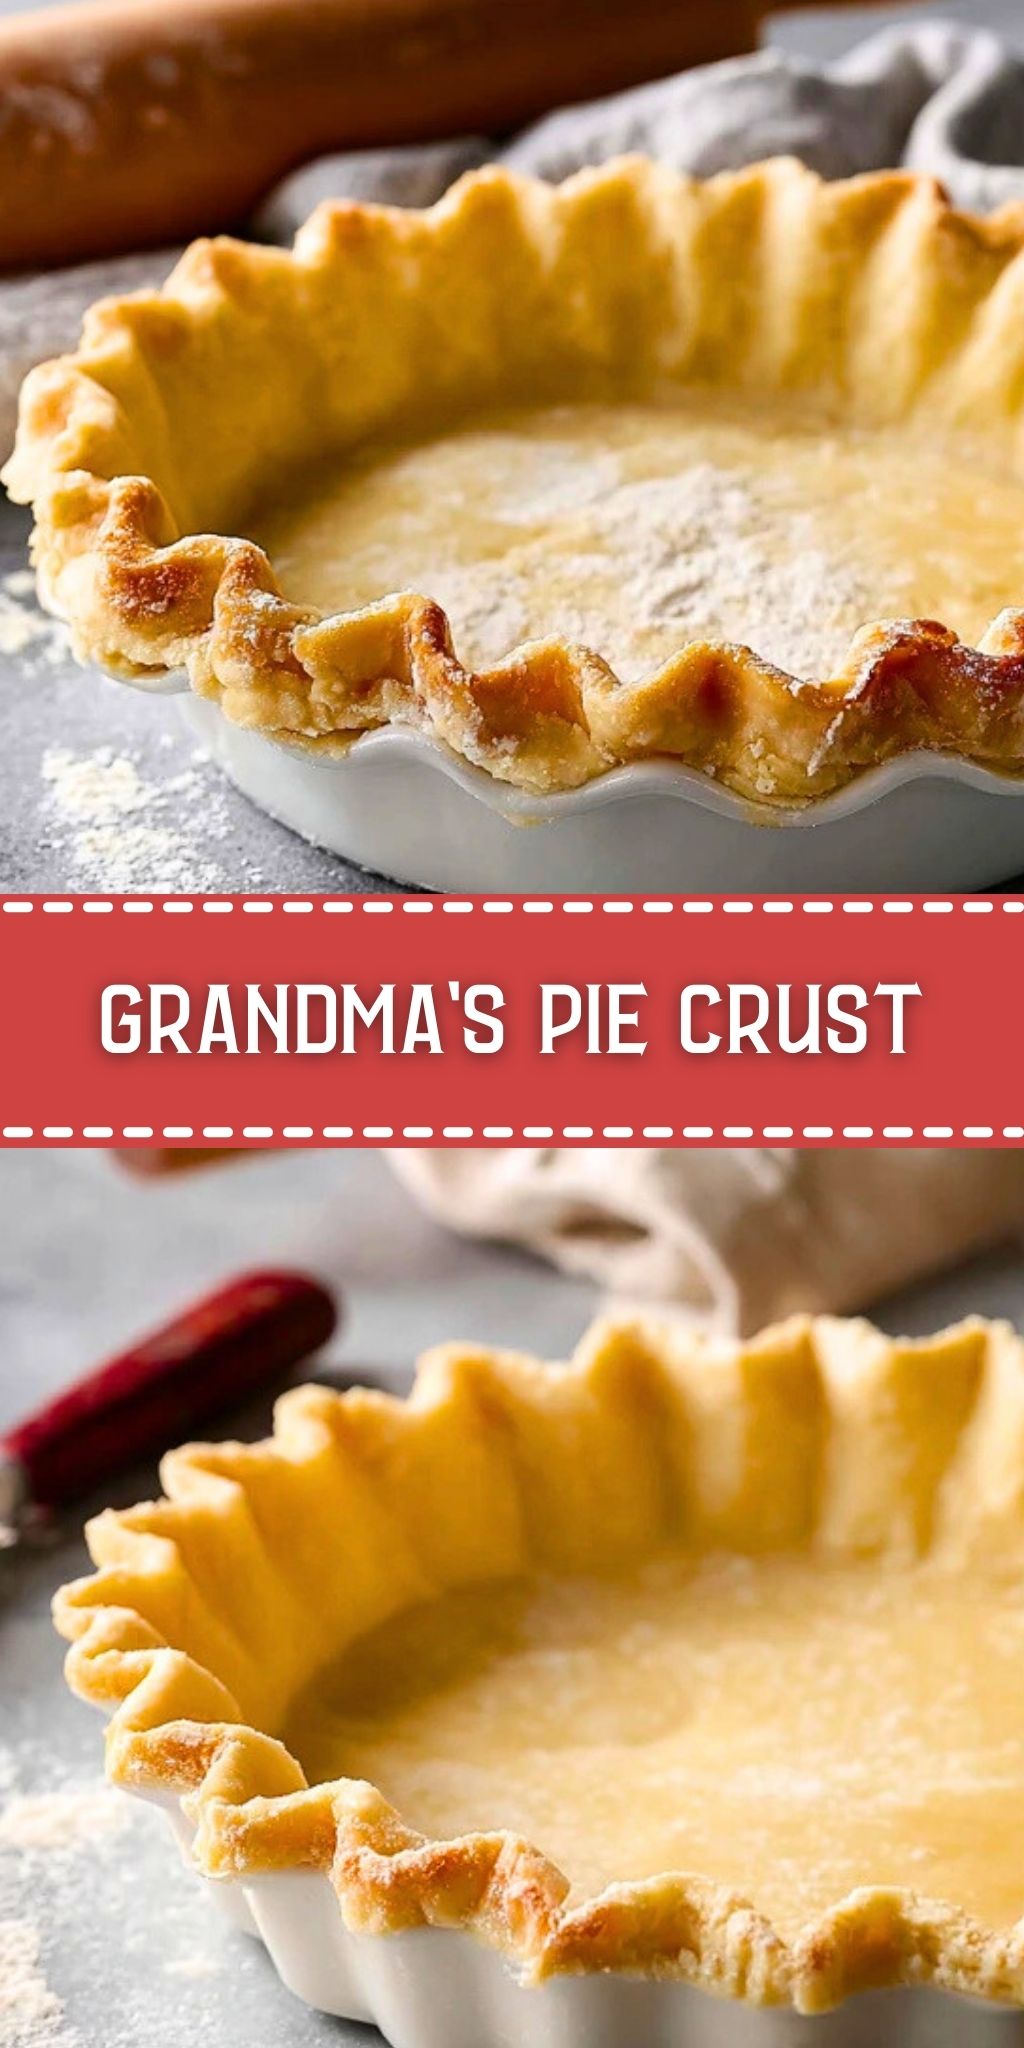
Do you ever bite into a pie and find yourself more in love with the crust than the filling? That flaky, buttery, golden goodness that melts in your mouth and reminds you of simpler times? That’s the magic of Grandma’s Pie Crust. It’s more than just a shell for your favorite fillings—it’s a recipe wrapped in nostalgia, perfected over generations.
This crust is tender yet crisp, rich without being heavy, and incredibly easy to master. Whether you’re baking a summer peach pie, a hearty chicken pot pie, or a holiday classic like pumpkin or pecan, this crust delivers every time. It’s the kind of recipe you pass down, not because it’s fancy, but because it simply works.
Preparation Phase & Tools to Use
Before diving into dough-making, gather your essentials. Having the right tools makes all the difference when working with pastry.
- Mixing Bowl: A large, cold bowl helps keep ingredients chilled—vital for that perfect flaky texture.
- Pastry Blender or Fork: This tool is key for cutting the butter into the flour. It distributes fat evenly without warming it up.
- Rolling Pin: Smooth and sturdy, your rolling pin shapes the dough without overworking it.
- Measuring Cups and Spoons: Precision matters in baking; even small deviations can change your crust’s texture.
- Plastic Wrap: Essential for resting the dough in the fridge. This allows the gluten to relax and flavors to meld.
- Pie Dish: Choose a ceramic or metal dish depending on your desired browning and heat distribution.
Chilling your tools beforehand, especially in warmer kitchens, can be the secret to success with this crust. A cool environment ensures your butter stays solid until it hits the oven—which is exactly how you get that beautiful flake.

Ingredients for the Grandma’s Pie Crust
- All-Purpose Flour: The foundation. It provides the structure and bulk of the crust.
- Unsalted Butter: Offers unbeatable flavor and creates those dreamy, flaky layers.
- Vegetable Shortening: Adds tenderness. When paired with butter, you get a perfect balance.
- Salt: Enhances the flavor of the crust.
- Ice Water: Helps bind the dough without melting the fat, which is key for flakiness.
Each ingredient plays a specific role in texture and taste. Skimping or swapping randomly can turn a legendary crust into a forgettable one.
How To Make the Grandma’s Pie Crust
Step 1: Start with Cold Ingredients
Combine the flour and salt in a chilled bowl. Add cold cubed butter and shortening.
Step 2: Cut the Fat In
Use a pastry blender or fork to cut the butter and shortening into the flour until it resembles coarse crumbs with pea-sized pieces.
Step 3: Add Ice Water
Drizzle in ice water, a tablespoon at a time, mixing just until the dough comes together. Avoid overworking.
Step 4: Chill the Dough
Divide the dough into two discs, wrap in plastic wrap, and refrigerate for at least an hour. This step is crucial for easy rolling and flakiness.
Step 5: Roll It Out
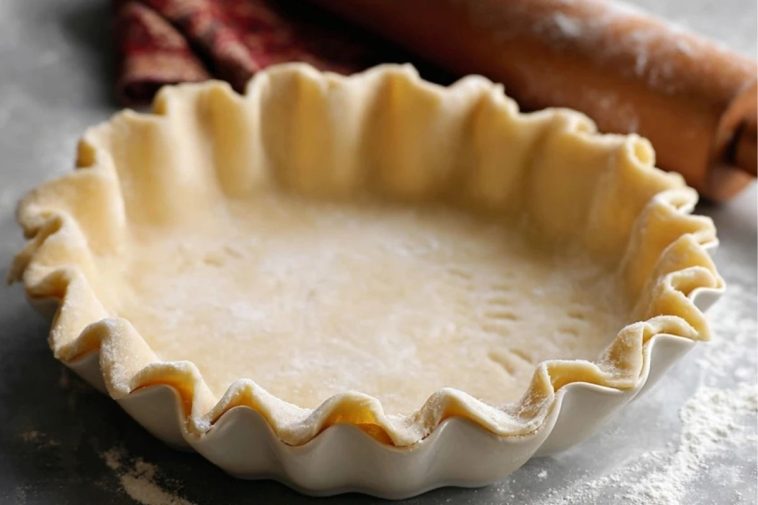
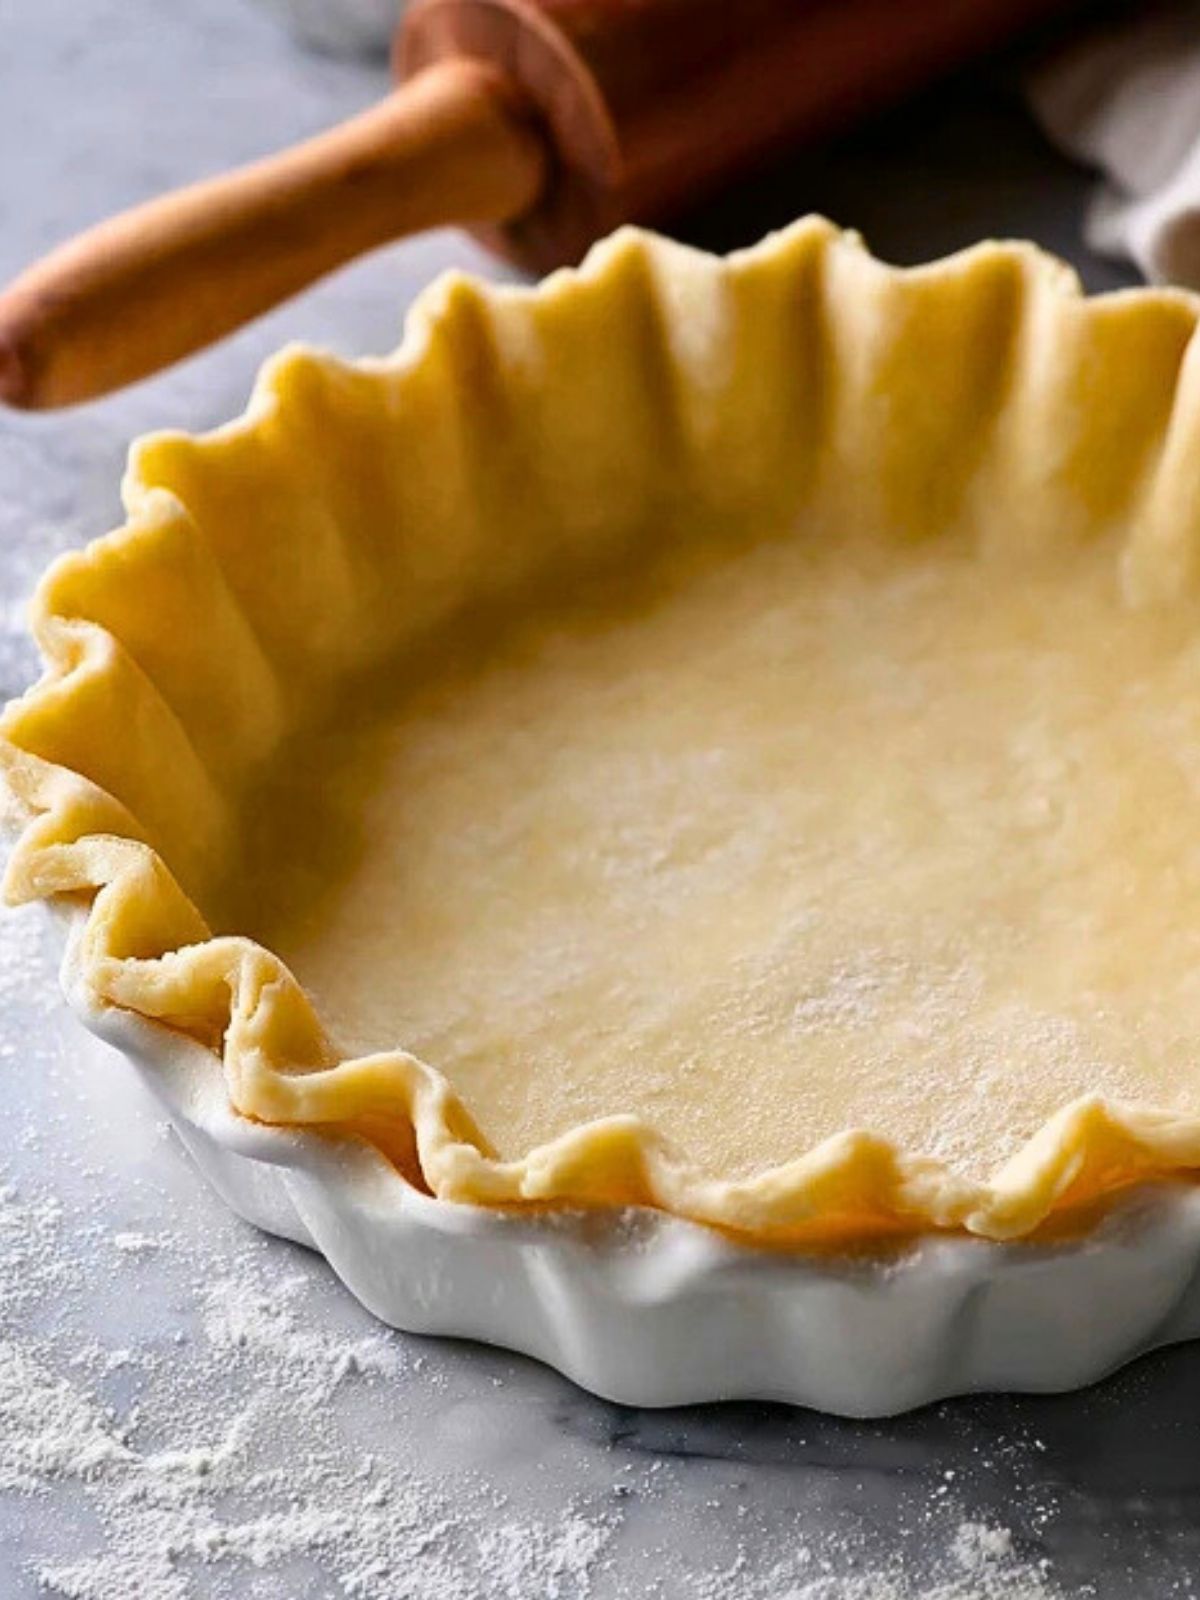
Lightly flour your surface and roll out the dough to fit your pie dish. Gently press it in and trim excess edges.
Step 6: Crimp and Chill Again
Crimp the edges however you like, then pop it back into the fridge while you prepare your filling.
How to Serve and Store Grandma’s Pie Crust
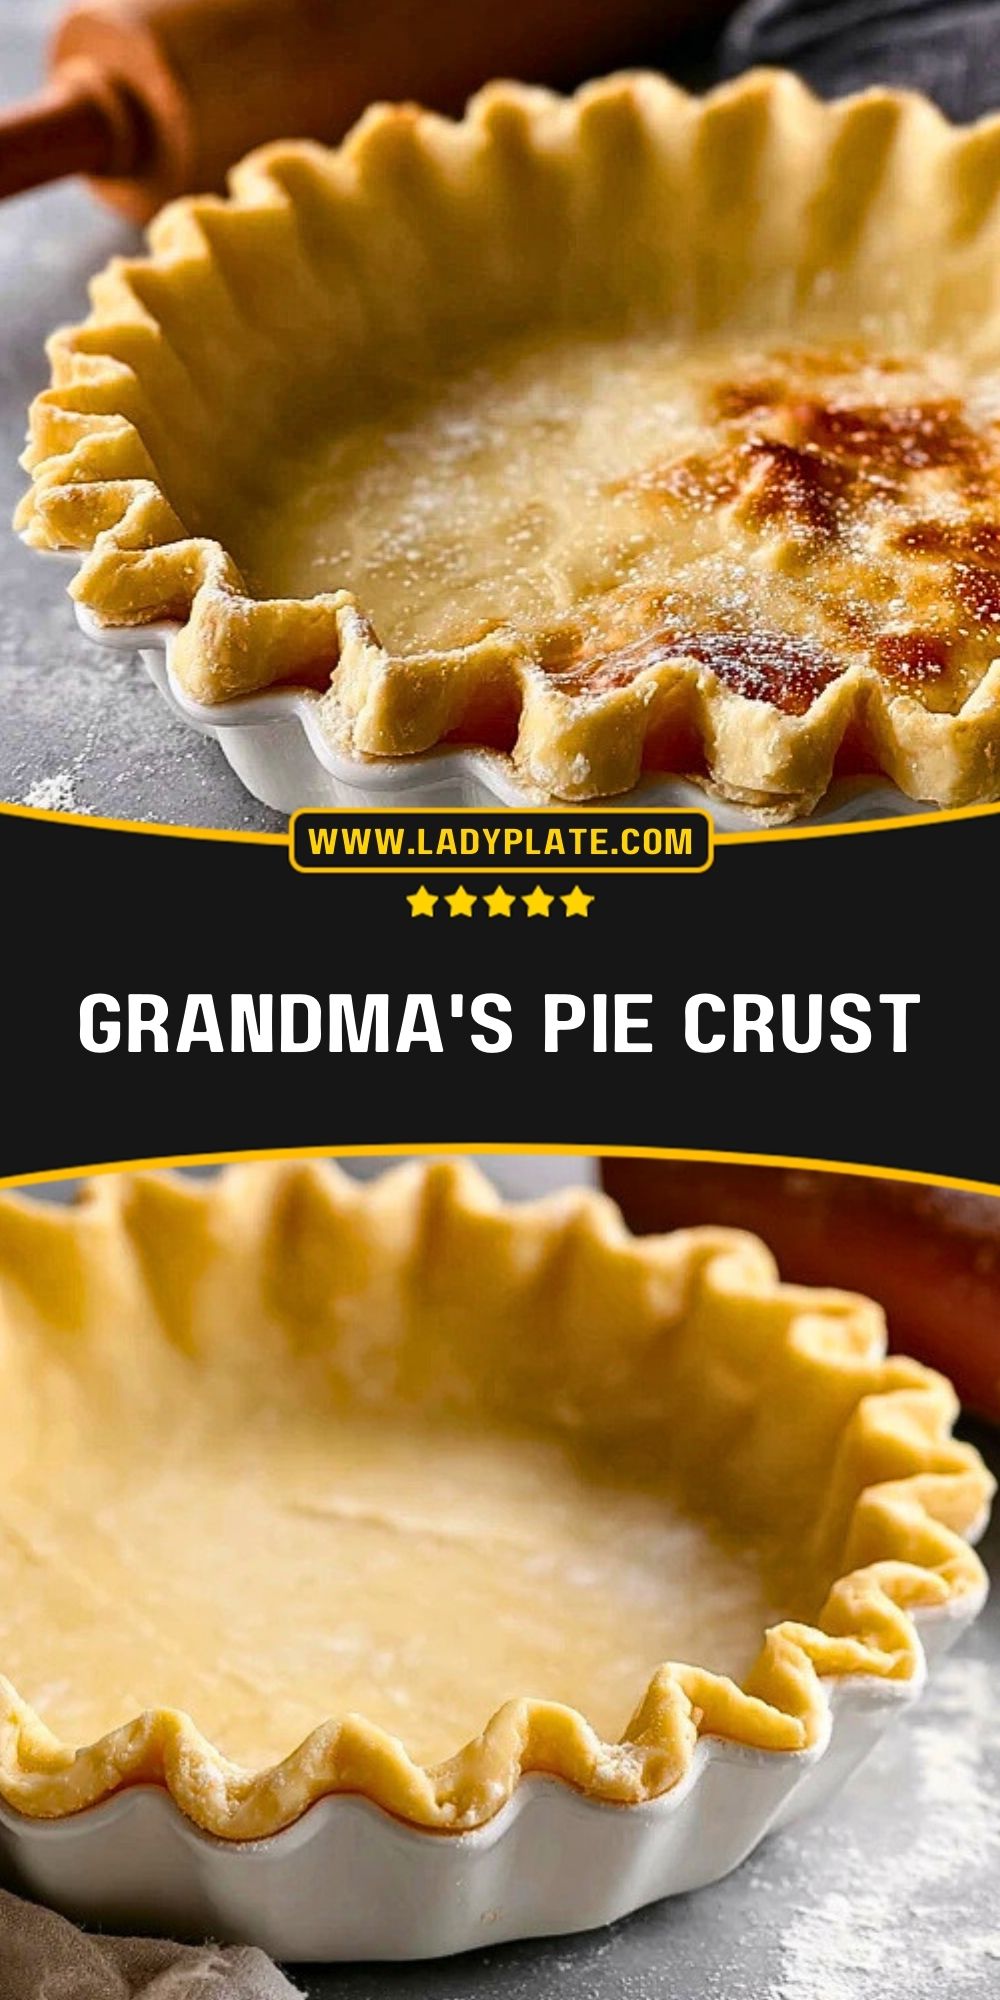
This crust can be pre-baked for cream pies or filled raw for fruit and savory pies. Serve it warm or at room temperature depending on the pie type.
If you’re prepping ahead, the dough discs can be stored in the refrigerator for up to 3 days or frozen for up to 3 months. Just thaw overnight in the fridge before using. Once baked, any leftover pie (with crust) can be kept covered at room temperature for a day or refrigerated for up to 4 days.
Frequently Asked Questions
How do I avoid a soggy bottom crust?
Blind-bake the crust and brush it with egg wash before adding wet fillings. This creates a moisture barrier.
Can I substitute butter for shortening?
Yes, but the texture may be slightly different. Butter adds flavor, while shortening gives more tenderness.
Why is my crust tough instead of flaky?
Overmixing or adding too much water can lead to a tough crust. Handle it gently.
Can I use a food processor?
You can, but pulse gently to avoid warming the fats. Over-processing can ruin the texture.
Should I add sugar for sweet pies?
Yes, add a teaspoon or two of sugar if you’re making dessert pies. It lightly sweetens the dough.
Want More Pie Crust & Filling Ideas?
You might also enjoy the Indulgent Chocolate Chess Pie, where this crust becomes a perfect cocoa companion. Or go for something fruity like the Apple Enchiladas — a comforting twist with spiced apple filling.
For savory options, the Wendy’s Chili Recipe pairs wonderfully with mini hand pies made from this crust. You can also check out the Moist Apple Crumble Coffee Cake for a streusel twist.
More savory cravings? Wrap it around the Creamy Broccoli Cheddar Soup in a pot-pie style dish, or dive into the Hearty Tuscan Bean Soup alongside buttery crusty bakes.
Pin and Tell Me How Yours Turned Out
You can save this to your pie boards for next time. Just click the Pin button.
If you make it, I’d love to hear how it turned out. Did you use all butter? Or try a sweet version? Leave a comment below. I’m always curious how others bring Grandma’s legacy into their kitchens.
Find more daily bakes and pie inspirations on my Pinterest @LadyPlate

Grandma’s Pie Crust
- Total Time: 1 hour 15 minutes
- Yield: 1 double crust or 2 single crusts
- Diet: Vegetarian
Description
This classic pie crust recipe delivers the perfect blend of flakiness and tenderness, just like Grandma used to make. Made with a combination of butter and shortening, it works beautifully for both sweet and savory pies.
Ingredients
1 ¼ cups all-purpose flour
½ cup unsalted butter, cold and cubed
¼ cup vegetable shortening, cold
½ teaspoon salt
3 to 5 tablespoons ice water
Instructions
1. In a large cold bowl, whisk together the flour and salt.
2. Cut in the butter and shortening using a pastry blender or fork until the mixture resembles coarse crumbs with pea-sized bits.
3. Add ice water, one tablespoon at a time, gently mixing with a fork until the dough comes together.
4. Divide the dough into two equal parts, flatten into discs, and wrap tightly in plastic wrap. Chill for at least 1 hour.
5. On a lightly floured surface, roll out one disc to fit your pie dish. Carefully transfer and press into the dish, trimming excess edges.
6. Crimp edges as desired. Chill again if needed before baking or filling.
Notes
Always chill your fats and tools for optimal flakiness.
Avoid overmixing; it’s fine if you see visible chunks of butter in the dough.
Resting the dough before rolling prevents shrinkage in the oven.
- Prep Time: 15 minutes
- Category: Pie Crust
- Method: Baking
- Cuisine: American
Nutrition
- Serving Size: 1 slice (1/8 of pie crust)
- Calories: 180
- Sugar: 0g
- Sodium: 105mg
- Fat: 13g
- Saturated Fat: 6g
- Unsaturated Fat: 6g
- Trans Fat: 0.5g
- Carbohydrates: 14g
- Fiber: 0.5g
- Protein: 2g
- Cholesterol: 30mg