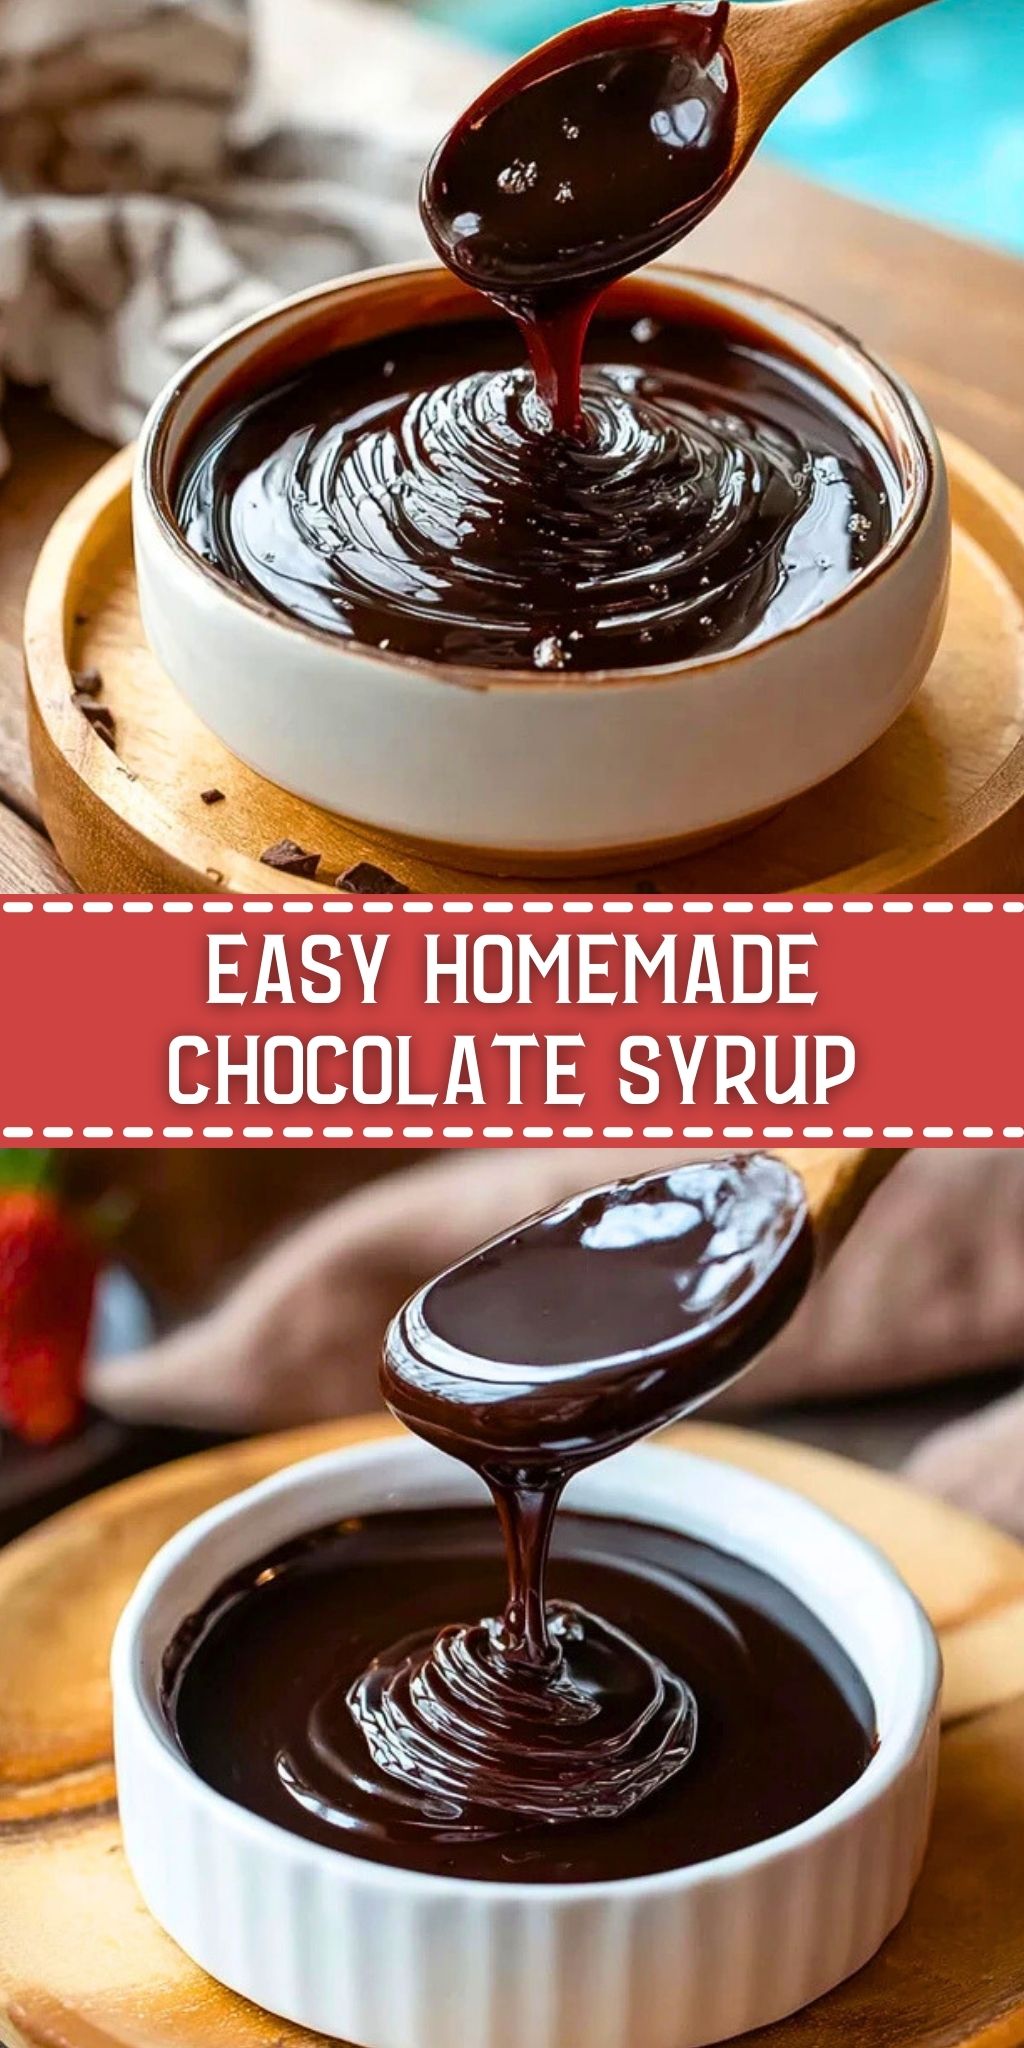
Craving a drizzle of rich, glossy chocolate that doesn’t come from a store-bought bottle? This Easy Homemade Chocolate Syrup is your answer! Whether you need a quick topping for your ice cream or a luscious stir-in for warm milk, this syrup brings deep cocoa flavor without preservatives or fillers.
What makes this syrup extra special is its simplicity. Made with pantry staples and ready in minutes, it delivers a deep chocolate taste that rivals any commercial brand. You’ll find yourself making it on repeat – for desserts, drinks, or just a spoonful of indulgence straight from the jar.
Preparation Phase & Tools to Use
Creating a smooth, glossy chocolate syrup starts with a few essential tools:
- Medium Saucepan: This is where all the magic happens. A heavy-bottomed saucepan prevents scorching and ensures even heat distribution.
- Whisk: A good whisk is critical for combining cocoa powder and sugar into a smooth paste, avoiding lumps.
- Measuring Cups & Spoons: Precision matters when balancing sweetness and cocoa bitterness.
- Glass Jar or Bottle: For storing the syrup. A jar with a tight-fitting lid keeps it fresh for weeks in the fridge.
- Fine Mesh Sieve (Optional): For extra-silky results, you can strain the syrup before cooling.
With the right tools, this syrup comes together quickly, cleanly, and with satisfying results.

Ingredients for the Easy Homemade Chocolate Syrup
- Unsweetened Cocoa Powder: The backbone of the syrup, delivering bold chocolate flavor.
- Granulated Sugar: Sweetens and balances the bitterness of the cocoa.
- Water: Dissolves the dry ingredients and creates the syrup base.
- Vanilla Extract: Adds depth and warmth to the final flavor.
- Salt: Just a pinch enhances all the other flavors and keeps the sweetness in check.
Each ingredient has a clear role: together, they form a syrup that’s velvety, rich, and irresistible.
How To Make the Easy Homemade Chocolate Syrup
Step 1: Combine Dry Ingredients
In a medium saucepan, whisk together the unsweetened cocoa powder, granulated sugar, and salt. This ensures even mixing and prevents clumps later.
Step 2: Add Water and Heat
Slowly pour in the water while whisking to form a smooth mixture. Place the saucepan over medium heat and continue whisking as it warms.
Step 3: Bring to a Gentle Boil
Once everything is combined and the mixture begins to bubble, let it boil gently for 3-5 minutes. Keep whisking to avoid scorching. The syrup will thicken slightly as it cooks.
Step 4: Remove from Heat and Add Vanilla
Take the saucepan off the heat and stir in the vanilla extract. This step adds aromatic depth without cooking off the flavor.
Step 5: Cool and Store
Let the syrup cool for about 10 minutes. You can strain it through a fine mesh sieve into a jar for a smoother finish. Seal and refrigerate.
How to Serve and Store Easy Homemade Chocolate Syrup
Serving Ideas:
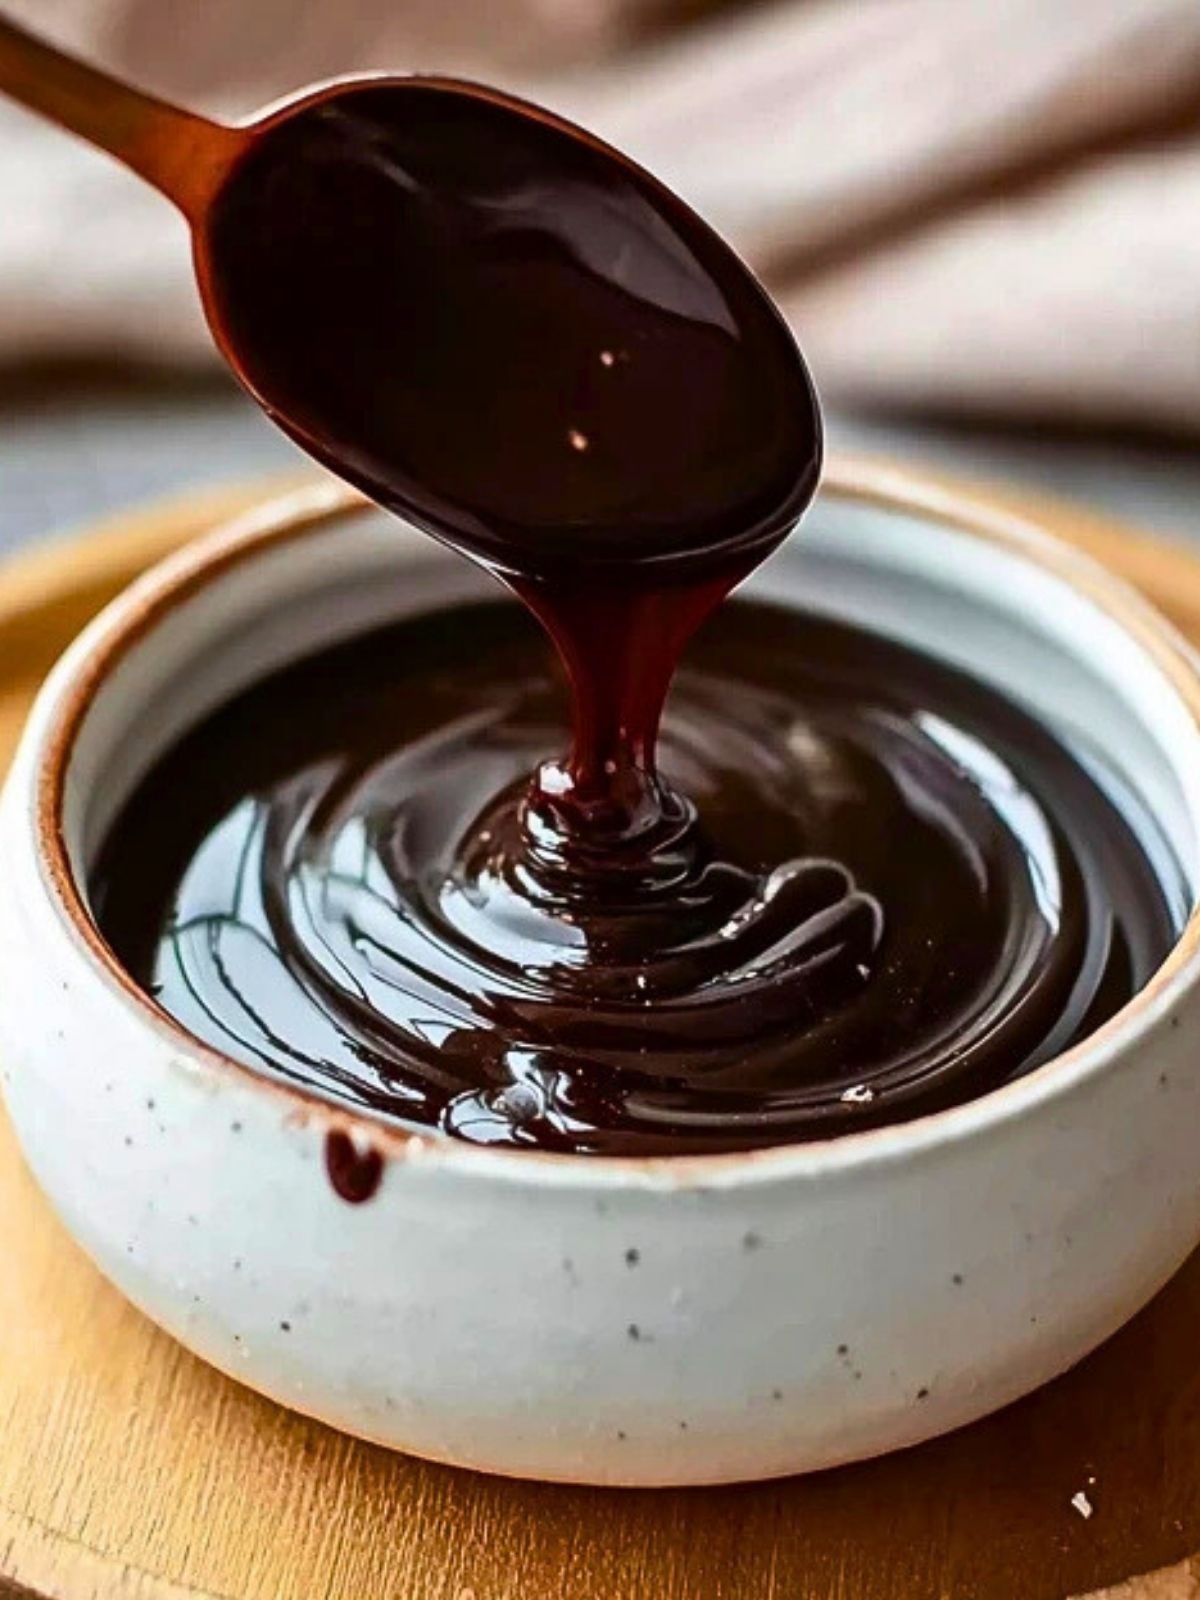
This chocolate syrup is incredibly versatile. Drizzle it over ice cream, pancakes, or waffles. Stir it into warm or cold milk for an instant chocolate drink. Swirl it into yogurt or use it as a glaze for cakes and brownies. You can even add a spoonful to your morning coffee for a mocha twist.
Storing Instructions:
Store the syrup in an airtight glass jar or bottle in the refrigerator. It will keep well for up to 3 weeks. Before each use, give it a stir or shake – slight separation is natural. If it thickens too much, you can gently reheat it or stir in a small splash of warm water.
Frequently Asked Questions
How long does homemade chocolate syrup last?
When stored in a sealed container in the refrigerator, it can last up to 3 weeks. Always use a clean spoon to avoid contamination.
Can I use this syrup in cold drinks?
Absolutely. It stirs beautifully into cold milk or even iced coffee. Just mix thoroughly to ensure it dissolves evenly.
Is this syrup thick like commercial brands?
It’s slightly thinner but much richer in taste. For a thicker version, let it simmer a bit longer or reduce the water slightly.
Can I make this sugar-free?
Yes, you can substitute a granulated sugar alternative like erythritol or stevia blend, though the texture and flavor may vary slightly.
Why is salt included?
Salt sharpens and deepens the cocoa flavor while balancing the sweetness. It’s just a pinch, but it makes a big difference.
Can I double the recipe?
Yes, this syrup scales up well. Just make sure your saucepan is large enough and keep an eye on the cooking time.
Want More Chocolate Dessert Ideas?
You might also like the Indulgent Chocolate Chess Pie, a decadent, fudgy treat perfect for dinner parties. Or if you’re craving something creamy and bite-sized, check out the Cheesecake Deviled Strawberries, which pair beautifully with a drizzle of this syrup.
For more quick-fix sweets, try the gooey Raspberry Crescent Rolls. They’re simple, buttery, and perfect with a touch of chocolate.
Or if you’re in the mood for rich layers, the Chocolate Peanut Butter Dream Bars are worth your time. And don’t miss out on the Decadent Chocolate S’mores Cupcakes — the center surprise makes them a hit.
Pin and Tell Me How Yours Turned Out
You can save this to your dessert boards for next time. Just click the Pin button.
If you make it, I’d love to hear how it turned out. Did you make it thicker? Use it in a mocha? Leave a comment below. I’m always curious how others use their syrup.
And if you’re looking for more sweet creations, come hang out with me on Pinterest: LadyPlate on Pinterest


Easy Homemade Chocolate Syrup
- Total Time: 10 minutes
- Yield: About 1¼ cups
- Diet: Vegetarian
Description
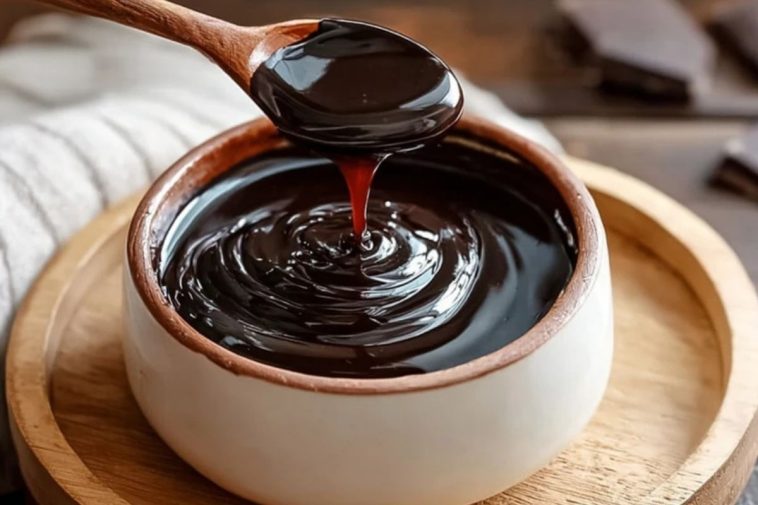
This Easy Homemade Chocolate Syrup is rich, glossy, and made from scratch with pantry staples. Perfect for drizzling over desserts, stirring into drinks, or gifting in jars. It’s ready in minutes and stays fresh for weeks!
Ingredients
1 cup unsweetened cocoa powder
1 cup granulated sugar
1 cup water
1 teaspoon vanilla extract
1 pinch salt
Instructions
1. In a medium saucepan, whisk together the cocoa powder, sugar, and salt until fully combined.
2. Slowly add the water while whisking to create a smooth mixture.
3. Place over medium heat and bring to a gentle boil, whisking constantly for 3–5 minutes.
4. Once thickened slightly, remove from heat and stir in vanilla extract.
5. Let cool for 10 minutes, then strain (optional) and transfer to a clean jar. Refrigerate and use as desired.
Notes
Let the syrup cool completely before storing for best consistency.
Use a fine mesh sieve to remove any lumps and make the texture silky smooth.
If it thickens too much in the fridge, stir in a splash of warm water to loosen.
- Prep Time: 5 minutes
- Cook Time: 5 minutes
- Category: Dessert
- Method: Stovetop
- Cuisine: American
Nutrition
- Serving Size: 2 tablespoons
- Calories: 96
- Sugar: 17g
- Sodium: 30mg
- Fat: 1g
- Saturated Fat: 0.6g
- Unsaturated Fat: 0.3g
- Trans Fat: 0g
- Carbohydrates: 22g
- Fiber: 2g
- Protein: 1g
- Cholesterol: 0mg