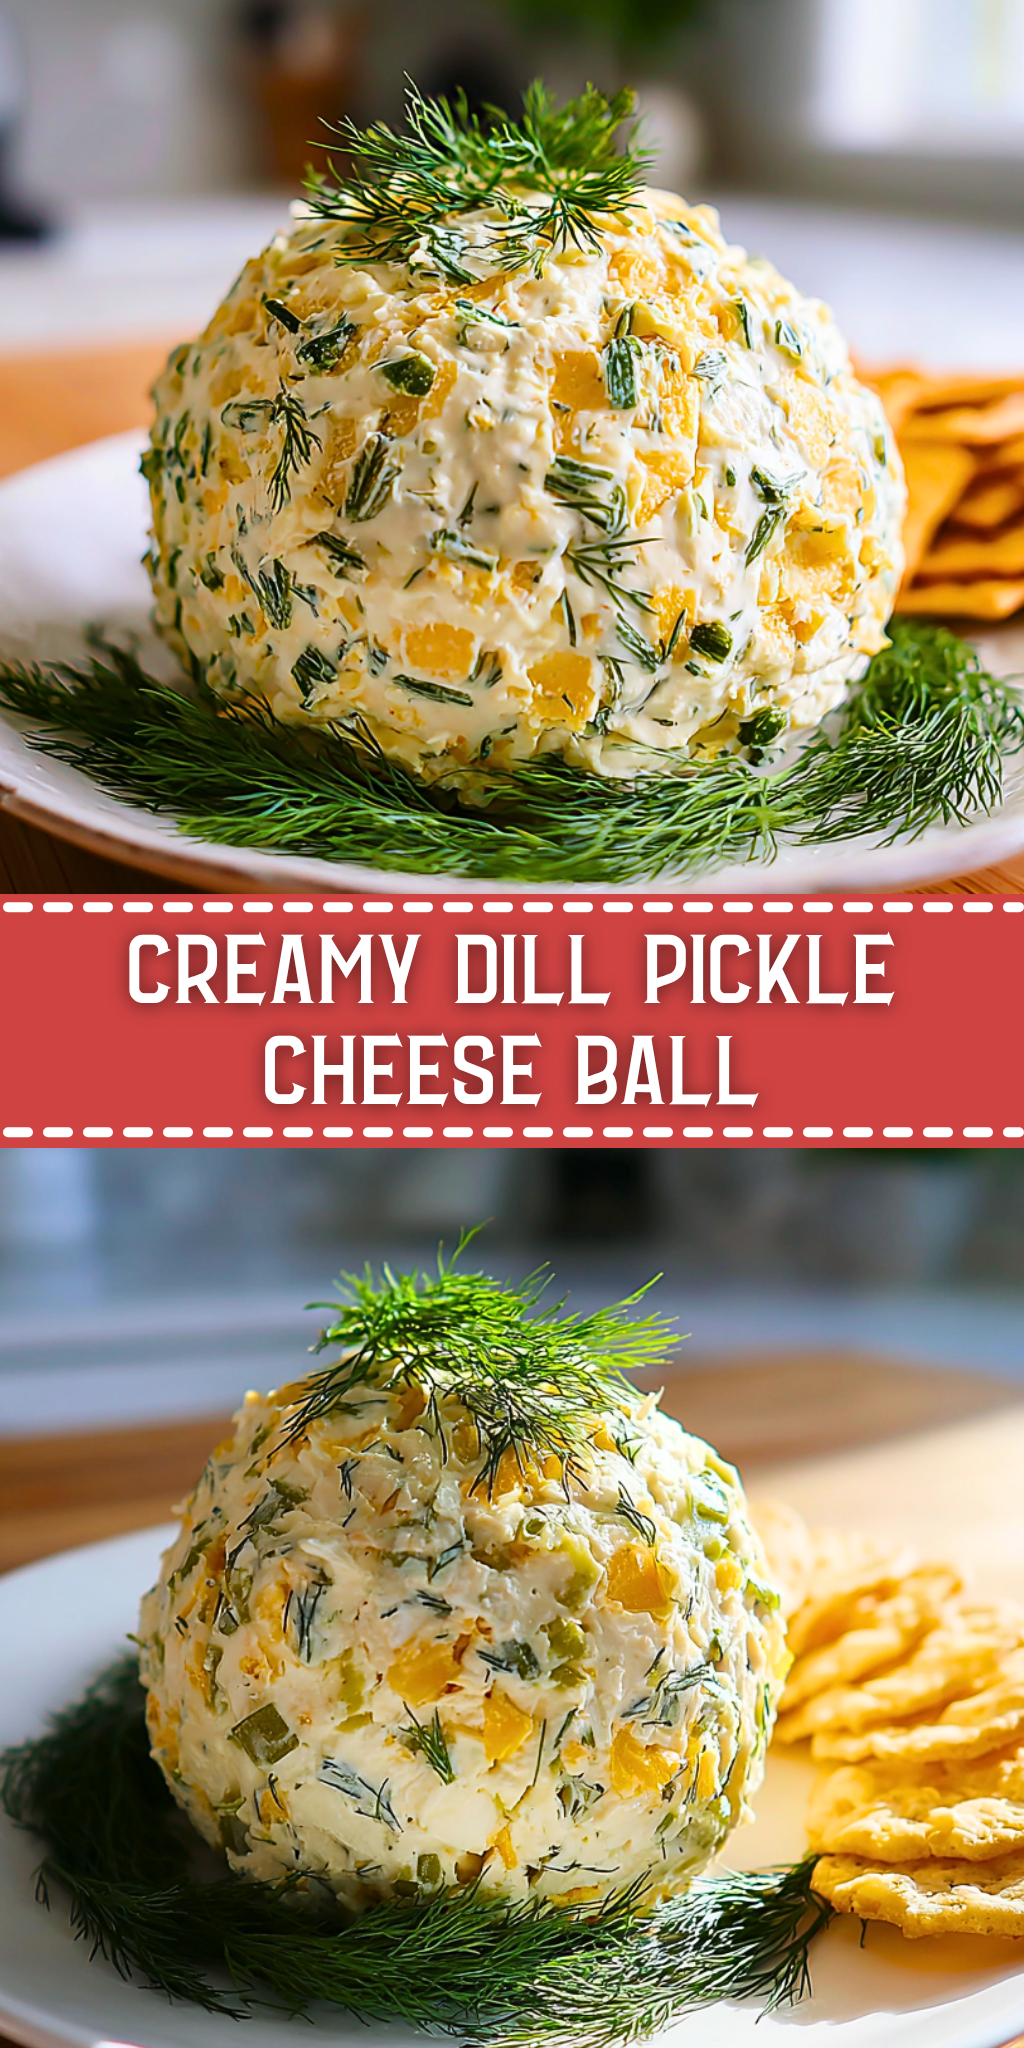
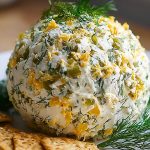
Bright, tangy, and irresistibly creamy, this Creamy Dill Pickle Cheese Ball is the ultimate crowd-pleaser. Whether you’re hosting a party or just want something snazzy to serve with crackers on a casual weekend, this cheese ball is the flavorful twist you’ve been looking for.

With the crunchy zing of pickles, the herbaceous lift of fresh dill, and the smooth blend of cheeses, it transforms humble ingredients into a showstopping appetizer. The texture is both airy and rich, perfect for spreading, scooping, or slicing your way through every bite.
What Kind of Pickles Work Best for This Cheese Ball?
You want pickles that are firm, tangy, and packed with flavor. Classic dill pickles or garlic dill spears work beautifully. Avoid sweet pickles—they’ll throw off the savory balance. Chopped finely, these pickles add pops of brightness and crunch throughout the cheese ball.
Ingredients for the Creamy Dill Pickle Cheese Ball
Cream Cheese
This forms the creamy base. It binds everything together while delivering that rich, smooth texture.
Shredded Cheddar Cheese
Gives the cheese ball sharpness and a slight nuttiness. Use a fine shred for easy mixing.
Dill Pickles
The star ingredient. Adds tang, texture, and unmistakable dill flavor.
Fresh Dill
Brings a bright, green freshness that lifts the entire mix.
Green Onions
Offer a gentle oniony bite that complements the dill and pickles perfectly.
Garlic Powder
Adds depth and enhances the overall savory profile without overwhelming the freshness.
Crackers or Veggies (for serving)
Not part of the cheese ball itself, but essential for scooping and enjoying every last bite.
How To Make the Creamy Dill Pickle Cheese Ball
Step 1: Soften the Cream Cheese
Take the cream cheese out of the fridge and let it sit at room temperature for about 30 minutes. This makes it much easier to mix and helps everything blend smoothly.
Step 2: Mix the Base
In a large mixing bowl, combine the softened cream cheese, shredded cheddar, garlic powder, chopped dill pickles, sliced green onions, and fresh chopped dill. Mix until everything is evenly incorporated. A hand mixer can make this step quick and thorough.
Step 3: Shape Into a Ball
Once fully mixed, use your hands or a spatula to shape the mixture into a round ball. If it’s too sticky, you can lightly chill it for 10 minutes before shaping.
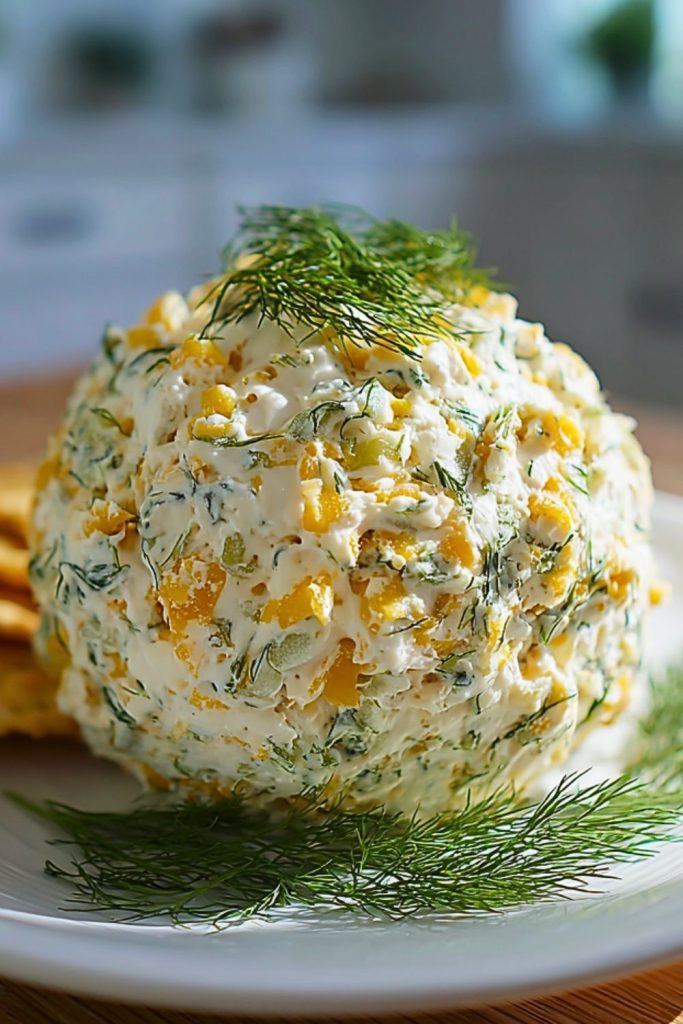
Step 4: Coat the Exterior
Roll the cheese ball in extra chopped dill, green onions, or even a bit more shredded cheddar for visual flair and added texture. Press gently to ensure the coating sticks.
Step 5: Chill and Set
Wrap the cheese ball in plastic wrap and refrigerate for at least one hour before serving. This helps the flavors meld and the ball to firm up for better slicing or scooping.
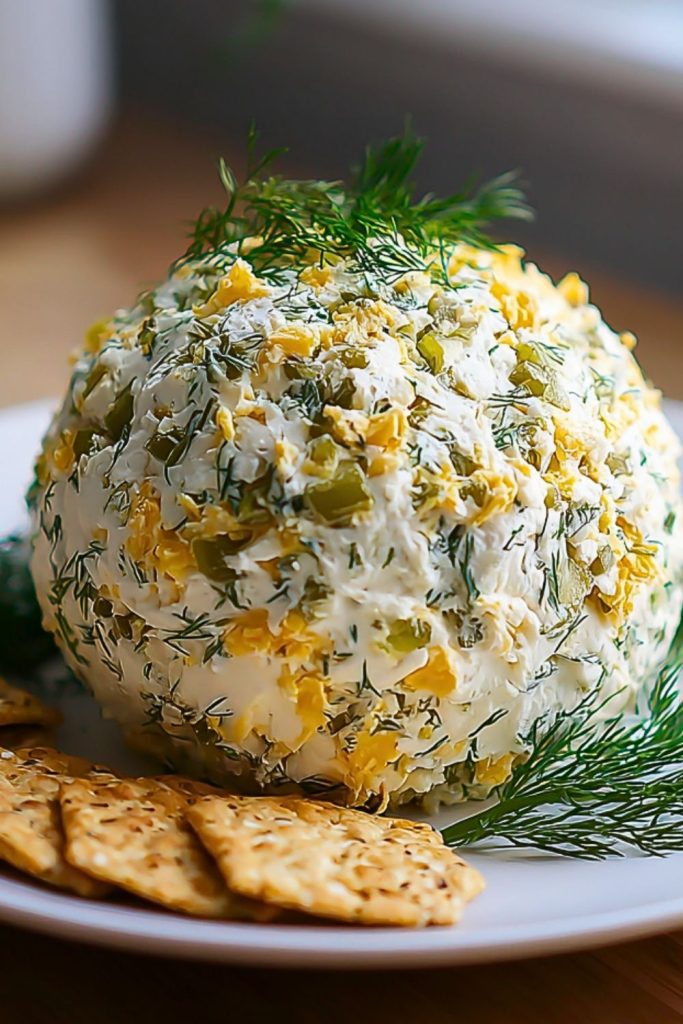
Step 6: Serve It Right
Unwrap and place on a serving plate surrounded by crackers, pita chips, or veggie sticks. Garnish with a sprig of dill on top for that final flourish.
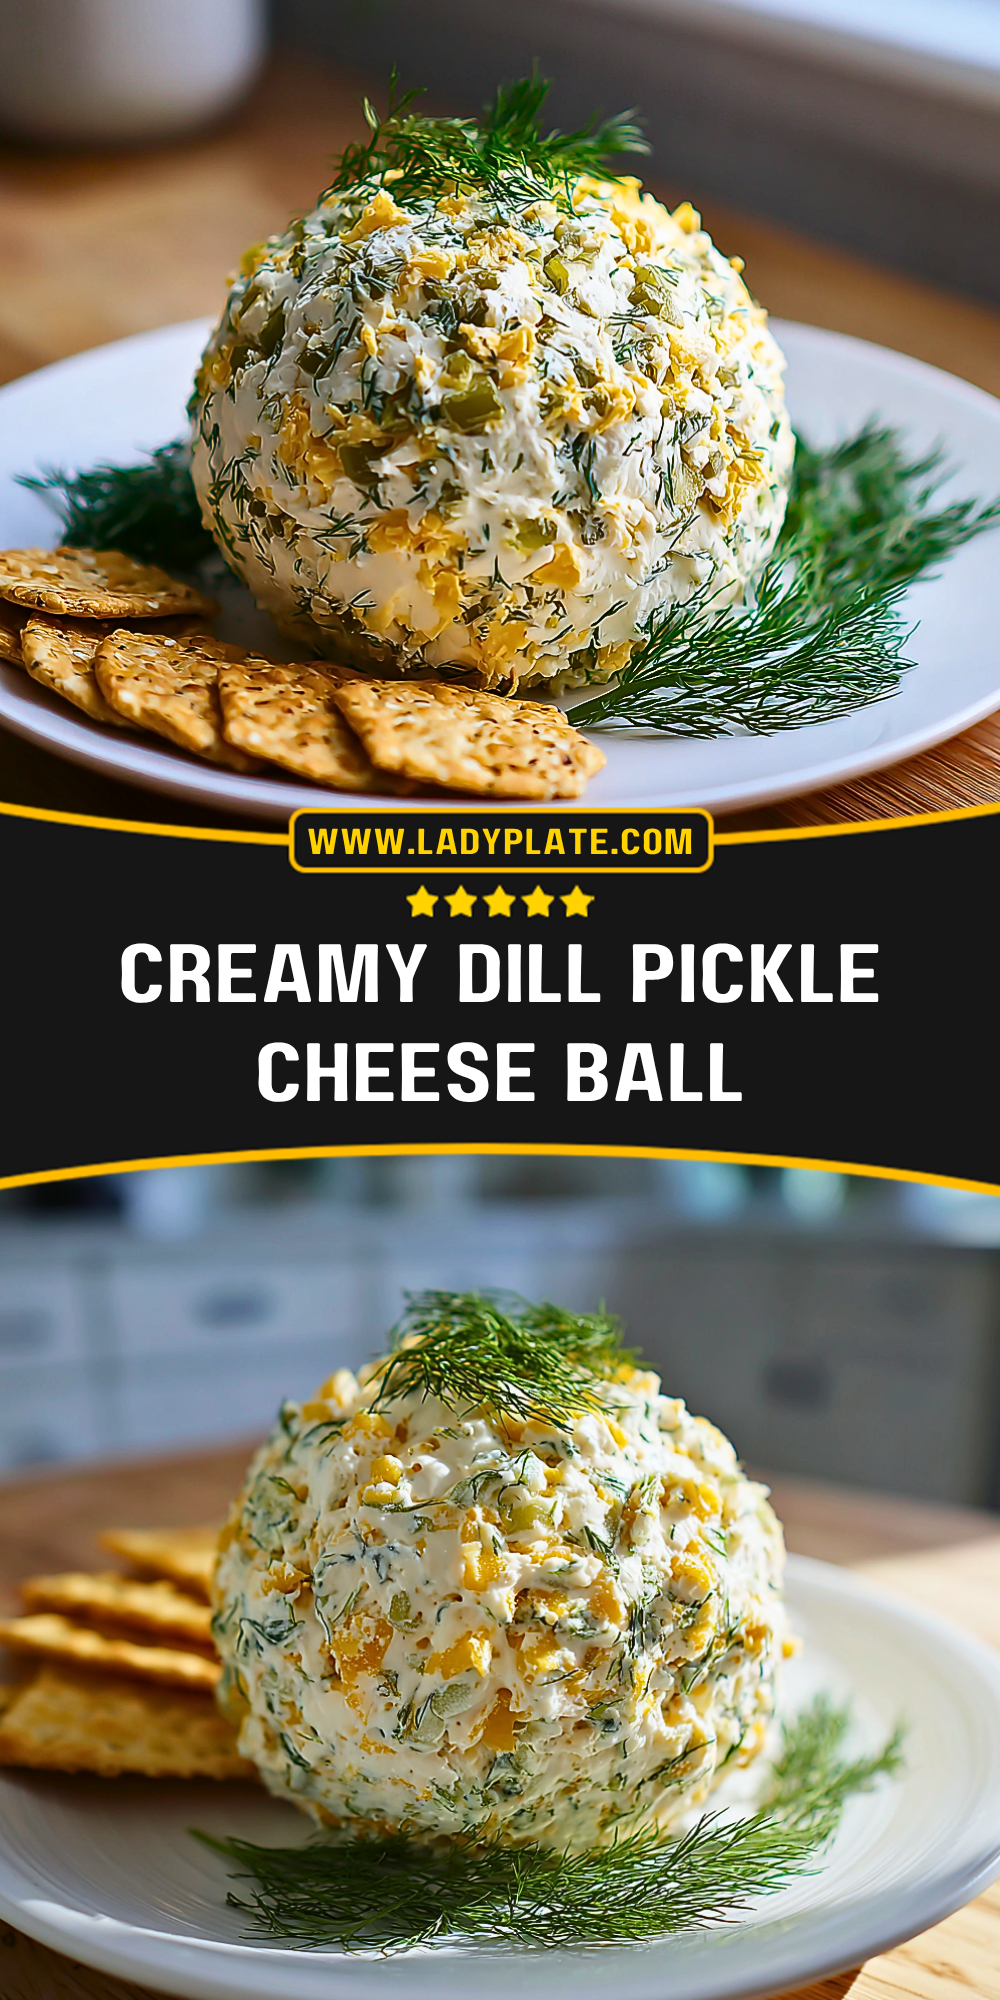
How to Serve and Store the Creamy Dill Pickle Cheese Ball
This cheese ball is best served cold but slightly softened for easier spreading. Take it out of the fridge about 15 minutes before serving. Pair it with buttery crackers, crunchy crostini, or sliced veggies like cucumbers and bell peppers.
To store, wrap any leftovers tightly in plastic wrap or place in an airtight container. It will keep in the refrigerator for up to 5 days. Avoid freezing, as the texture may become grainy when thawed.
Frequently Asked Questions
How far in advance can I make this cheese ball?
You can prepare it up to 2 days in advance. Just keep it tightly wrapped and chilled until ready to serve.
Can I use dried dill instead of fresh?
Yes, but reduce the quantity. Use about 1 teaspoon of dried dill in place of 1 tablespoon of fresh.
What can I use instead of green onions?
Chives or finely minced shallots work well as substitutes, offering a milder or slightly sweeter flavor.
Can I make this cheese ball spicy?
Absolutely! Mix in a diced jalapeño or a dash of cayenne pepper for a kick.
Is this cheese ball gluten-free?
The cheese ball itself is naturally gluten-free. Just be sure to pair it with gluten-free crackers or vegetables.
Want More Appetizer Ideas?
You might also like the Loaded Tater Tot Appetizers, a crispy and cheesy finger food that vanishes fast. Or try the Meaty Texas Trash Dip, packed with bold Tex-Mex flavor and perfect for scooping.
For a warm, gooey option, the Cheesy Pizza Tater Tot Casserole doubles as both dip and meal. Looking for another creamy option? The Creamy Boat Dip (Rotel Ranch Dip) brings tang and spice in every bite. And if you’re into crunch, Air Fryer Stuffed Pickles are a must-try.
Pin and Tell Me How Yours Turned Out
You can save this to your appetizer boards for next time. Just click the Pin button.
If you make it, I’d love to hear how it turned out. Did you go heavy on the pickles? Try a different cheese blend? Leave a comment below. I’m always curious how others tweak it.
Creamy Dill Pickle Cheese Ball
- Total Time: 1 hour 15 minutes
- Yield: Serves 8-10
Description
This Creamy Dill Pickle Cheese Ball is a flavorful, tangy, and ultra-creamy appetizer that combines sharp cheddar, zesty pickles, and fresh herbs into one irresistible bite. Perfect for holidays, potlucks, or anytime you need a crowd-pleasing snack.
Ingredients
16 oz cream cheese, softened
1 ½ cups shredded sharp cheddar cheese
½ cup finely chopped dill pickles
2 tablespoons chopped fresh dill (plus extra for garnish)
2 green onions, thinly sliced
½ teaspoon garlic powder
Optional: Extra chopped dill, green onion, or cheddar for coating
Instructions
- Let the cream cheese sit at room temperature for 30 minutes to soften.
- In a large bowl, combine softened cream cheese, shredded cheddar, chopped pickles, fresh dill, green onions, and garlic powder.
- Mix until everything is evenly incorporated.
- Shape the mixture into a round ball.
- Roll the ball in optional coatings if desired.
- Wrap in plastic wrap and chill for at least 1 hour.
- Serve with crackers, crostini, or fresh veggies.
- Prep Time: 15 minutes (plus chilling)
- Chill Time: 1 hour
- Category: Appetizers