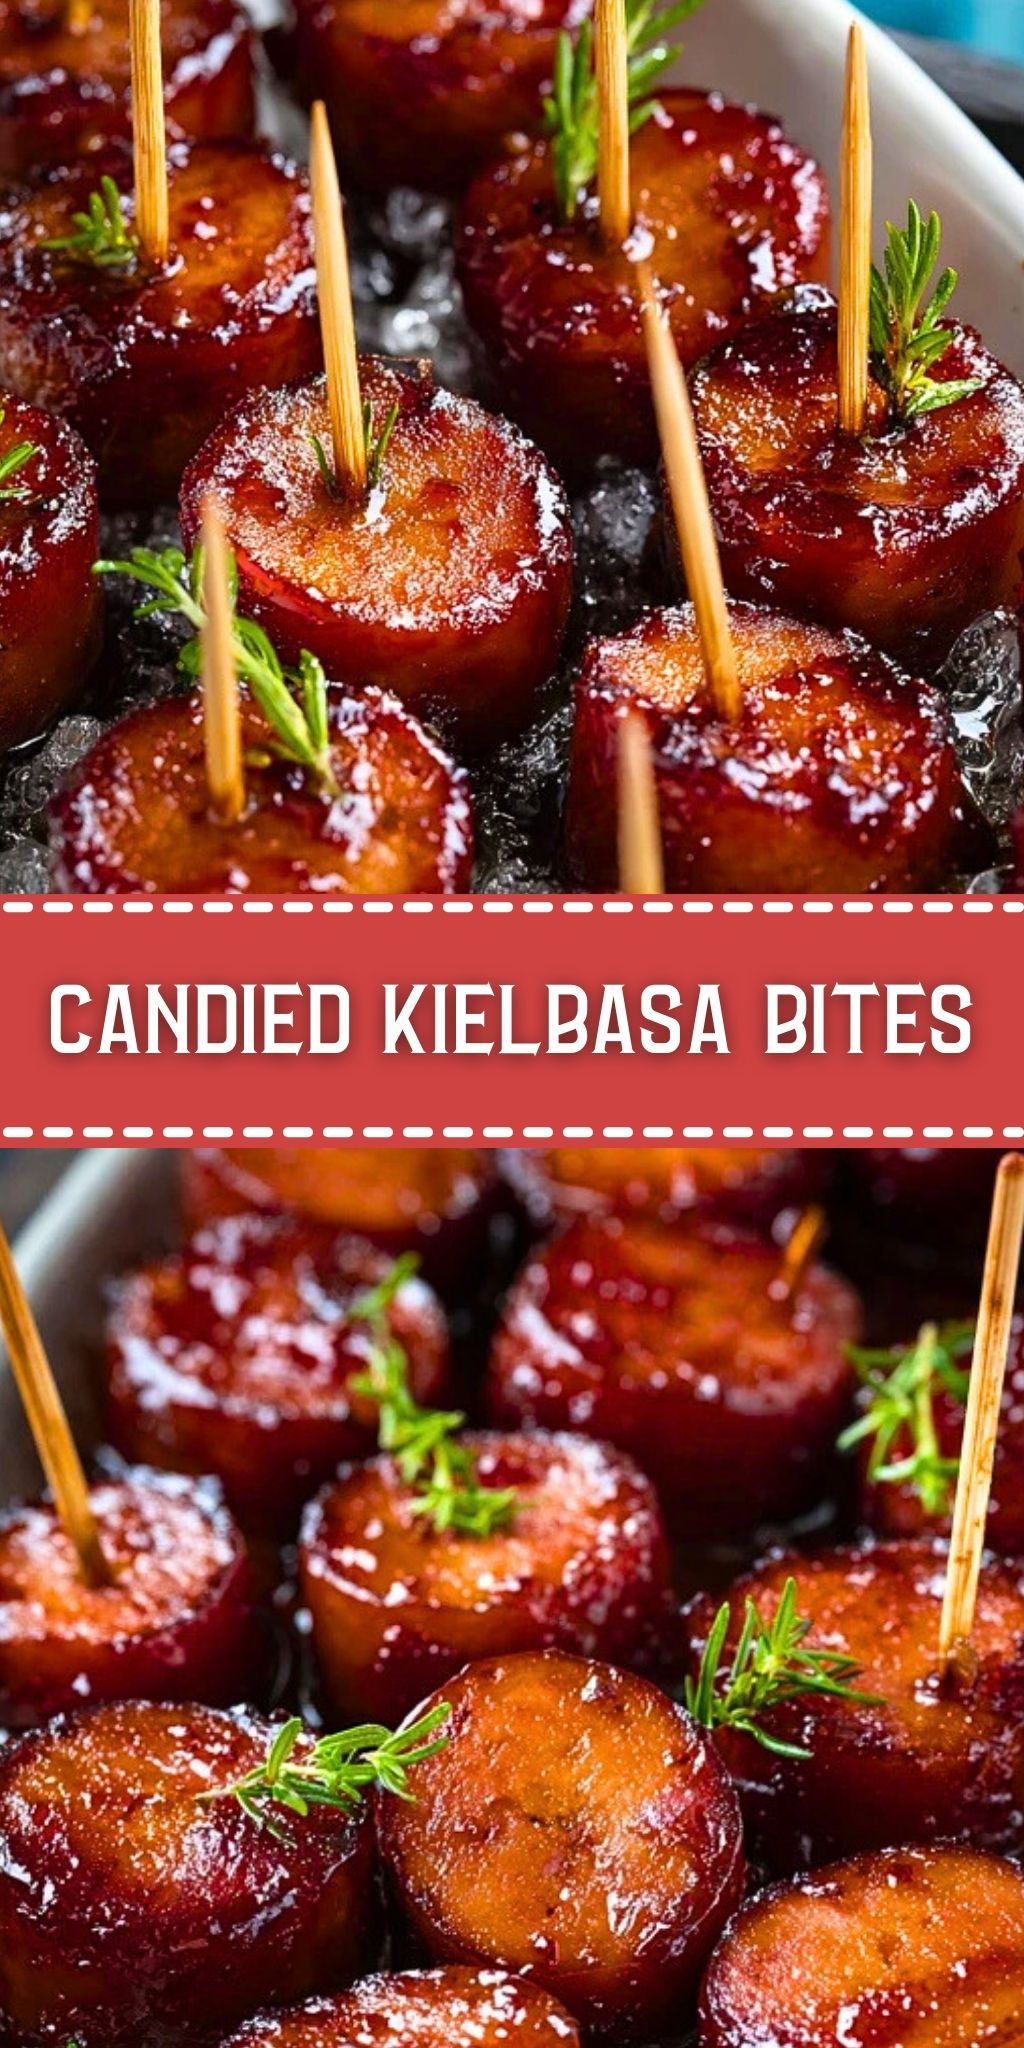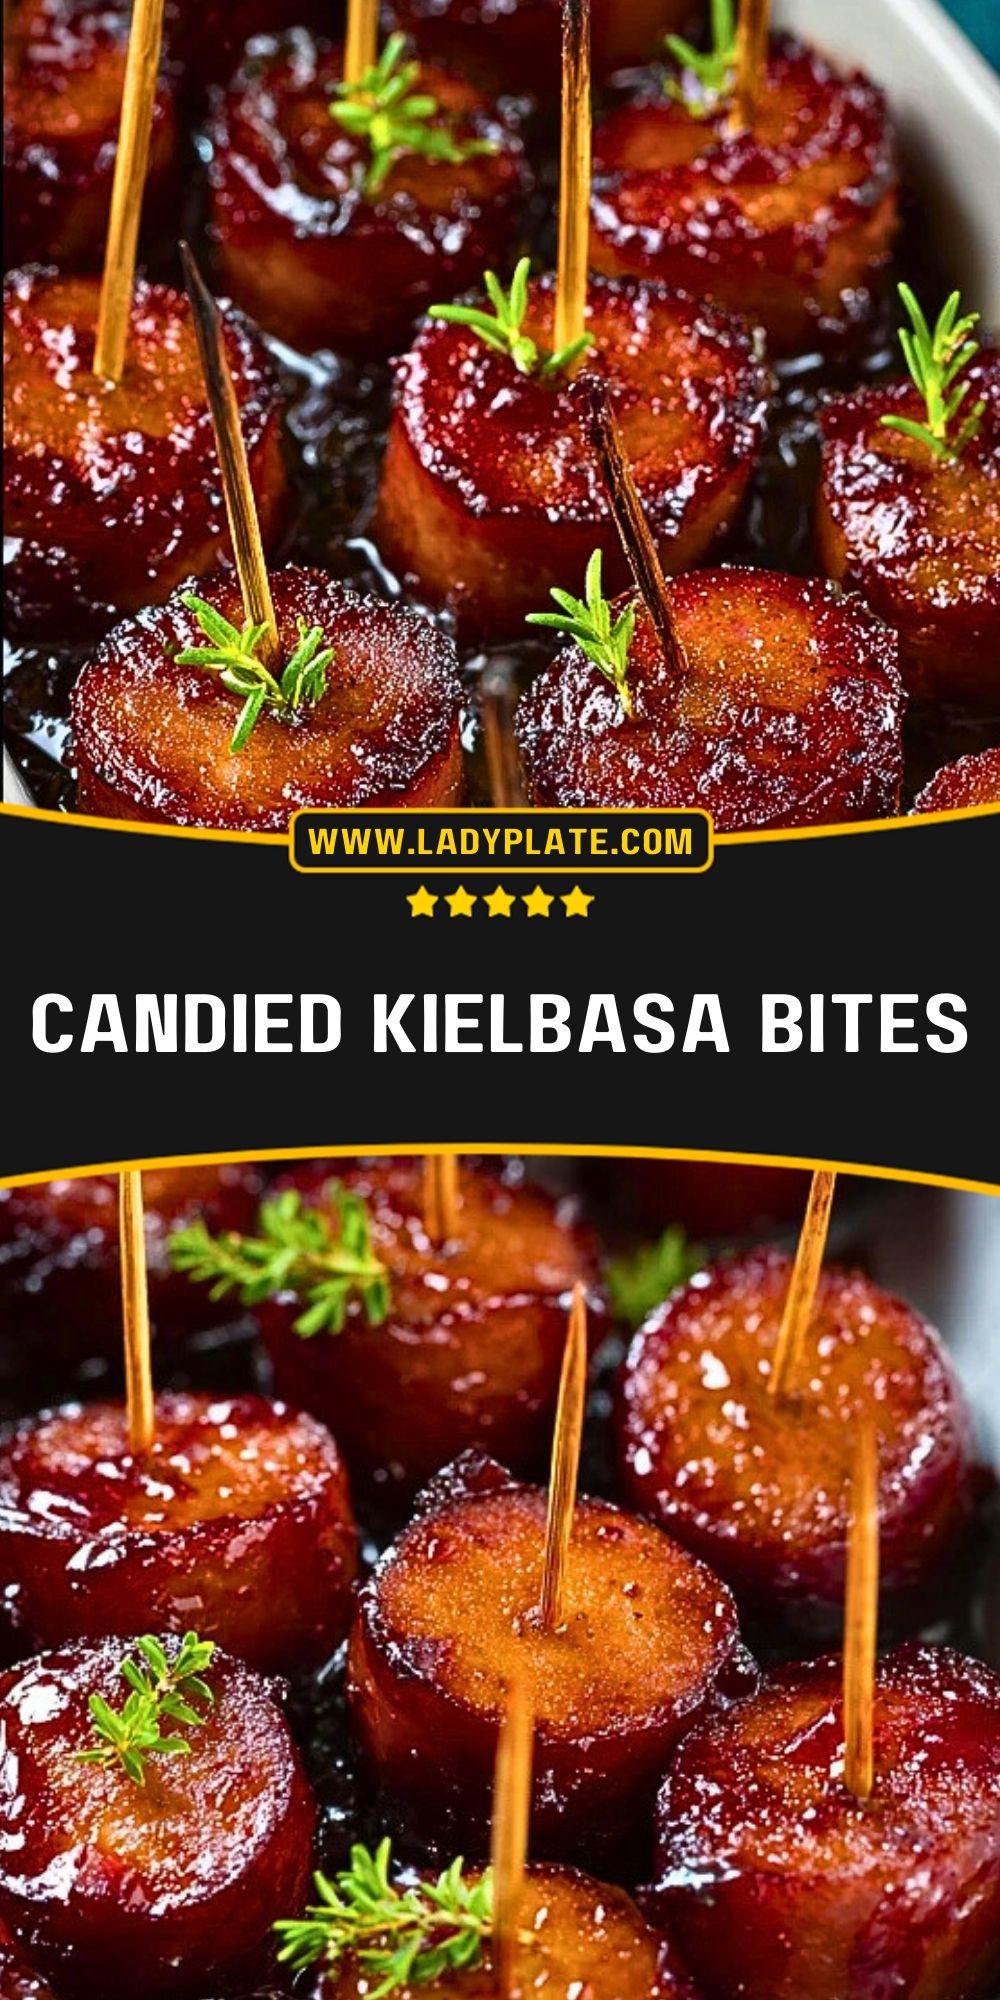
Looking for a party-perfect appetizer that’s sweet, smoky, and downright irresistible? Candied Kielbasa Bites are your answer. These glossy, caramelized sausage coins pack flavor into every bite, with a sticky glaze that clings just right. They vanish quickly at game days, potlucks, or even holiday spreads—so double the batch if you’re feeding a crowd.
What makes these bites so addictive is their balance. The savory richness of kielbasa contrasts beautifully with the brown sugar and tangy barbecue glaze. It’s one of those rare snacks that feels indulgent but is surprisingly simple to make. With just a few pantry staples, you can create a dish that guests will ask for again and again.
Preparation Phase & Tools to Use
Creating the perfect Candied Kielbasa Bites begins with gathering the right equipment. These tools make the process smooth and help ensure your bites caramelize just right without burning or overcooking:
- Sharp Knife: You’ll need a sharp chef’s knife to slice the kielbasa evenly. Uniform slices ensure even cooking and consistent presentation.
- Cutting Board: A stable surface for safe slicing is essential. Choose a wooden or non-slip board to keep things steady.
- Large Skillet or Saucepan: A wide surface allows the kielbasa pieces to caramelize properly without crowding. Cast iron or heavy-bottomed pans distribute heat more evenly, avoiding burnt sugar.
- Wooden Spoon or Silicone Spatula: These are key for stirring the sauce and flipping the bites without damaging the caramel glaze.
- Toothpicks or Skewers: For serving, toothpicks make these bites easy to grab and mess-free, making them ideal for gatherings.
Having these on hand not only simplifies the process but also ensures your candied glaze turns out rich, sticky, and evenly coated on each bite.

Ingredients for the Candied Kielbasa Bites
Each ingredient in this recipe brings a crucial note of flavor and texture, working together to create an addictive, sweet-savory appetizer.
- Kielbasa Sausage: The star of the show. Its smoky, garlicky flavor forms the savory foundation for the sticky glaze. Choose a fully cooked Polish-style kielbasa for ease.
- Brown Sugar: This provides the deep caramel flavor that coats the sausage slices in a glossy, candy-like finish. The molasses in brown sugar also adds depth.
- Barbecue Sauce: Adds tanginess, smokiness, and a hint of spice. It helps balance the sweetness and gives the glaze a smooth texture.
- Honey: Brings a floral sweetness and helps thicken the glaze, making it cling beautifully to each bite.
- Soy Sauce: A splash of umami richness. It deepens the flavor and cuts through the sweetness slightly.
- Garlic Powder: Adds a subtle, savory undertone without overwhelming the glaze.
How To Make the Candied Kielbasa Bites
Step 1: Slice the Kielbasa
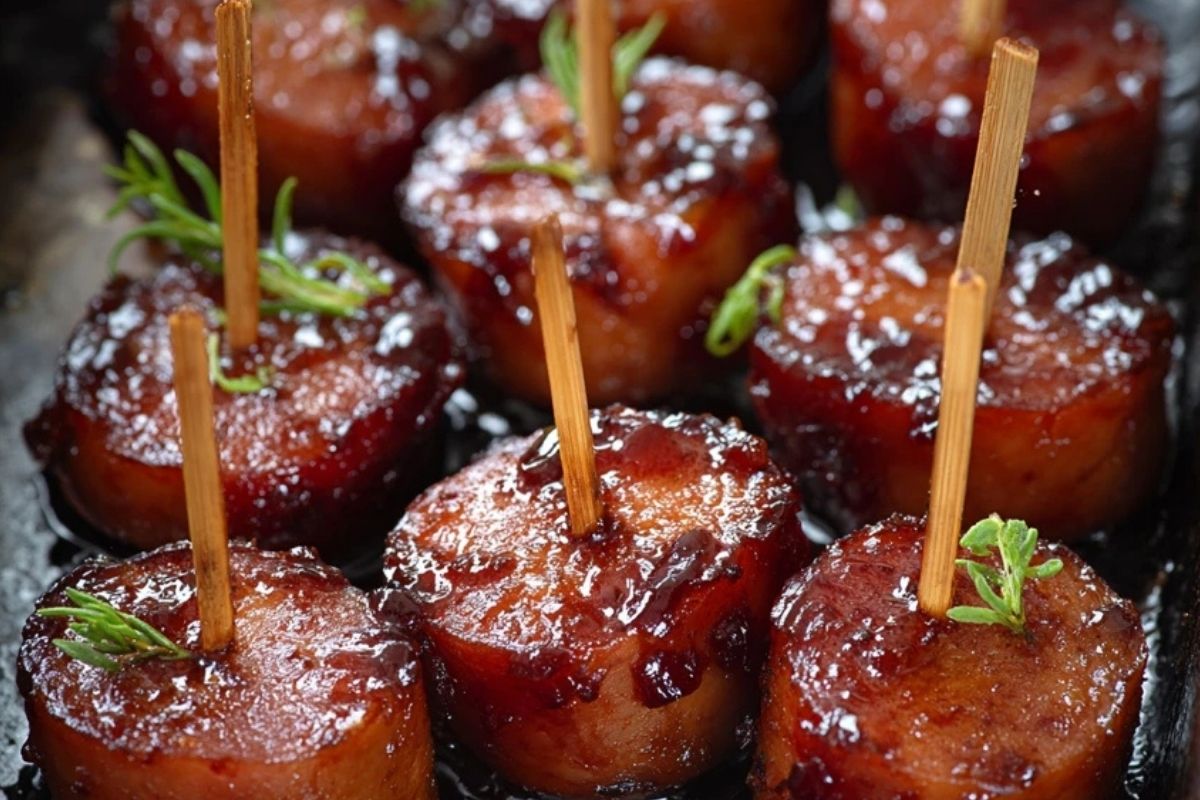
Cut the kielbasa into even, bite-sized rounds—about 1/2 inch thick. This helps them cook evenly and allows each piece to hold the glaze.
Step 2: Brown the Sausage
Place the slices in a large skillet over medium-high heat. Sear both sides until lightly browned. This step renders some fat and builds flavor with a nice caramelized edge.
Step 3: Mix the Glaze
In a bowl, stir together the brown sugar, barbecue sauce, honey, soy sauce, and garlic powder until well blended.
Step 4: Simmer and Glaze
Reduce the heat to low. Pour the glaze mixture over the kielbasa in the skillet. Stir gently to coat every piece. Let it simmer uncovered for 15-20 minutes, stirring occasionally, until the glaze thickens and becomes sticky.
Step 5: Serve Warm
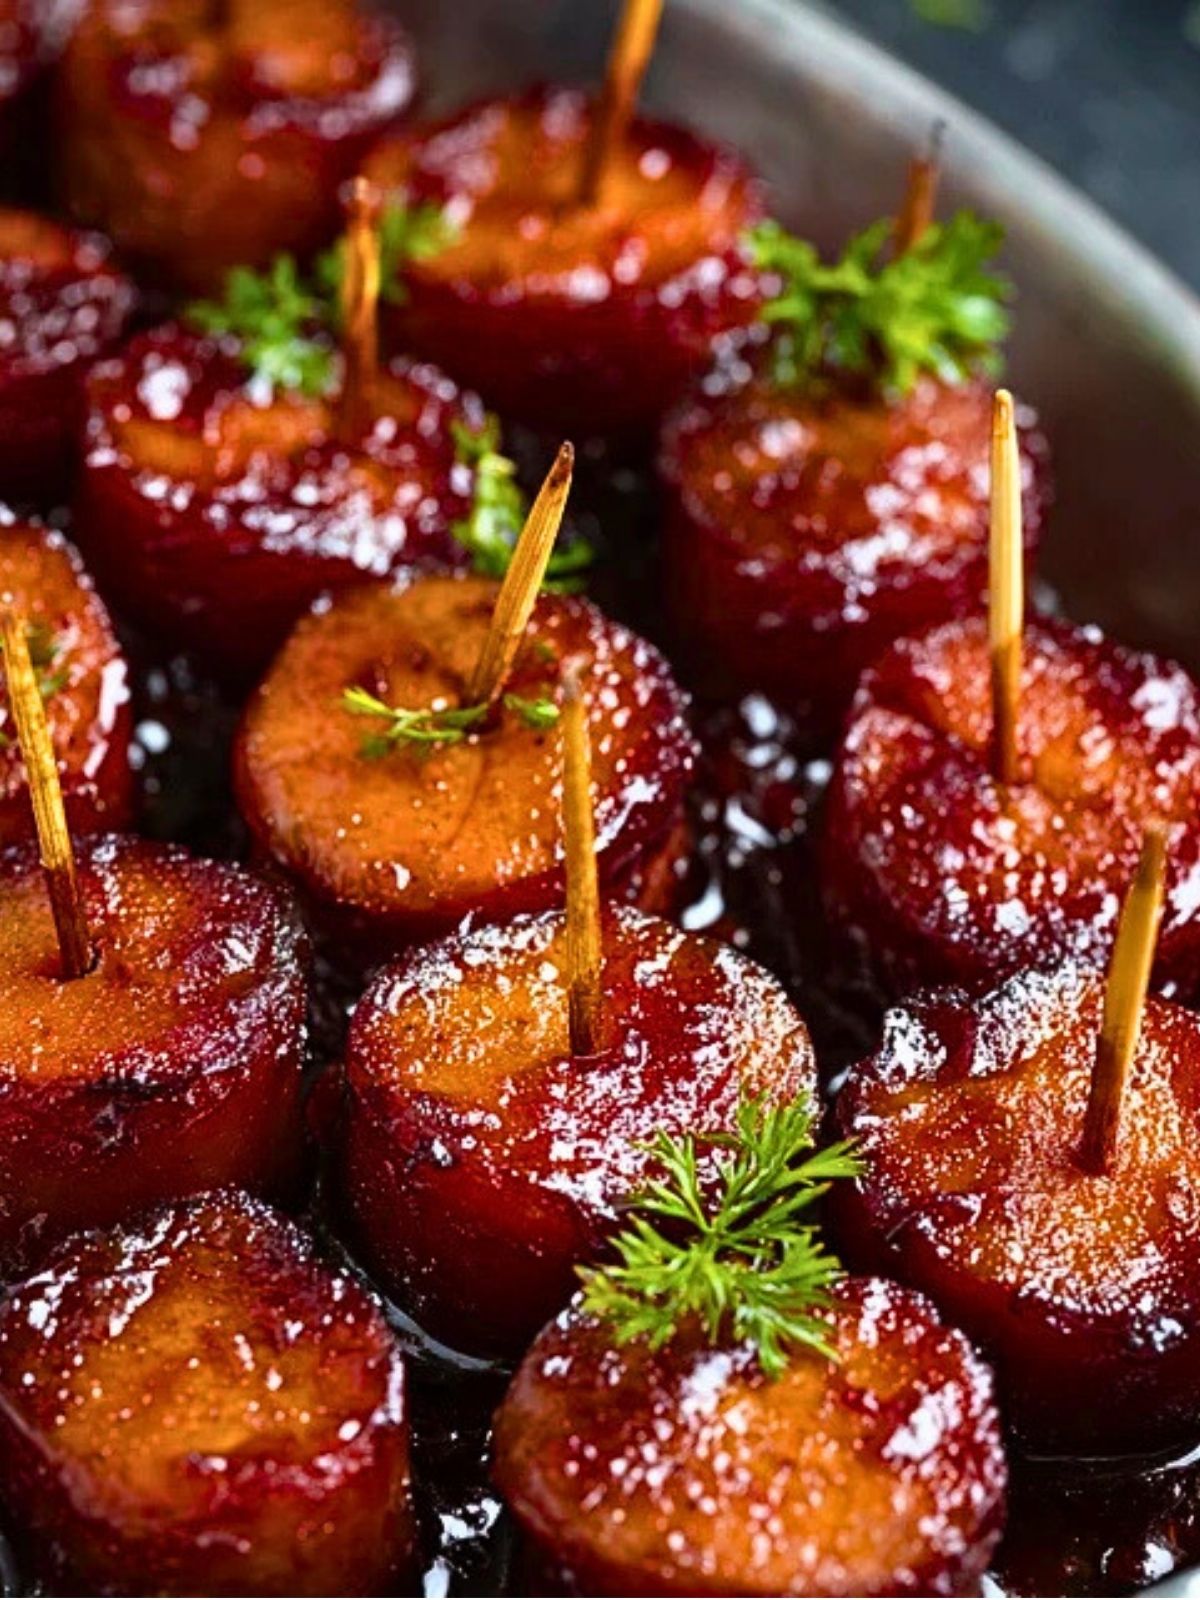
Transfer to a serving platter and insert toothpicks into each bite. Optionally, garnish with fresh parsley for a pop of color.
How to Serve and Store Candied Kielbasa Bites
Candied Kielbasa Bites are best served warm, straight from the skillet or slow cooker. Their sticky glaze shines most when hot, making them ideal for serving in a warming tray at parties or straight from a heated cast iron pan. Pair them with toothpicks for effortless snacking.
If you’re making them ahead, simply reheat in a skillet over low heat with a splash of water or additional barbecue sauce to loosen the glaze. These bites also hold up beautifully in the fridge for up to 3 days in an airtight container. For longer storage, freeze them on a parchment-lined tray, then transfer to a freezer bag. Reheat directly from frozen over low heat until warmed through and sticky.
Frequently Asked Questions
What kind of kielbasa should I use?
Use fully cooked, smoked Polish-style kielbasa. Pork or beef-based options both work well. Avoid raw sausage links as they require longer cooking and won’t caramelize properly.
Can I make these in a slow cooker?
Yes! After browning the sausage slices, transfer everything to a slow cooker. Cook on low for 2-3 hours, stirring occasionally. It’s a great option for keeping them warm during parties.
Can I use turkey kielbasa?
Absolutely. Turkey kielbasa is a leaner option and still works great with this glaze. Just be mindful it may caramelize a little quicker, so keep an eye on it.
Can I double the recipe?
Yes, just make sure to use a wide skillet or do it in batches to ensure even caramelization. Overcrowding can cause the bites to steam rather than sear.
What can I serve with these bites?
They pair perfectly with simple sides like garlic mashed potatoes, roasted vegetables, or even skewered with pineapple for a sweet-savory combo.
Can I use maple syrup instead of honey?
Yes, maple syrup gives a slightly deeper, earthier sweetness. It’s a lovely substitution, especially for fall-themed menus.
Want More Appetizer Ideas?
You might also enjoy the Loaded Tater Tot Appetizers, packed with melty cheese and savory toppings. Or check out the Air Fryer Stuffed Pickles Recipe for a tangy crunch that pairs well with creamy dips.
For something heartier, try the Meaty Texas Trash Dip, a crowd-pleasing, layered dip that’s always the first to disappear. The Cheeseburger Sliders are also a winning option if you’re planning a game-day or party platter.
Another quick snack to consider is the Garlic Butter Chicken Balls—they’re bite-sized, rich, and perfect for dipping.
Pin and Tell Me How Yours Turned Out
You can save this to your party snack or appetizer boards for next time. Just hit the Pin button and come back when the craving hits!
If you try these Candied Kielbasa Bites, I want to hear about it. Did you tweak the glaze? Go spicier? Add pineapple? Leave a comment below and let me know. I love seeing your creations!
And if you want more sweet and savory combos like this, check out my daily recipe shares on Pinterest at LadyPlate.

Candied Kielbasa Bites
- Total Time: 35 minutes
- Yield: 6 servings
Description
Candied Kielbasa Bites are the ultimate party appetizer—sweet, smoky, and irresistibly sticky. Slices of kielbasa are caramelized in a brown sugar and barbecue glaze, simmered until perfectly coated and glossy. They’re quick to make and disappear even faster.
Ingredients
1 lb kielbasa sausage
1 cup brown sugar
3/4 cup barbecue sauce
1/4 cup honey
2 tablespoons soy sauce
1 teaspoon garlic powder
Instructions
1. Slice the kielbasa into 1/2-inch thick rounds for even cooking and perfect bite-sized pieces.
2. In a large skillet over medium-high heat, brown the sausage slices on both sides until lightly caramelized.
3. While the kielbasa browns, stir together brown sugar, barbecue sauce, honey, soy sauce, and garlic powder in a mixing bowl.
4. Lower the heat and pour the glaze mixture over the browned sausage. Stir gently to coat all slices.
5. Let it simmer uncovered for 15–20 minutes, stirring occasionally, until the sauce thickens into a sticky glaze.
6. Serve warm with toothpicks. Optionally garnish with chopped parsley.
Notes
Don’t overcrowd the skillet—caramelization needs space. Cook in batches if necessary.
Use a silicone spatula to avoid tearing the glaze when stirring.
These bites reheat beautifully on the stovetop with a splash of water or sauce to loosen the glaze.
- Prep Time: 10 minutes
- Cook Time: 25 minutes
- Category: Appetizer
- Method: Stovetop
- Cuisine: American
Nutrition
- Serving Size: 1/6 of recipe
- Calories: 375
- Sugar: 28g
- Sodium: 890mg
- Fat: 22g
- Saturated Fat: 8g
- Unsaturated Fat: 12g
- Trans Fat: 0g
- Carbohydrates: 31g
- Fiber: 0g
- Protein: 12g
- Cholesterol: 50mg